Loading ...
Loading ...
Loading ...

5
Please read all instructions carefully before proceeding
further to prevent the risk of fire, electric shock, personal
injury or damage to the range hood. This manual
provides a general insight on the installation and may
not include solutions for all possible issues that may
occur.
In case of this manual destroyed or lost, please visit
https://www.awoco.com and download a digital version.
Installation Overview
1. Unpack the range hood and check for any physical
damage on the body.
2. Test run the range hood and check if all functions
are working properly. Refer to Page 9 for
functionalities.
DO NOT
install the range hood if it's defective. Contact
the seller immediately.
3. If all is fine, install the range hood as instructed in
this manual. Refer to Page 7.
4. Test run the range hood again when the installation
is finished. Refer to Page 11 for troubleshooting.
Possible Tools Needed:
• Marker / Pencil;
• Jig Saw or Reciprocating Saw;
• Screwdrivers or Power Drill;
• Level;
• Measuring Tape;
• Knife:
• Duct / Foil Tape;
• Screws.
2 PEOPLE ARE REQUIRED FOR THE INSTALLATION.
Venting Requirements
DO
• Have the venting system go vertically from the
range hood to the roof if possible.
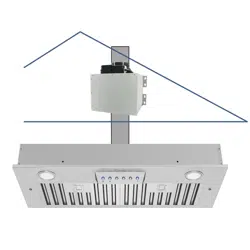
• Have 24"-30" distance between the cooktop and
the range hood. 27" is recommended.
• Use uniformed 6" round duct for 6" Round Adaptor,
or 8" round duct for 8" Round Adaptor, or 3-1/4 x
10” rectangular duct or larger.
• Use metal vent only. Rigid metal vent is
recommended. Semi-rigid aluminum vent is also
acceptable for easy connection.
• Make sure there is a minimum of 24" of straight
vent between the elbows if more than 1 elbow is
used.
• Use minimal numbers of elbows and the
shortest route for the venting system for a better
performance.
• Use silver tap or duct tap to seal all joints in the
venting system.
• Use caulking silicone to seal exterior wall or roof
opening around the cap.
• Always keep the duct clean to ensure proper airflow.
INSTALLATION PREPARATIONS
Loading ...
Loading ...
Loading ...