How To Use – English
1. B e sure the unit is “off” and plug the cord into a
standard elec tric al outlet.
2. P lace the food to be blended into the J ar and the Lid
on the J ar before blending.
3. For models that have a Lid Cap, be sure that the Lid
Cap is in plac e. W hen crushing ice or hard foods, keep
one hand on the Lid.
4. Selec t the desired speed setting (A ):
•
BL500/BL600 Series:
Some models have 10 speeds;
some have 12 speeds ranging from c hop, crumb, and
stir to purée, liquefy, and grate. Choose the speed that
best suits your task for food or beverage blending. B e
sure to depress the LOW /HI button in c ombination w ith
the task button w hen choosing or sw itching speeds.
For example to “chop,” you must depress the LOW
button and then, the Chop button. To sw itch to higher
settings, press the Pulse/Off button. B e sure the Low /HI
button is not depressed but in the “up” HI position.
•
BL700 Series:
Turn the dial to 1 or 2 for gentle
blending and c hopping; use 3 or 4 for grinding, beating
or puréeing; use 5 for heavy-duty grating (suc h as
vegetables) or liquefying (i.e. fresh fruit drinks).
5. In all models, use the P ulse button or “P ” position
for a few seconds, then release for quick or delicate
blending tasks. Releasing the P ulse automatically turns
the B lender off. Use the Ice Crushing B utton to crush
ic e in the same manner as the P ulse. For best results,
use short “pulses”. The B lender w ill stop w hen you
release the Ice Crush button.
6. For most models, if you w ant to add ingredients
w hile the Blender is on, remove the Lid Cap and drop
ingredients through the Lid opening. (B) In models that
have the dual spouts, open the easy-pour side to add
ingredients. B e sure to press the spout c over fully
closed before blending.
7.
BL500/BL600 Series:
W hen finished blending, push
the Off/P ulse button.
For the B L700 Series:
Turn the
Dial to “O” w hen finished blending.
8. To remove the J ar, grasp the Handle, tw ist tow ard
the unloc k ( ) and lift it from the Unit B ase. For
most models, remove the Lid before pouring.
For
models w ith the dual spouts,
use the easy pour side
for regular pouring (drinks, soups, dips, etc.); use the
strainer spout w hen pouring beverages (suc h as
homemade Sangria or lemonade) to hold back the
garnishes or foods such as sauce or salsa to hold back
vegetable piec es.
BLENDIN G TIPS AN D TECHN IQUES
• Cut food into small piec es (about
3
⁄
4
”/2 cm) before
adding to the B lender.
• W hen ingredients stick or spatter along the sides of
the J ar, stop the blending action and remove the Lid.
Use a rubber spatula to push food tow ard the blades.
Replac e the Lid, then c ontinue blending.
• Some of the tasks that cannot be performed effic iently
w ith a B lender are: beating egg w hites, w hipping
cream, mashing potatoes, grinding meats, mixing dough,
and extracting juic es from fruits and vegetables.
• The follow ing items should never be placed in the
unit as they may c ause damage: dried spices and
herbs (ground alone), bones, large pieces of solidly
frozen foods, tough foods such as turnips.
• To c rush ic e, pour liquid in the J ar first, then add up
to 6 ice cubes. Hold one hand firmly on the Lid; pulse,
using the Ice Crush button. For models w ith a Lid Cap,
use the Lid Cap to measure ingredients up to
60 ml/2 oz. w hen adding ingredients like lemon juice,
cream, or liqueurs.
Cleaning & Storage
Recipes
®
*
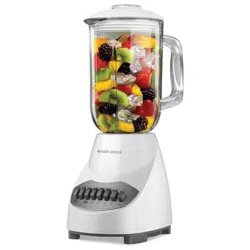
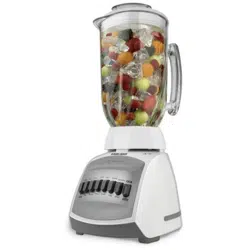
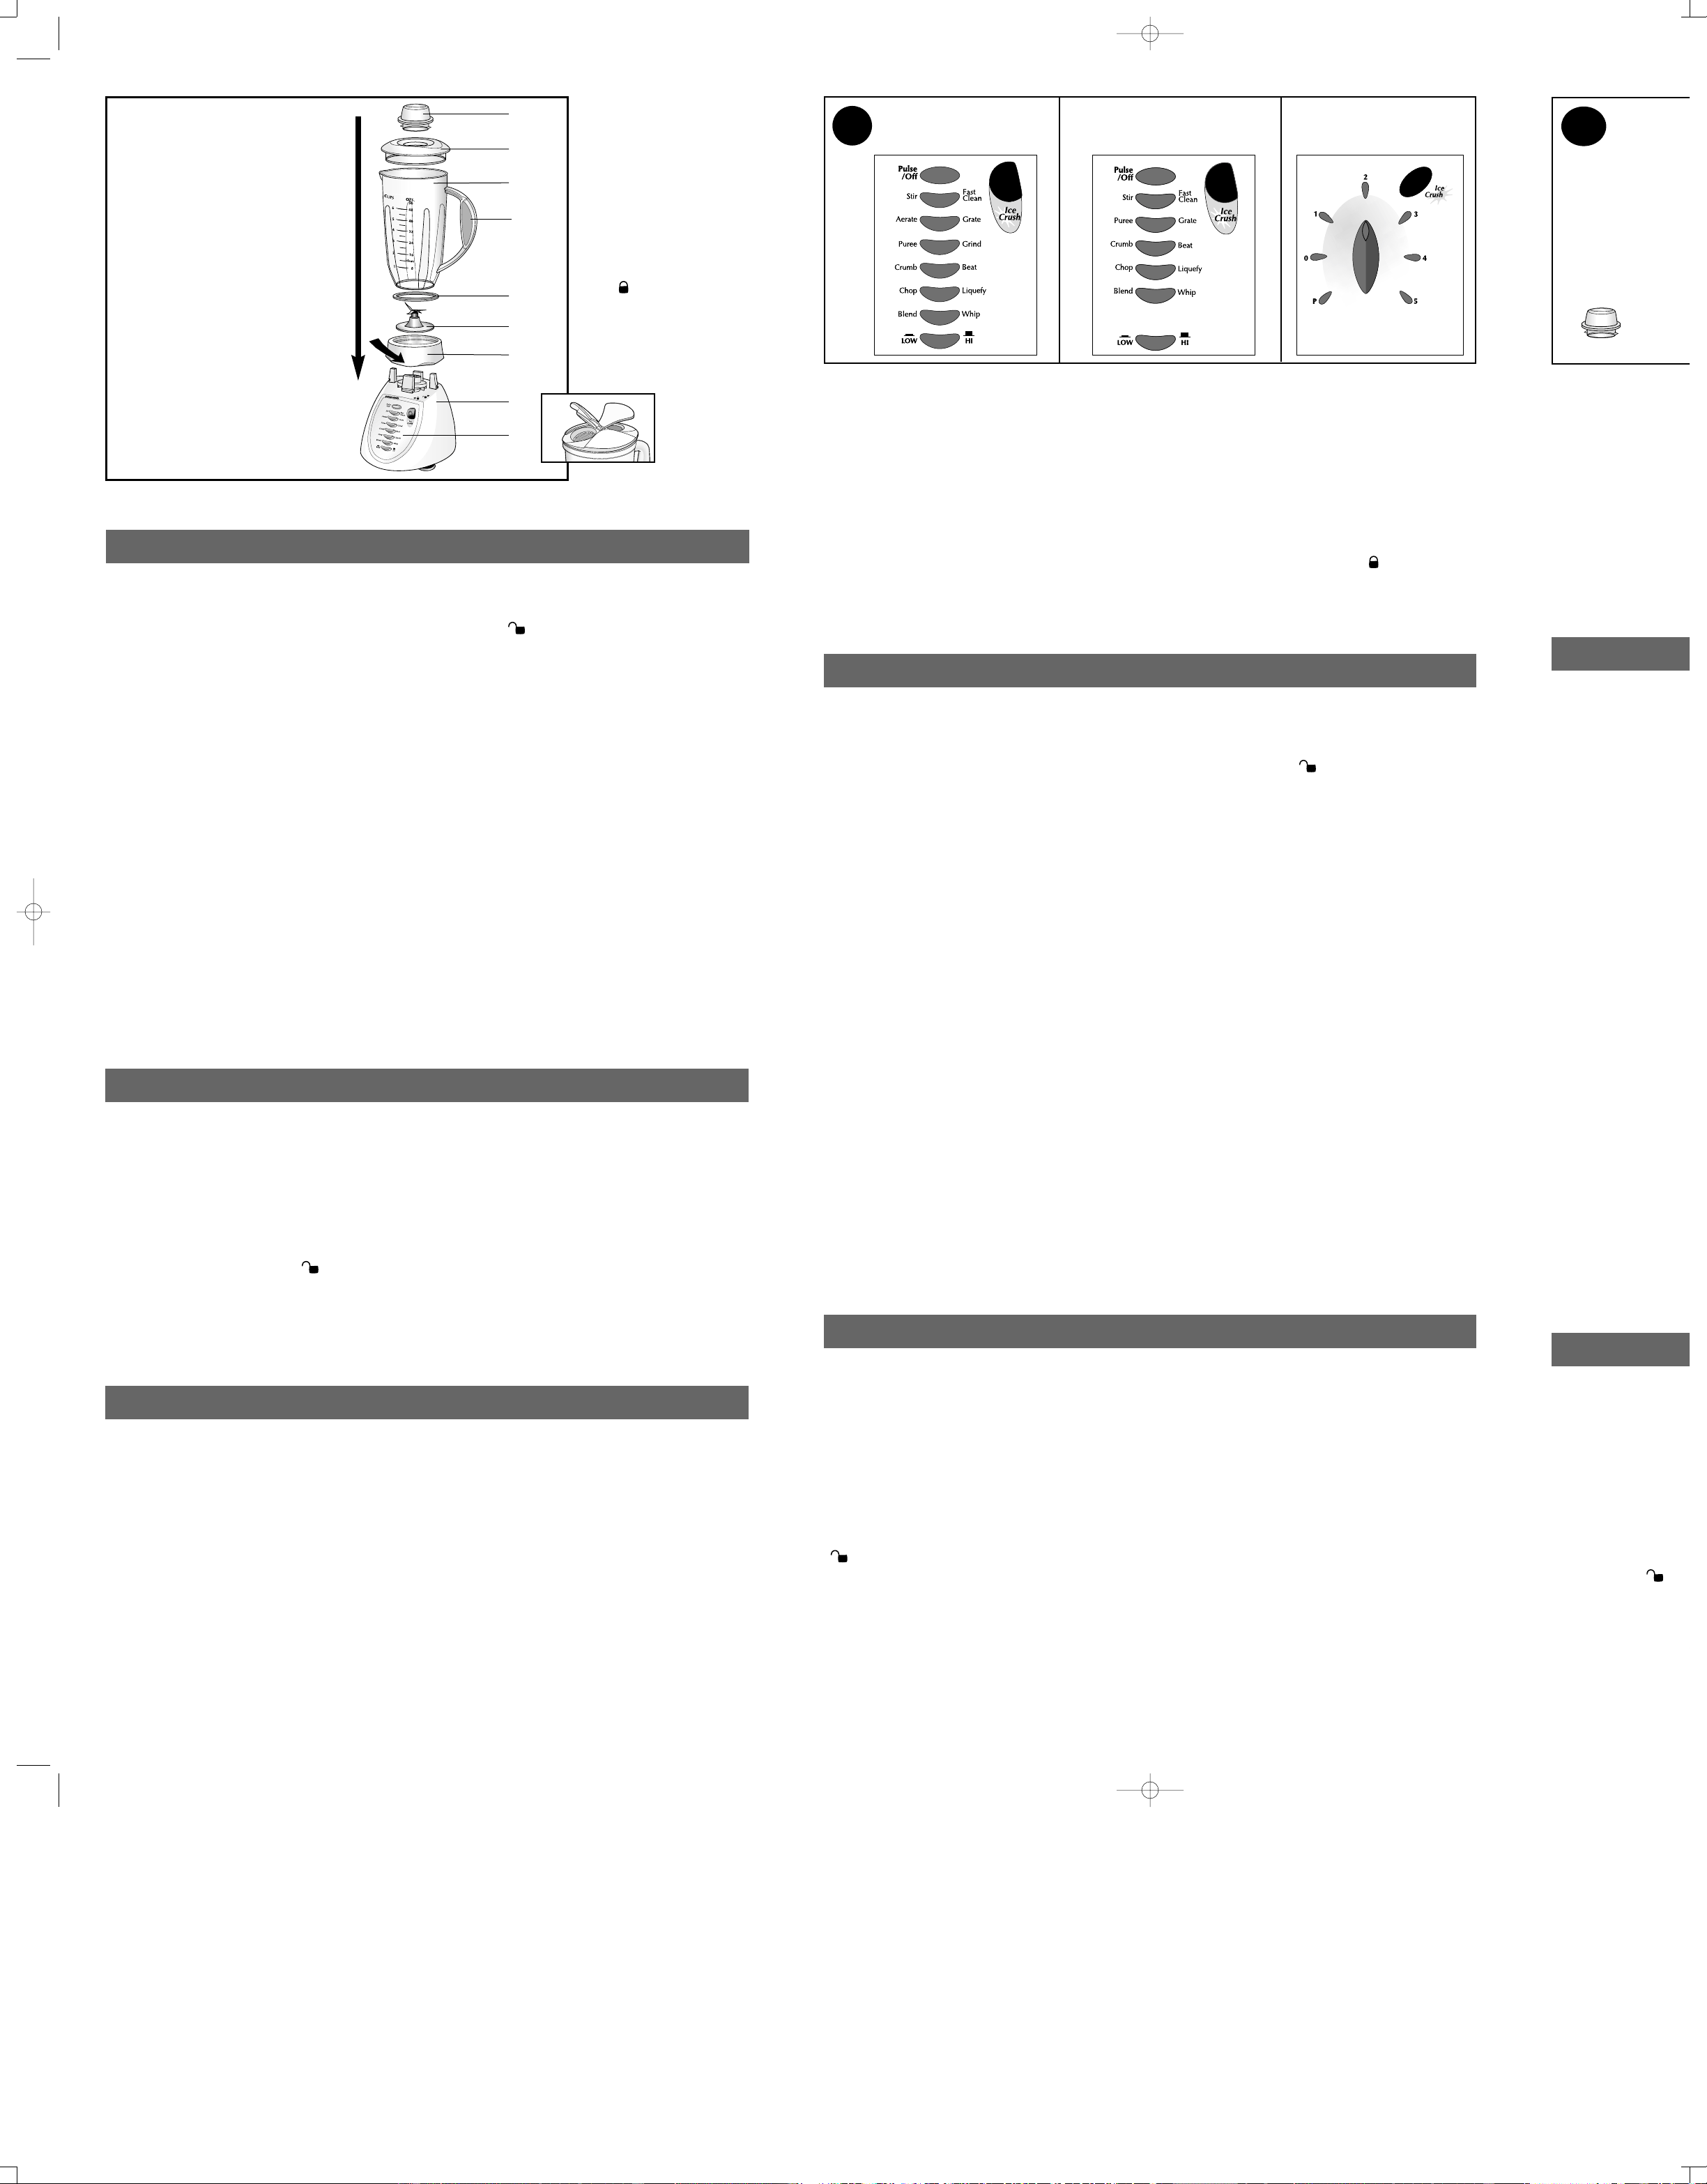
BLENDER J AR
ASSEM BLY
1. B efore first use, w ash all
parts except the Unit Base.
P ut the Gasket on top of the
Blade A ssembly.
2. P lace the B lade A ssembly
into the J ar B ase and turn
the J ar B ase cloc kw ise until
tight.
3.
Interloc k System:
P lace
the assembled J ar onto the
Unit B ase and turn tow ard
loc k ( )until secured in
plac e. You’ve engaged the
Interloc k S ystem if you lift
the J ar Handle and the
entire blender lifts together
as one unit.
FAST CLEAN
1.
For the B L500/B L600 Series:
The Fast Clean feature
helps make it easier to c lean the blender J ar by
loosening food particles. You may use the Fast Clean
feature by filling the J ar w ith lukew arm w ater to the
CLEA N mark for models w ith plastic J ars or the 1.5-
Cup mark for models w ith glass J ars. A dd a little dish
detergent for tough c leaning jobs (suc h as after mak-
ing salsa, shakes, or salad dressing). Hold the Lid and
press the Fast Clean button. Let the unit run for about 5
seconds, then press Off.
2. Unplug the unit, twist to unloc k ( ), lift the J ar off
the Unit B ase, and rinse.
3. P arts may be hand-w ashed (removable parts are
also dishw asher-safe). Follow the cleaning instruc tions
below.
For the B L700 Series or for hand w ashing parts:
1. Before cleaning, turn off and unplug the Blender.
2. Rinse parts immediately after blending for easier
cleanup. W ash the J ar and the Lid w ith soap and
w ater only.
3. W ipe the Unit B ase w ith a damp c loth and dry
thoroughly. Remove stubborn spots by rubbing w ith a
damp cloth and non-abrasive cleaner. Do not immerse
the B ase in liquid.
4. Removable parts c an be w ashed by hand or in a
dishw asher. The J ar, Lid, Lid Cap, Dual S pout Lid (some
models only),and B lade Assembly should be placed in
the top rack only.
For models w ith glass J ars,
the
blender J ar is bottom rack dishw asher-safe. Do not
place jars or parts in boiling liquids.
5. If liquids spill into the B ase, w ipe w ith a damp c loth
and dry thoroughly. Do not use rough scouring pads or
cleansers on parts or finish.
STORAGE
For convenient storage, w rap the c ord around the
large feet on the bottom of the Unit B ase (C).
Lid Cap (Certain M odels Only)
Tapón c on medidor
(En ciertos modelos únic amente)
Bouc hon du c ouverc le
(Certains modèles seulement)
Lid
Tapa
Couverc le
J ar
J arra
Réc ipient
Handle
Asa
Poignée
Gasket
Empaque
J oint d’étanc héité
Blade A ssembly
Cuc hillas
Lames
J ar B ase
Base de la jarra
Socle du récipient
Unit Base
Base de la unidad
Socle de l’appareil
Controls
(see A)
Controles
(Consulte A)
Commandes
(voir A)
Dual Spout Lid
(Certain M odels Only)
Tapa de doble boquilla
(En ciertos modelos únic amente)
Couverc le à deux bec s
(Certains modèles seulement)
SOFT-GRIP HAN DLE
(Certain M odels Only)
NOTE:
The rubberized grip is free of natural rubber and
latex. It is safe for use by individuals allergic or
sensitive to these materials.
CREAM ED HARVEST GIN GER SOUP
2 cans (14
1
⁄
2
oz./435 ml eac h) 2 onions, c oarsely c hopped
chicken or vegetable broth 1 red pepper, coarsely
2 cups (480 ml) w ater chopped
1 2 pound/908g) butternut squash, 2 (1-inc h/2.54 cm) squares
peeled and c ut in 1-inc h fresh ginger, coarsely
(2.54 cm) cubes chopped
5 medium carrots, cut in 1-inc h 1 teaspoon dried basil
(2.54 cm) lengths
1
⁄
2
teaspoon salt
4 medium potatoes, peeled and
1
⁄
4
teaspoon pepper
each cut in 6 pieces
1
⁄
2
-1 cup (120 - 240ml) milk
Sour c ream or plain yogurt
1. Combine chic ken or vegetable broth and w ater in large
sauc e pot. B ring to a boil. A dd all ingredients exc ept milk
and sour c ream or yogurt.
2. B ring mixture to a boil; cover and reduce heat to a simmer.
3. Simmer vegetables until tender, about 20-25 minutes.
4. A llow mixture to c ool.
5. Transfer vegetables and soup liquid to Blender J ar, 2 cups
at a time. Cover and pulse to blend until smooth.
(Be sure
to blend only 2 c ups at a time, as hot liquids expand w hen
blended.)
6. Transfer blended soup to large bow l and repeat proc ess
for remaining vegetables and broth. Return to sauc e pot
and reheat. Stir in milk, adding enough for desired
consistenc y. Correc t seasonings, if nec essary.
7. Serve garnished w ith dollop of sour cream or yogurt.
M akes: 6 (1
3
⁄
4
-c up/330ml) servings.
SPARKLING FRUIT SM OOTHIE
2 containers (8 oz. eac h/240 ml) 1 c an (8 oz./240 ml) pineapple
straw berry flavored nonfat chunks, undrained
yogurt 1 pint (about 2 cups/480 ml)
1 cup sparkling w ater medium straw berries
(seltzer/c lub soda)
1. Combine yogurt, seltzer and pineapple in B lender J ar.
Cover and blend at high speed for 30 seconds.
2. Continue blending and remove Lid Cap. Gradually drop
straw berries dow n through Lid opening. Once all berries
have been added, c ontinue blending for 30 sec onds.
3. Serve immediately, or c hill until ready to serve.
M akes: 4 (10 oz./300 ml) servings.