Loading ...
Loading ...
TEMPLATE *
A number of Oliveri sinks require a non-standard shape hole (not a rectangle
or circle). Locate the template included in (or printed on) the packaging and
place in the correct position on the counter/benchtop. Compare the template
to the sink to check it is correct. Some sink templates apply to both left-hand
and right-hand model sinks. Ensure the template is the correct way around
for your model sink. (If no template is available, carefully invert the sink over
the counter/benchtop and trace around it.)
CHECK SPACE & LEVEL
Use a level to check the counter/benchtop – if not level, have rectified.
Ensure there is adequate space for tapware (including a splash back if
specified). Check space for installation (underneath) and operation (above).
Particular care must be taken when a thick splash back is used (it may
interfere with tapware location and operation). Ensure the cabinet will not
foul the sink mounting flange or basins.
MARK CUT OUT *
Carefully mark around the cardboard template (or follow drawing instructions).
Once the hole is marked out, use the template to conduct a final check before
cutting. Note: The template is the exact finished cut-out size required.
IMPORTANT
If you have traced the sink itself to mark your cut out, the hole must be
cut 10mm inside the marked line.
CUT & FINISH HOLE *
Re-check the position and cut out shape you have traced before cutting.
Ensure there are no obstacles below that might interfere with cutting.
Drill pilot holes to accept an appropriate cutting tool for the counter/benchtop
material (wear suitable personal protection equipment). Cut just inside the
template mark (or 10mm inside the sink tracing).
TRIAL FIT THE SINK
Check that all clips are folded in so they will adequately clear the cut-out.
Carefully position the sink into the cut-out to make sure it fits correctly.
If the fit is not correct, remove the sink and proceed with remedial work.
Perform another trial fit after corrections have been made.
MASKING
If using a sealant, masking is necessary to prevent sealant overrun.
It is recommended that the edge of the sink and the edge of the cutout are
both covered with a suitable masking tape.
This tape should be removed within 2 days of application.
CHECK FOAM SEAL
Make sure the foam seal is intact and fits all the way around the sink with no
gaps visible. This will ensure a watertight seal when the sink is properly
tightened down to the counter/benchtop.
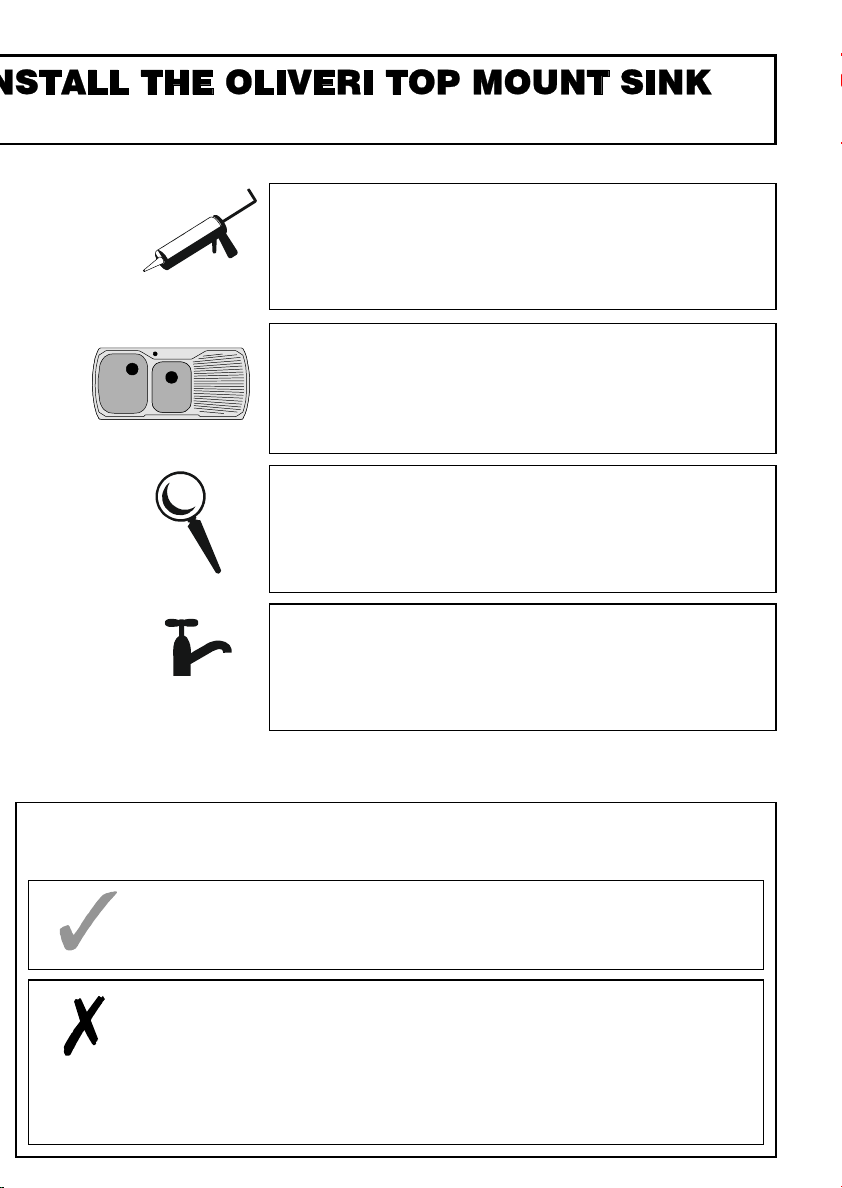
ADDITIONAL SEALANT
Apply additional sealant / caulking compound around the join where the
counter/benchtop and the stainless steel sink meet. Check that the caulking
product is mildew resistant and is suitable for use on the counter/benchtop
material and also is suitable for use on stainless steel. Clean away any
excess before it dries. Note: Additional sealant should always be used if gaps
are apparent after the sink has been clamped to the counter/benchtop.
PLUMBING & TAPWARE
IMPORTANT - Connections to plumbing should always be done by a
licensed plumber. Fit supplied basket wastes to sink bowls. Some models do
not include basket wastes for every bowl. Install tapware according to
manufacturer’s instructions.
Care should be taken when fitting wastes to the sink. Follow the instructions
provided with the wastes.
IF COUNTER / BENCHTOP IS SUPPLIED WITH SINK HOLE ALREADY CUT OUT, SKIP STEPS MARKED WITH *
INSTRUCTIONS CONTINUE OVER PAGE
It is essential that the installation is waterproof and carried out in accordance with these instructions.
Tasman Sinkware will not be held responsible for any damage caused by leakage or faulty installation.
CARE INSTRUCTIONS FOR YOUR OLIVERI STAINLESS STEEL SINK
AVOID CONTACT WITH ROUGH OR DIRTY SURFACES as new polished stainless steel will show scratches!
DO’s
• Clean with soap & water (towel dry) • Clean along the grain of the Stainless Steel
• Use a soft brush or sponge (old tooth brush) • Wipe over with a glass cleaner (Windex is very good)
• Polish with a metal polish paste (Autosol / Brasso) • Use a Liquid cleaner (Bon-Ami or Jiff)
• Use a granulated stainless steel cleaner (Essteele)
DO NOT’s
• NEVER use Steel wool
• Beware of harsh liquid cleaners
• Beware of grit within cloths and mineral deposits within water
• Avoid prolonged exposure to acids from Fruit, Fruit juices, Salts, Spirits, Bleach, Tea-bags
• Avoid prolonged contact with ordinary steel which can rust Tin Cans, Steelwool
• Do not keep harsh (acids or chlorine) chemicals under sink / laundry tub
• Do not leave chlorine/chloride chemicals on stainless steel surface
• Do not leave liquid soaps & cleaners to dry on stainless steel
• Do not use bleaches (White King, Domestos, Clorox)
FITTING THE SINK
If you choose to mount the tap / faucet onto the sink prior to fitting, take extra
care as it will change the weight and balance of the sink. Position and align
the sink correctly in the cutout and lower it onto the counter/benchtop. From
underneath, tighten the clips with a screwdriver (follow the sequence marked
on the template) until the sink is secure and no gaps are visible. Take extra
care if usin
g
power tools as ove
r
-ti
g
htenin
g
can dama
g
e clips.
FINAL CHECK OF FOAM SEAL
With the sink tightened down. Visually confirm the foam seal is not protruding
anywhere underneath. If it does, undo all the clips, reposition the foam seal
and tighten down again. If the foam seal has been damaged, replace the
damaged section. If the tap/faucet was mounted prior to fitting – check that
the position is correct.
Loading ...