
Headphones T2
User manual
Register your product and get support at:
www.philips.com/support

9 Frequently asked questions 17
6 Technical data 12
7 Notice 13
Declaration of conformity 13
Disposal of your old product
and battery 13
Remove the integrated battery 13
Compliance with EMF 14
Environmental information 14
Notice of compliance 14
8 Trademarks 16
1 Important safety instructions 2
Hearing safety 2
General information 2
2 Your True wireless earpieces 4
What's in the box 4
Other devices 4
Overview of your True wireless
earpieces 5
3 Get started 6
Charge the battery 6
How to wear 7
App download 7
Pair with another Bluetooth device 8
4 Use your earpieces 9
Connect the earpieces to your
Bluetooth device 9
Control ANC (Active Noise
Cancelation) 9
10
Manage your calls and music 10
Voice Assistant 10
Earpieces LED indicator status 10
Charging box LED indicator status 11
5 Reset the earpieces 12
Contents

2 EN
1 Important
safety
instructions
Hearing safety
Be sure to observe the following
guidelines when using your headphones.
• Listen at reasonable volumes for
reasonable periods of time.
• Be careful not to adjust the volume
continuously upwards as your
hearing adapts.
• Do not turn up the volume so high
that you can't hear what's around
you.
• You should use caution or
temporarily discontinue use in
potentially hazardous situations.
• Excessive sound pressure from
headphones and headphones can
cause hearing loss.
• Using headphones with both ears
covered while driving is not
recommended and may be illegal in
some areas.
• For your safety, avoid distractions
from music or phone calls while in
environments.
General information
To avoid damage or malfunction:
Danger
To avoid hearing damage, limit the time you
use headphones at high volume and set the
volume to a safe level. The louder the volume,
the shorter the safe listening time is.
Caution
Do not expose headphones to excessive heat.
Do not drop your headphones.
Headphones shall not be exposed to dripping
product)
Do not allow your headphones to be
submerged in water.
Do not charge your headphones when the
connector or socket is wet.
Do not use any cleaning agents containing
alcohol, ammonia, benzene, or abrasives.
Use a clean, damp cloth to clean your
headphones - especially the sound conduits and
the microphone holes - regularly and avoid
buildup of substances such as sweat or earwax.
If any sweat or water droplets are left in the
sound conduits, air holes or microphone holes,
the sound level will temporarily drop or cut out
entirely. This is not a malfunction. Use a soft,
damp cloth to dry the headphones thoroughly.
Alternatively, remove the earbud tips, turn the
sound conduits downward and gently tap the
similar to remove any water collected inside.
Be sure the headphones are completely dry
before charging and using. Avoid using
disposable alcohol pads or other substances for
cleaning.
The integrated battery shall not be exposed to
Danger of explosion if battery is incorrectly
replaced. Replace only with the same or
equivalent type.
slot cover must be closed.
mechanically crushing or cutting a battery, can
result in an explosion.
Leaving a battery in an extremely high
temperature surrounding environment can
result in an explosion or the leakage of
A battery subjected to extremely low air
pressure may result in an explosion or the
Replacement of a battery with an incorrect type
risks severely damaging the headphones and
the battery (for example, in the case of some
lithium battery types).
If the headset is not used for a long time, the
rechargeable battery will begin to lose its
charge. To avoid this loss, please fully charge
the battery at least once every three months.

3 EN
Operating and storage temperatures and
humidity
• Store in a place where the
temperature is between -20°C (-4°F)
and 50°C (122 °F) with up to 90%
relative humidity.
• Operate in a place where the
temperature is between 0°C (32°F)
and 45°C (113 °F) with up to 90%
relative humidity.
• Battery life may be shorter in high or
low temperature conditions.
only by external power source which output
shall comply with PS1 (with output capacity less
than 15W).
2 Your True
wireless
earpieces
Congratulations on your purchase, and
your product at www.philips.com/support.
With these Philips True wireless earpieces
you can:
• Enjoy convenient wireless
handsfree calls
• Enjoy and control music wirelessly
• Switch between calls and music
A mobile phone or device (e.g. notebook,
tablet, Bluetooth adapters, MP3 players
etc) which supports Bluetooth and is
compatible with the earpieces.
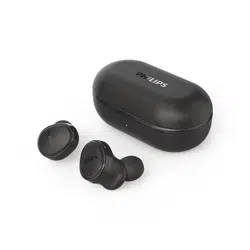
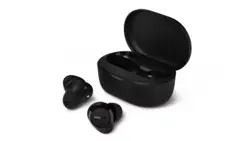
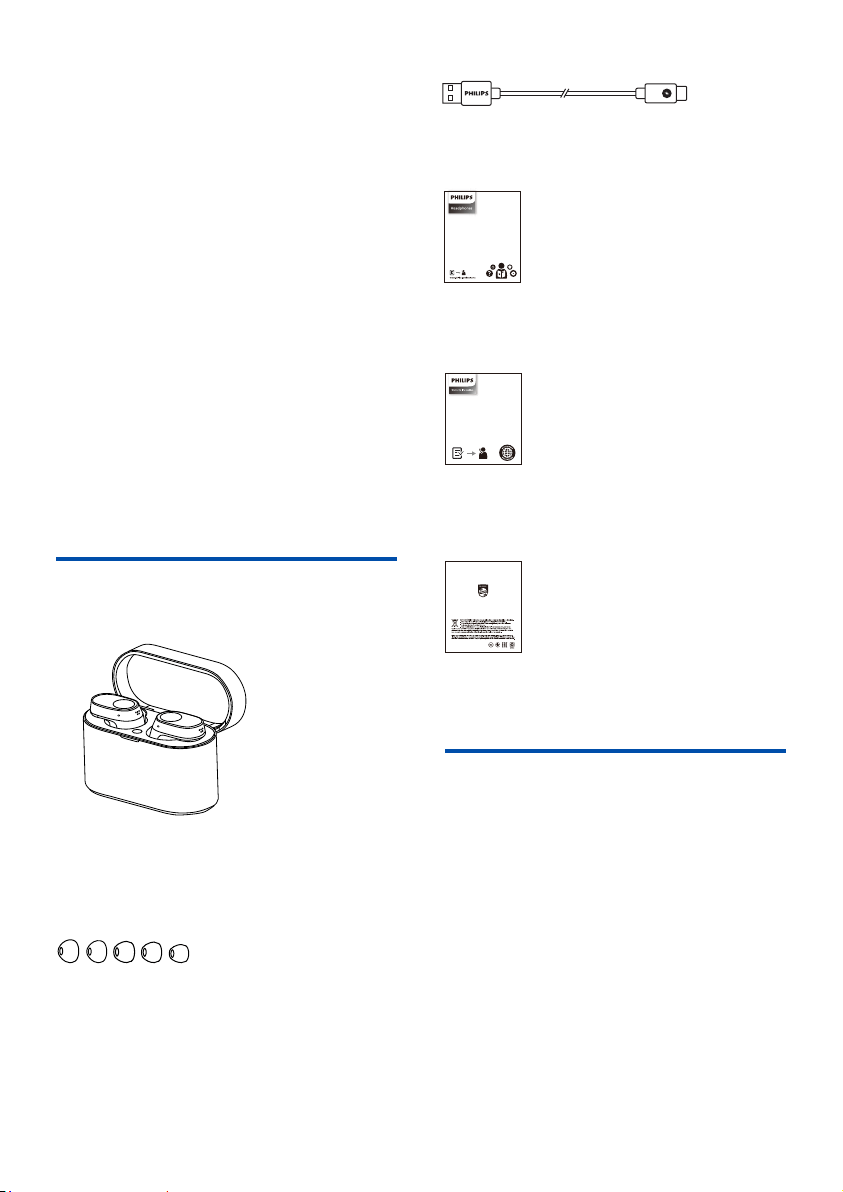
Philips True wireless earpieces
Philips Fidelio T2
Quick start guide
Warranty
Eartips x 5 pairs
4 EN
USB-C charging cable (for charging only)
What's in the box
Other devices

Overview of your True
wireless earpieces
Multi-function touch (MFT)
LED indicator (earpieces)
Bluetooth pair button
LED indicator (Battery state or
charging state)
USB-C charging slot
5 EN
5
2
1
4
3
1
2
3
4
5
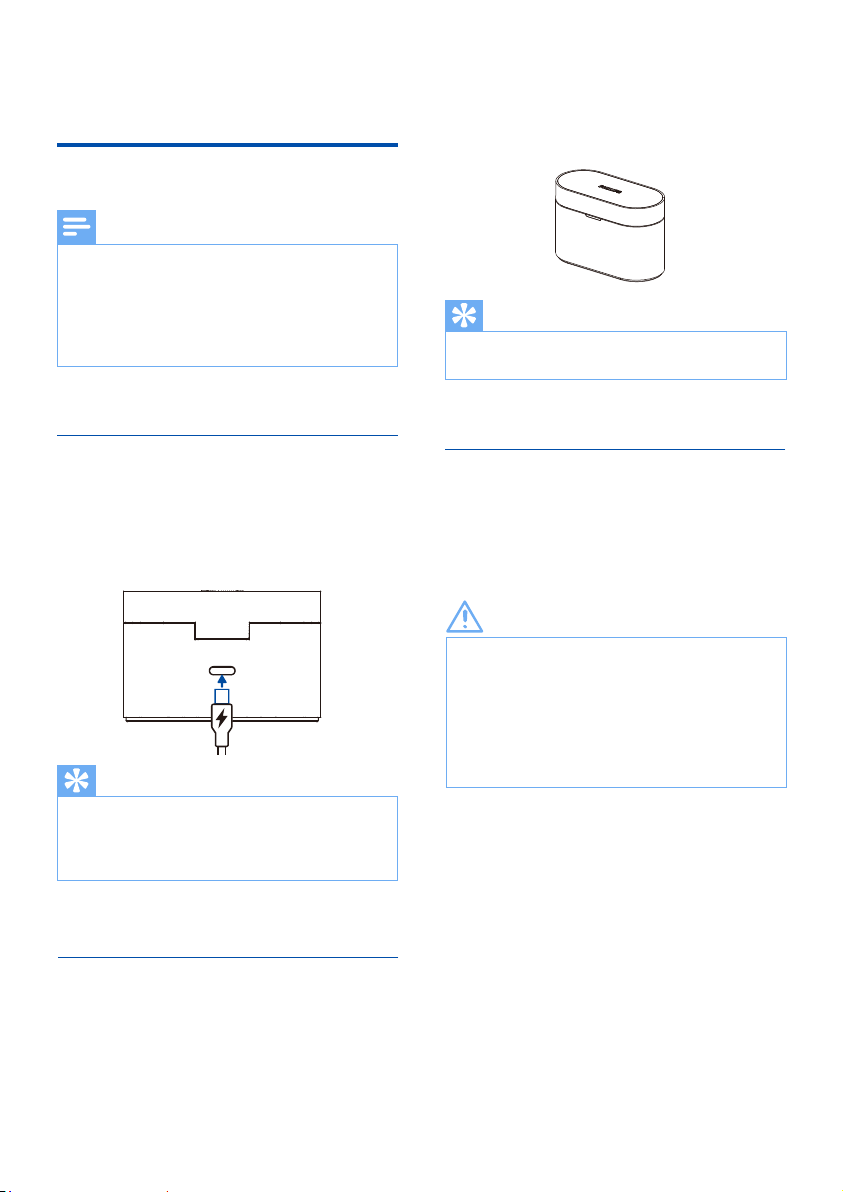
3 Get started
Charge the battery
Before you use your headphones, charge the
battery for 2 hours for optimum battery
capacity and lifetime.
Use only the original USB-C charging cable to
avoid any damage.
Finish your call before charging.
Note
Charging Box
• The earpieces start charging and the
blue LED light goes on
• When the earpieces are fully charged,
Earpieces
Place the earpieces in the charging box.
Plug one end of the USB-C cable into the
charging box and the other end into the
power source.
Normally, a full charge takes 2 hours (for the
earpieces or charging box) by USB cable.
Tip
The charging box serves as a portable backup
battery for charging the earpieces. When the
charging box is fully charged, it will fully
recharge the earpieces 3 times.
Tip
6 EN
Charging the battery with a wireless
charger.
Wireless charging
The charging box has a built-in wireless
charging coil. You can charge the battery
by using a wireless charger or another
device that functions as a wireless charger.
Caution
Precautions for wireless charging
Do not place the charging box on the wireless
charger when conductive materials, such as
metal objects and magnets, are placed between
the charging box and the wireless charger.
Keep the charging box away from high
temperatures and water sources. The box may
get warm during charging, this is normal.
• Place the earpieces in the charging box
• Close the charging box cover
• Place the charging box on the center
of the wireless charger
• When fully charged, remove the
charging box from the wireless charger
How to wear
Select suitable ear tips for optimum �t
sound quality and noise-cancellation.
Pair the earpieces with
your Bluetooth device for
the �rst time
1
2
Check left or right orientation of the
earpieces.
Insert the earpieces into the ears
achieved.
Insert the earpieces
white and blue alternately
The earpieces are now in pairing
mode and are ready to pair with a
Bluetooth device
(e.g. a mobile phone)
7 EN
1
2
1
2
Make sure that the earpieces are fully
Open the cover of the charging box,
the earpieces will be in pairing mode
and ready to connect.
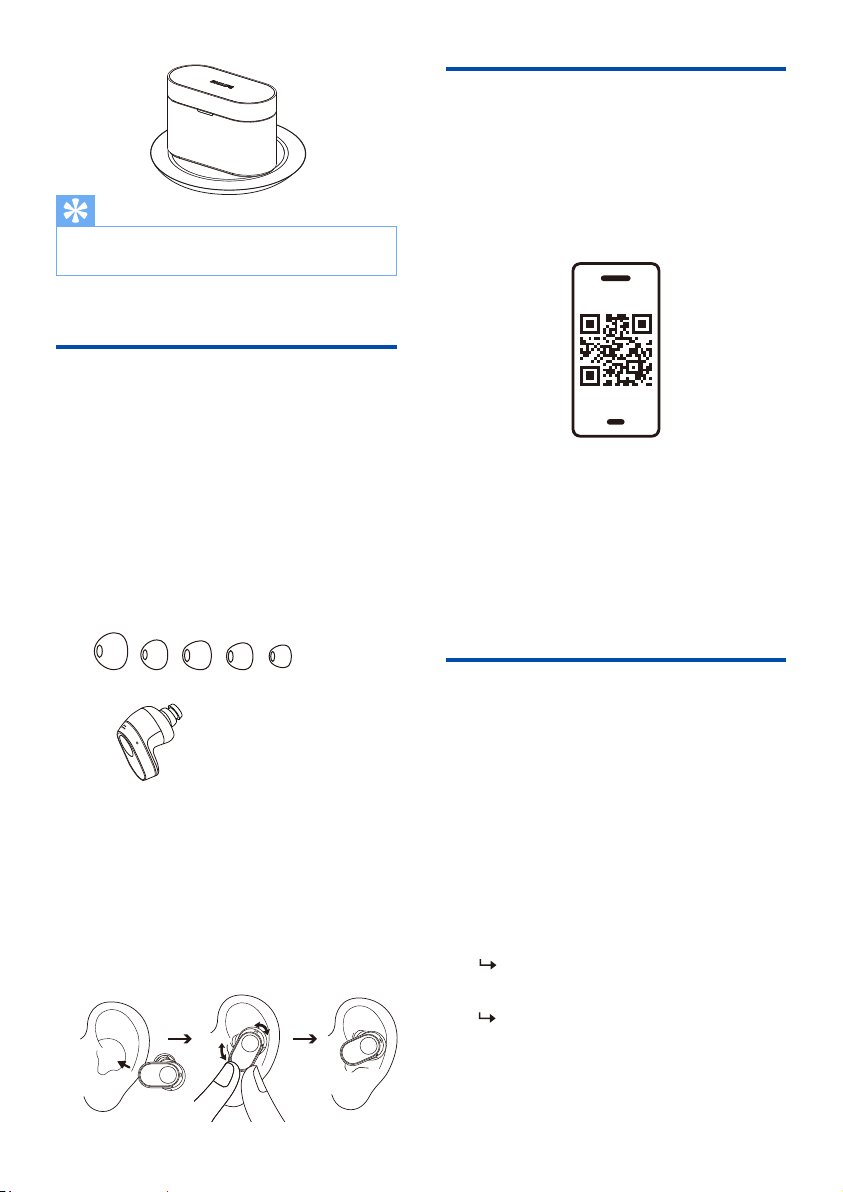
Scan the QR code/press 'Download'
button or search 'Philips Headphones' in
Apple App Store or Google Play to
download the app.
The Philips Headphones App puts you in
charge of the music you are listening to.
You can customize the sound so that
your music and calling experience always
best suits your needs.
App download
Test which ear tips provide you with
the best sound and wearing comfort.
5 sizes of silicone ear tips: extra large,
large, medium, small, extra small.
L M S XSXL
philips.to/headapp
Get Started
A full charge takes 4 hours by wireless charging.
Wireless charger is not included.
Tip
Single earpiece (Mono mode)
Take either right or left earpiece out
from charging box for Mono use. The
earpiece will power on automatically.
Philips Fidelio T2
The following example shows you
how to pair the earpieces with your
Bluetooth device.
Turn on the Bluetooth function of
your Bluetooth device, select
Philips Fidelio T2.
Enter the earpieces' password “0000”
(4 zeros) if prompted. For those
devices featuring Bluetooth 3.0 or
higher, there is no need to enter a
password.
Take the second earpiece from the charging box
and they will pair with each other automatically.
Note
8 EN
The earpieces store 4 devices in the memory.
If you try to pair more than 4 devices, the earliest
paired device is replaced by the new one.
Note
Pair the earpieces with
another Bluetooth device
If you want to pair another Bluetooth
device with the earpieces, just put them
into pairing mode, (press button on box for
3 seconds with both earpieces inside and
the cover open), then discover the second
device as per normal pairing.
1
2
Turn on the Bluetooth function of
your Bluetooth device.
Pair the earpieces with your
Bluetooth device, refer to the user
manual of your Bluetooth device.
any previously connected Bluetooth device, it
will automatically switch to pairing mode.
Note
3
4
Note
When streaming audio from Device 1, receiving
a call from Device 2 will automatically pause
Device 1 playback. And the call will be routed
automatically to headphones.
Ending the call will automatically resume
playback from device 1.
Multi-point connection
Pairing
• Pairing the headphones to 2 devices,
e.g. mobile phone and notebook.
Switch between device
• At anytime, you can only listen to
music from 1 device. Another device
will be for phone call.
• Pause the audio from 1 device and
then start play audio from the
another device.
03"

double tapping on the left earpiece.
• ANC function is automatically
activated when earpiece is placed in
the ear
• Touch the MFT twice, it will change to
awareness mode
• Touch the MFT twice again, it will
Control ANC (Active Noise
Cancelation)
Enable ANC
ANC OFF
Awareness
mode
ANC ON
Removing the earpieces will automatically
activate sleep mode. When you put the earpieces
back they will return to active mode.
Tip
The earpieces will search the last
connected Bluetooth device and
reconnect to it automatically. If
the last connected one is not
available, the earpieces will search
and reconnect to the second last
connected device.
4 Use your
earpieces
Connect the earpieces to
your Bluetooth device
1
2
If you turn on the Bluetooth function of your
Bluetooth device after turning on the earpieces,
you have to go to the Bluetooth menu of the
device and connect the earpieces to the device
manually.
Tip
If the earpieces fail to connect to any Bluetooth
device within 3 minutes, it will turn
In some Bluetooth devices, connection may not
be automatic. In this case, you have to go to the
Bluetooth menu of your device and connect the
earpieces to the Bluetooth device manually.
If no signal (music/call) is received for 60 mins
even with Bluetooth connection, the earpieces
Note
9 EN
Task
ANC ON Left earpiece
Left earpiece
Double tap
Double tapAwareness
mode
ANC OFF Left earpiece
Left
earpiece
Double tap
Continue
touching after
beep
Quick
awareness
MFT Operation
Turn on the Bluetooth function of
your Bluetooth device.
Open the charging box cover.

Indicator
Earpieces LED indicator
status
Earpieces status
The earpieces are
connected to a
Bluetooth device
The earpieces are ready
for pairing
The earpieces are on
but not connected to
a Bluetooth device
Low battery level
(earpieces)
Blue LED blinks 3x every
5.5 seconds
white alternately
White LED blinks every
after 3 minutes)
White LED blinks every
second
Battery is fully charged
(charging box)
Refer to case LED
Task
Turn the
earpieces on
Take earpieces
out of the
charging box to
power on
Put earpieces
back into the
charging box to
Turn the
Power on/off
MFT Operation
Manage your calls and
music
Music control
Play or pause
music
Next track Right
earpiece
Left
earpiece
Triple tap
Previous track Triple tap
Right
earpiece
Tap once
Task MFT Operation
Call control
Pick up
Hang up call /
reject call
R/L
earpiece
Double tap
10 EN
R/L
earpiece
Tap once
Task
MFT
Operation
Voice Assistant
OperationTask Button
Right
earpiece
Trigger Voice
(Siri/Google)
Assistant
Long touch
Right
earpiece
Stop Voice
Assistant
Single tap
Volume +/- Via mobile
phone control

11 EN
Charging box LED
indicator status
When charging Indicator
Battery low
Relatively adequate
battery
White LED lights up
Amber LED lights up
Battery low
Relatively adequate
battery
White led on 5 seconds
Amber slowly blinks for
4 cycles
In use and cover is
open
Indicator

5 Reset the
earpieces
1
2
3
4
5
6
On your Bluetooth device, go to the
Bluetooth menu and remove Philips
Fidelio T2 from the device list.
your Bluetooth device.
Return earpieces to charging box
and open the lid.
Press button on box twice.
Follow steps in “Use your earpieces-
connect the earpieces to your
Bluetooth device.”
Pair the earpieces with your
Bluetooth device, select Philips
Fidelio T2.
If you encounter any pairing or connection
issue, you can follow the following
procedure to reset your earpieces to
factory default settings.
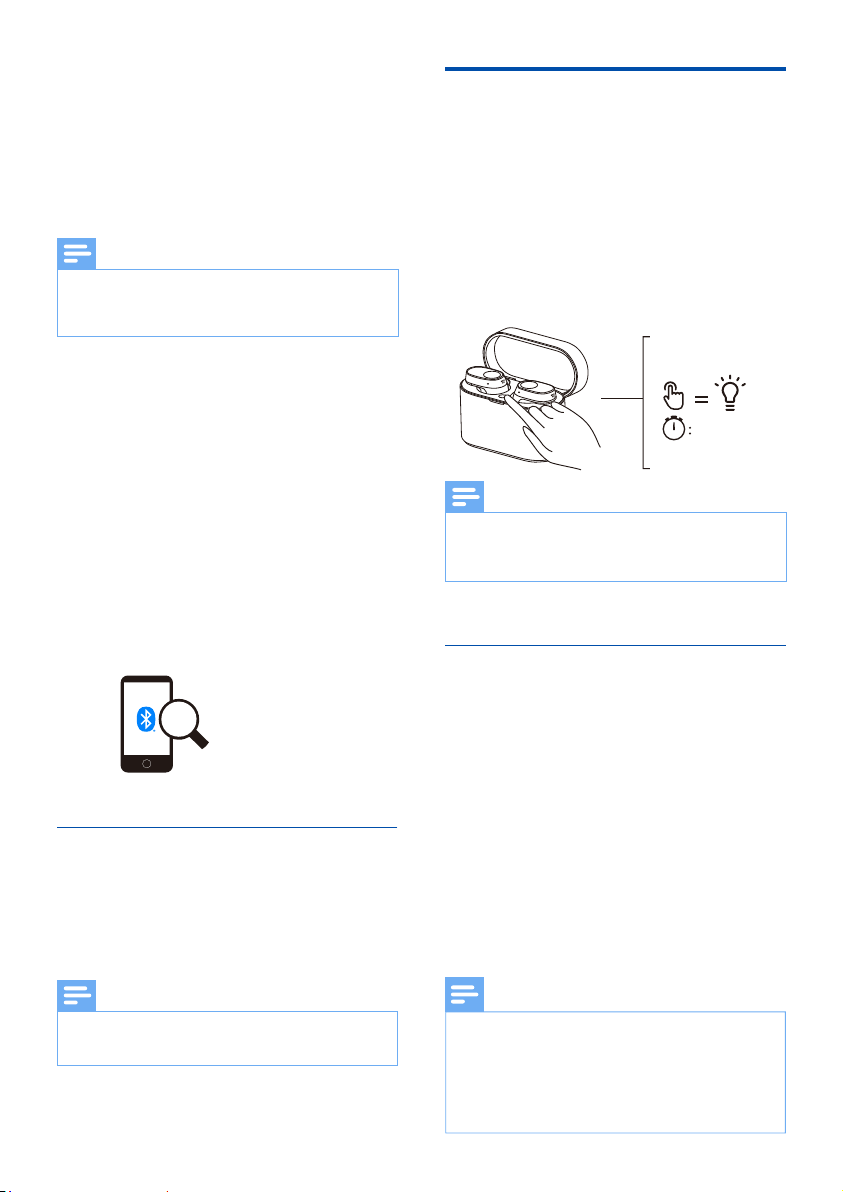
If there is no response from the
earpieces, you can follow the below step
to reset the hardware of your earpieces.
12 EN
Tap and hold multi-function touch for
10 seconds.
6 Technical data
Music play time (ANC on) :
9 + 27 hours
10 + 30 hours
Standby time: 200 hours
Charging time: 2 hours
Lithium-ion battery 75 mAh on
each earpiece, Lithium-ion battery
650 mAh on charging box
Bluetooth version: 5.3
• A2DP (Advanced Audio
• AVRCP (Audio Video Remote
Supported audio codecs: LDAC, AAC,
SBC, LC3
Frequency range: 2.402-2.480 GHz
Transmitter power: < 10 dBm
Operation frequency: 110-205,000 Hz
(62.8 dBuV/m)
Operating range: Up to 10 meters
(33 feet)
USB-C port for charging
Qi wireless charging
Low battery warning: available
notice.
Note
Remove the integrated
battery
If there is no collection/recycling system
for electronic products in your country,
you can protect the environment by
removing and recycling the battery before
disposing of the earpieces.
• Make sure the earpieces are
disconnected from the charging box
before removing the battery.
• Make sure the charging box is
disconnected from the USB charging
cable before removing the battery.
13 EN
7 Notice
Hereby, MMD Hong Kong Holding Limited
declares that the product is in compliance
with the essential requirements and other
relevant provisions of RED Directive
2014/53/EU and UK Radio Equipment
the Declaration of Conformity on
www.philips.com/support.
Declaration of conformity
Disposal of your old
product and battery
Your product is designed and manufactured
with high quality materials and components
which can be recycled and reused.
This symbol on a product means that the
product is covered by European Directive
2012/19/EU.
This symbol means that the product
contains a built-in rechargeable battery
covered by European Directive 2013/56/EU
which cannot be disposed of with normal
household waste. We strongly advise you to
point or a Philips service centre to have a
professional remove the rechargeable
battery. Inform yourself about the local
separate collection system for electrical and
electronic products and rechargeable
batteries. Follow local rules and never
dispose of the product and rechargeable
batteries with normal household waste.
Correct disposal of old products and
rechargeable batteries helps prevent
negative consequences for the environment
and human health.

Compliance with EMF
This product complies with all
applicable standards and regulations
regarding exposure to electromagnetic
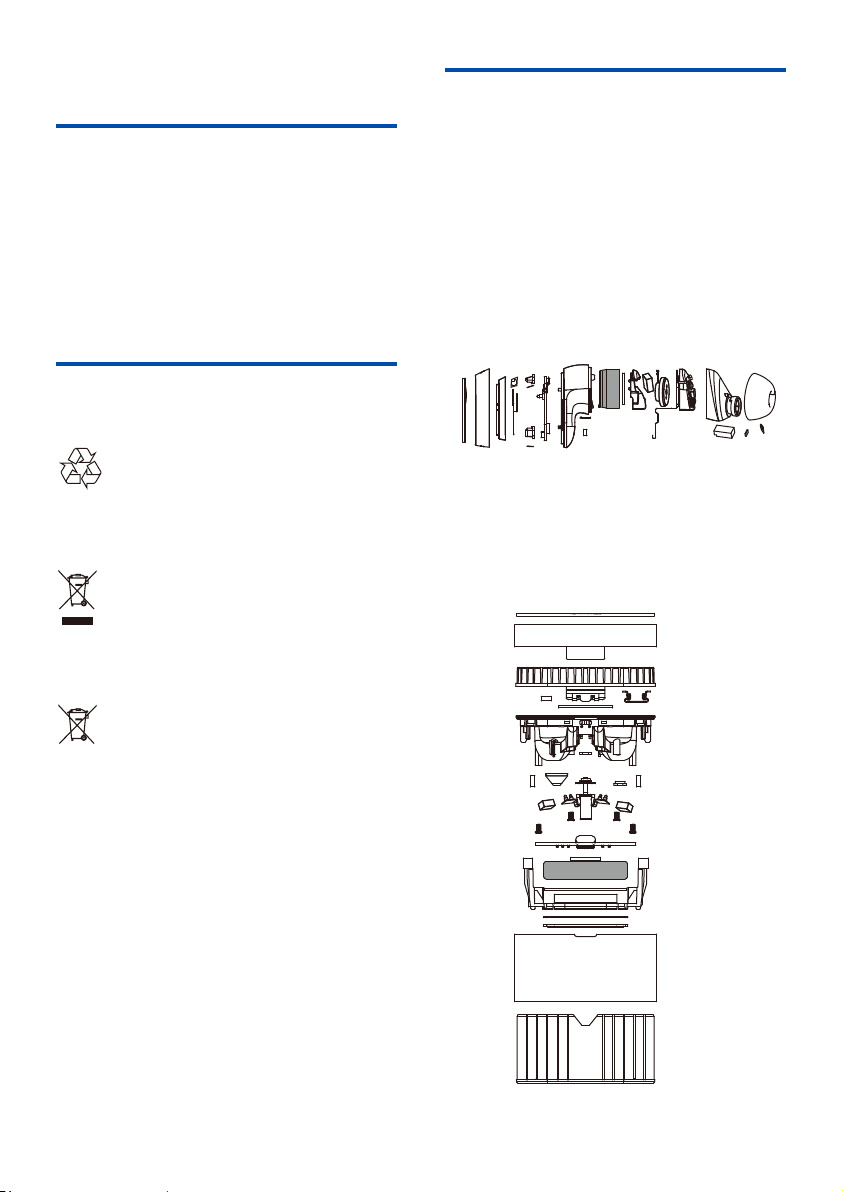
Environmental information
All unnecessary packaging has been
omitted. We have tried to make the
packaging easy to separate into three
materials: cardboard (box), polystyrene
protective foam sheet.)
Your system consists of materials which
can be recycled and reused if
disassembled by a specialized company.
Please observe the local regulations
regarding the disposal of packaging
materials, exhausted batteries and old
equipment.
Notice of compliance
The device complies with the FCC rules,
Part 15. Operation is subject to the
following two conditions:
1. This device may not cause harmful
interference, and
2. This device must accept any
interference received, including
interference that may cause
undesired operation.
FCC rules
This equipment has been tested and
found to comply with the limits for a Class
B digital device, pursuant to part 15 of
the FCC Rules. These limits are designed
to provide reasonable
protection against harmful interference
in a residential installation. This
equipment generates, uses and can
radiate radio frequency energy and,
if not installed and used in accordance
with the instruction manual, may cause
harmful interference to radio
communications.
However, there is no guarantee that
interference will not occur in a particular
installation. If this equipment does cause
harmful interference to radio or television
reception, which can be determined by
user is encouraged to try to correct the
interference by one or more of the
following measures:
Reorient or relocate the receiving
antenna
Increase the separation between
equipment and receiver
Connect the equipment into an outlet
the receiver is connected
Consult the dealer or an experienced
radio/TV technician for help
FCC Radiation Exposure Statement:
This equipment complies with FCC
radiation exposure limits set forth for an
uncontrolled environment.
This transmitter must not be co-located or
operated in conjunction with any other
antenna or transmitter.
Canada:
This device contains licence-exempt
transmitter(s)/receiver(s) that comply
with Innovation, Science and Economic
Development Canada’s license-exempt
RSS(s). Operation is subject to the
following two conditions: (1) This device
may not cause interference. (2) This
device must accept any interference,
including interference that may cause
undesired operation of the device.
Caution:
The user is cautioned that
approved by the party responsible for
compliance could void the user's authority
to operate the equipment.
14 EN

IC Radiation Exposure Statement:
This equipment complies with Canada
radiation exposure limits set forth for
uncontrolled environments.
This transmitter must not be co-located
or operated in conjunction with any
other antenna or transmitter.
15 EN
L’émetteur/récepteur exempt de licence
contenu dans le présent appareil est
conforme aux CNR d’Innovation, Sciences
et Développement économique Canada
applicables aux appareils radio exempts
de licence.
L’exploitation est autorisée aux deux
conditions suivantes : (1) L’appareil ne
doit pas produire de brouillage; (2)
L’appareil doit accepter tout brouillage
radioélectrique subi, même si le
brouillage est susceptible d’en
compromettre le fonctionnement.
CAN ICES-003(B)/NMB-003(B)

8 Trademarks
The Bluetooth® word mark and logos are
registered trademarks owned by
Bluetooth SIG, Inc. and any use of such
marks by MMD Hong Kong Holding
Limited is under license. Other
trademarks and trade names are those of
their respective owners.
Bluetooth
Siri is a trademark of Apple Inc., registered
in the U.S. and other countries.
Siri
Google and Google Play are trademarks of
Google LLC.
Google
16 EN

9 Frequently
asked
questions
My Bluetooth earpieces do not turn on.
The battery level is low. Charge the
earpieces.
I cannot pair my Bluetooth earpieces
with my Bluetooth device.
The Bluetooth is disabled. Enable the
Bluetooth feature on your Bluetooth
device and turn on the Bluetooth device
before you turn on the earpieces.
Pairing does not work.
• Put both earpieces into charging box.
• Make sure you have disabled the
Bluetooth function of any previously
connected Bluetooth devices.
• On your Bluetooth device, delete
“Philips Fidelio T2” from the
Bluetooth list.
• Pair your earpieces (see ‘Pair the
earpieces with your Bluetooth device
The Bluetooth device cannot �nd the
earpieces.
• The earpieces may be connected to a
connected device or move it out of
range.
• Pairing may have been reset or the
earpieces have been previously paired
with another device. Pair the
earpieces with the Bluetooth device
again as described in the user manual.
(see ‘Pair the earpieces with your
page 7).
My Bluetooth earpieces are connected to
a Bluetooth stereo-enabled mobile
phone, but music only plays on the
mobile phone speaker.
Refer to the user manual of your mobile
phone. Select to listen to music through
the earpieces.
The audio quality is poor and a crackling
noise can be heard.
• The Bluetooth device is out of range.
Reduce the distance between your
earpieces and Bluetooth device, or
remove obstacles between them.
• Charge your earpieces.
The audio quality is poor when streaming
from a mobile phone is very slow or
streaming does not work at all.
Make sure your mobile phone not only
supports (mono) HFP but also supports
A2DP and is BT4.0x (or higher) compatible
(see ‘Technical data’ on page 12).
Clean your headphones regularly
• Use a clean, damp cloth to clean your
headphones - especially the sound
conduits and the microphone holes -
regularly and avoid buildup of
substances such as sweat or earwax.
• If any sweat or water droplets are left
in the sound conduits, air holes or
microphone holes, the sound level will
temporarily drop or cut out entirely.
This is not a malfunction. Use a soft,
damp cloth to dry the headphones
thoroughly. Alternatively, remove the
earbud tips, turn the sound conduits
downward and gently tap the
cloth or similar to remove any water
collected inside.
• Be sure the headphones are
completely dry before charging and
using. Avoid using disposable alcohol
pads or other substances for cleaning.
17 EN

Charge your headphones regularly
If the headset is not used for a long time,
the rechargeable battery will begin to
lose its charge. To avoid this loss, please
fully charge the battery at least once
every three months.
18 EN

UM_T2_00_EN_V1.0
2023 © MMD Hong Kong Holding Limited. All rights reserved.
the Philips Shield Emblem are registered trademarks of
Koninklijke Philips N.V. and are used under license. This product
has been manufactured by and is sold under the responsibility of
MMD Hong Kong Holding Limited is the warrantor in relation to
this product. All other company and product names may be
trademarks of its respective companies with which they are
associated.