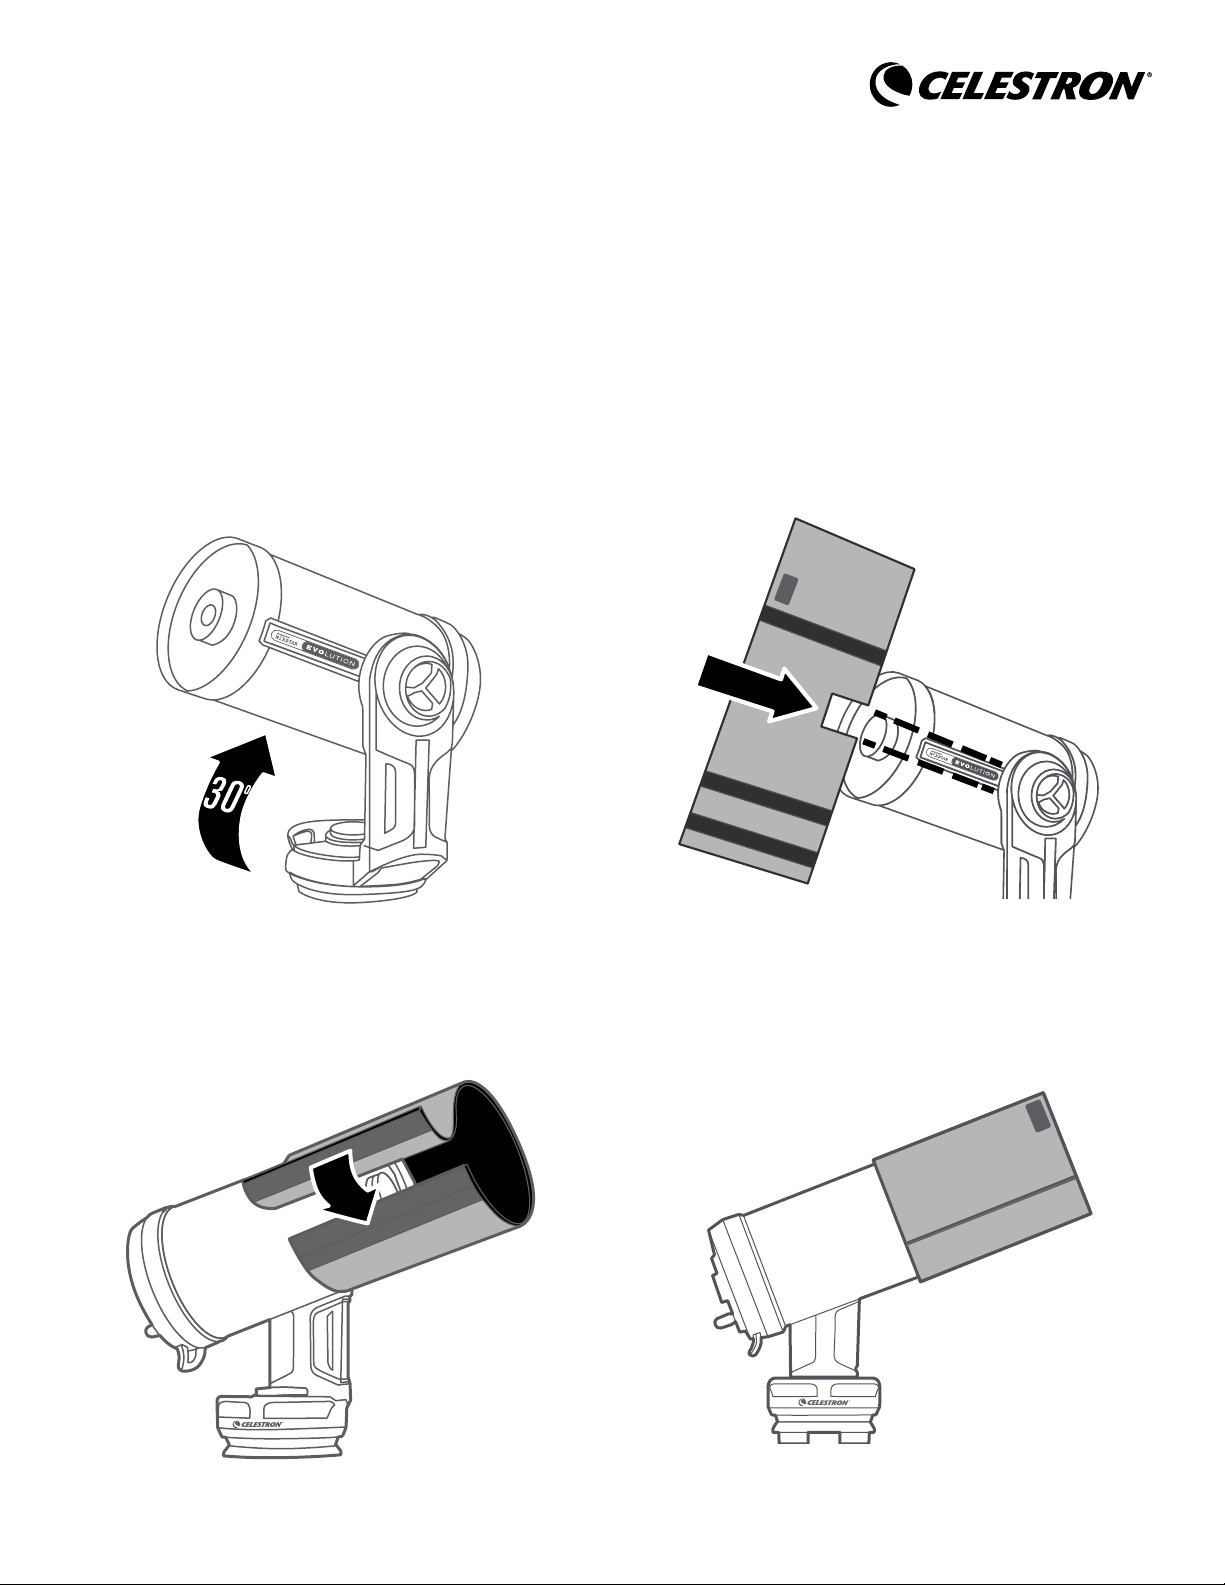
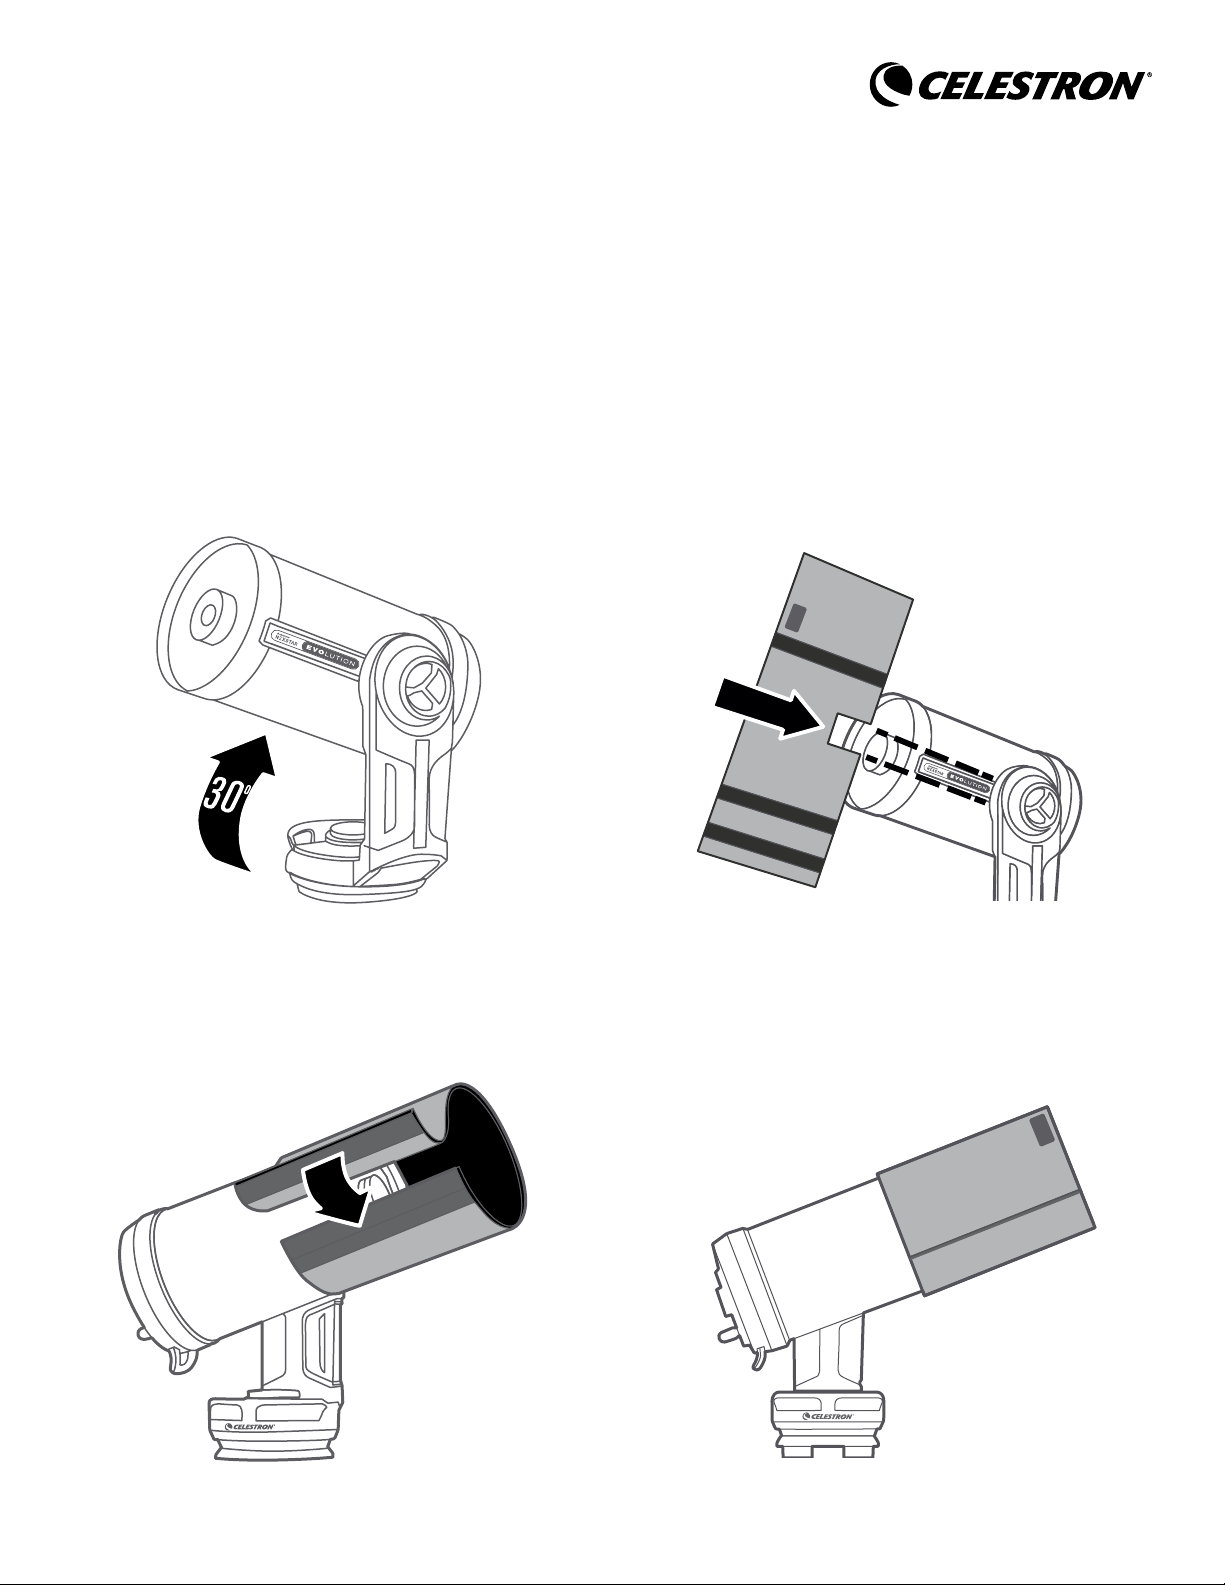
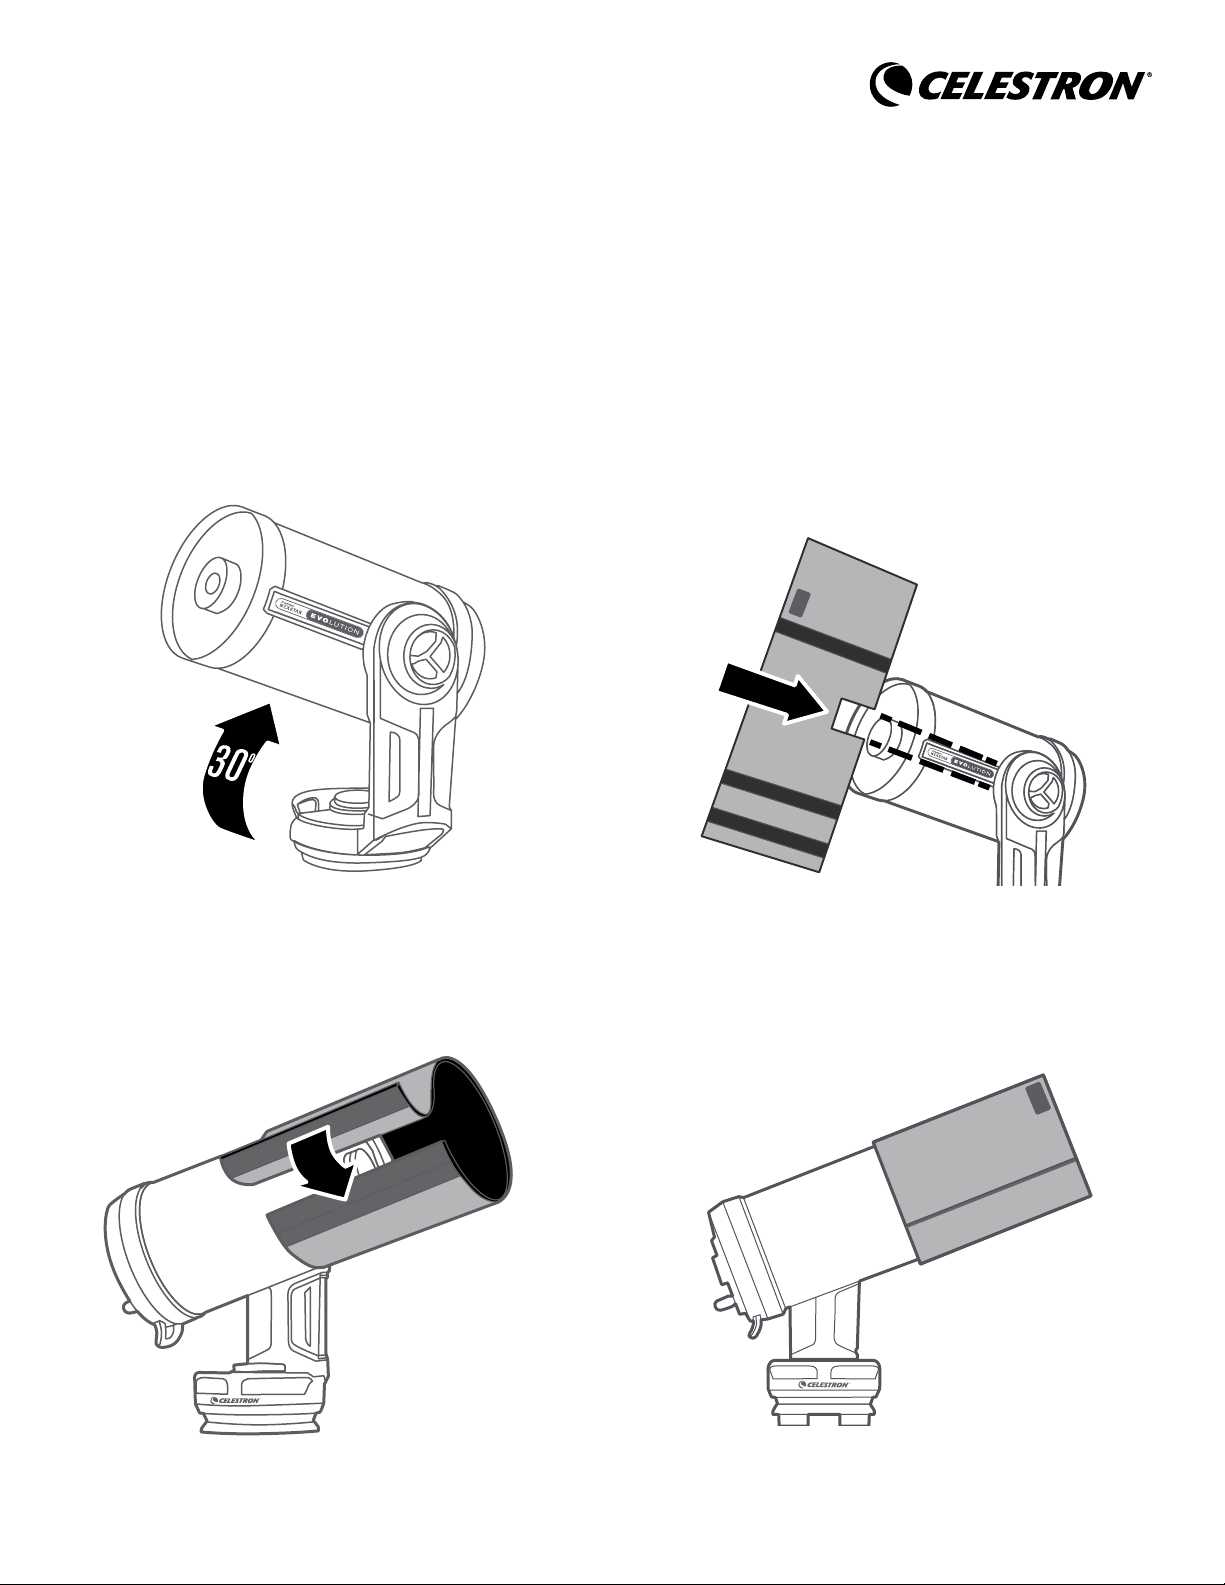
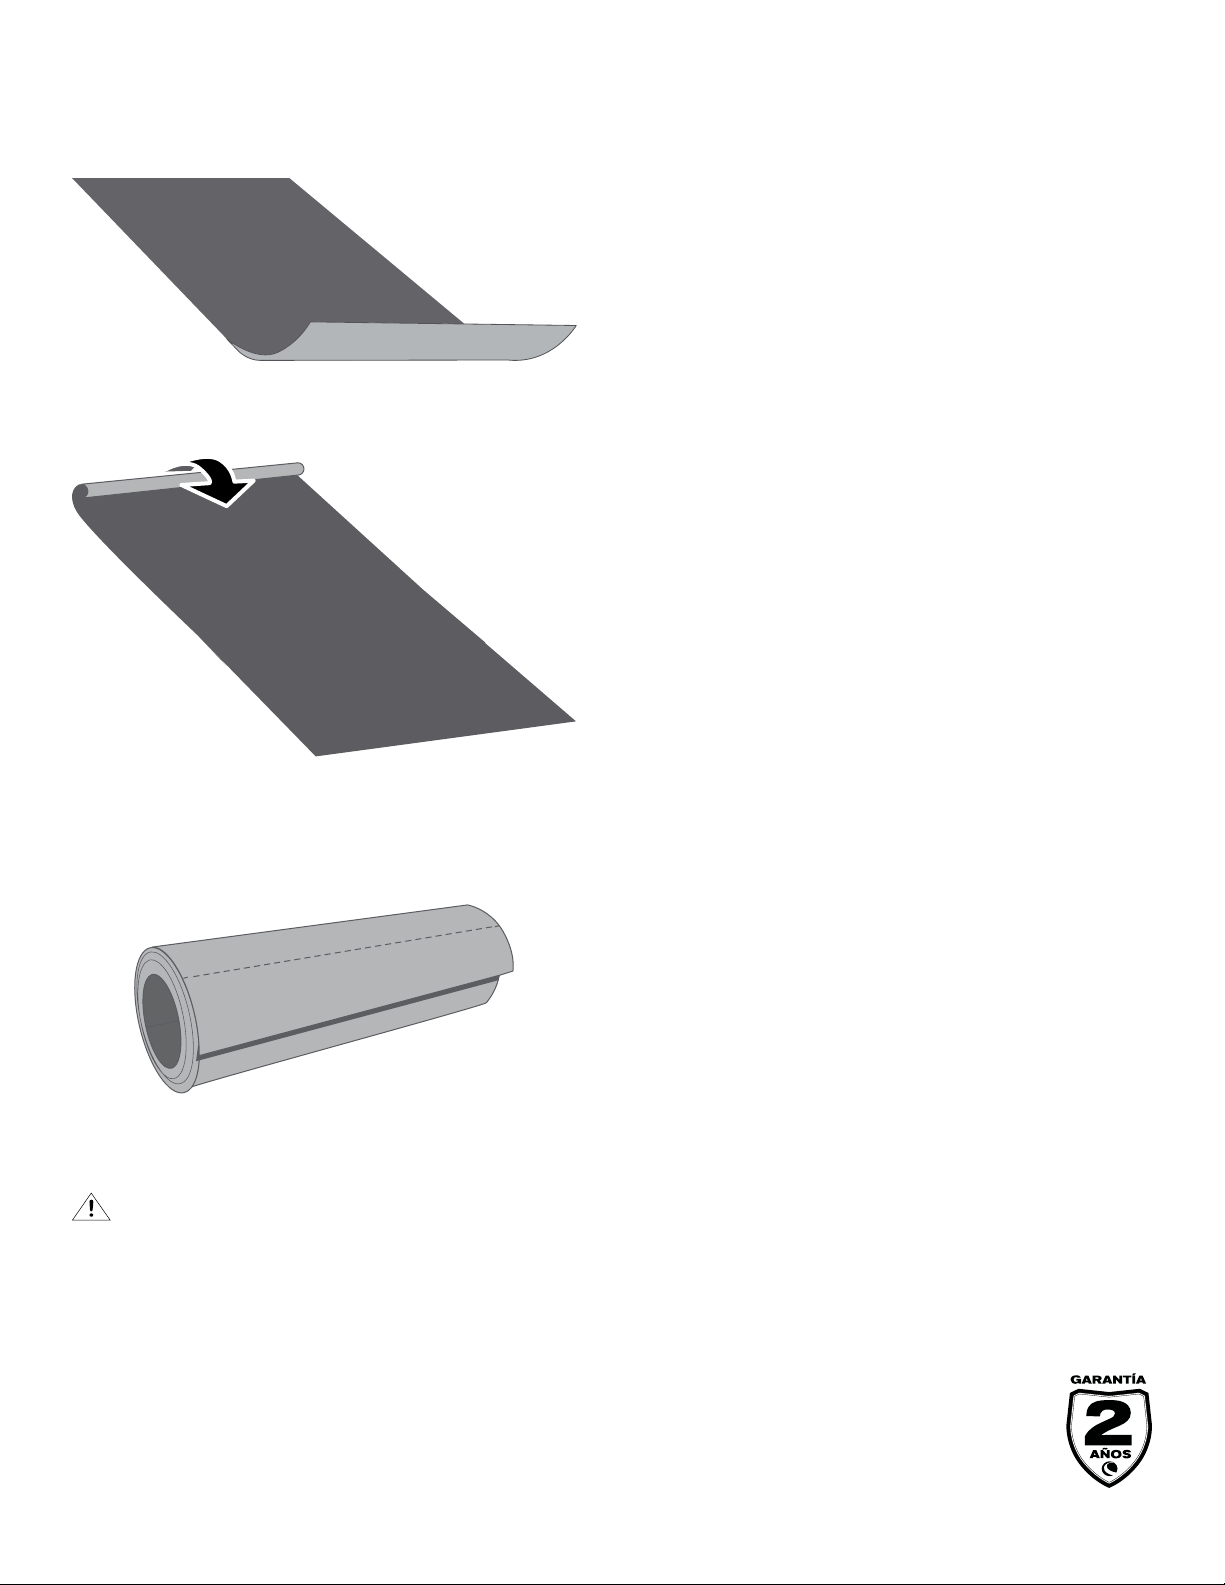
3. Hold the Dew Shield firm to the telescope tube with one
hand, and with the other, wrap the Dew Shield around
the telescope tube.
2. Remove the Dew Shield from it’s clear plastic packaging,
and align the 4” wide notch with the dovetail rail on your
telescope tube, making sure that the padded edge is
contacting the telescope tube.
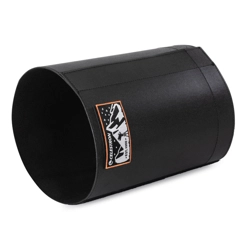
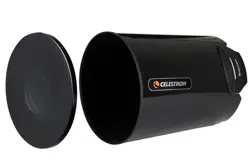
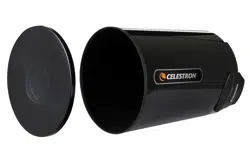
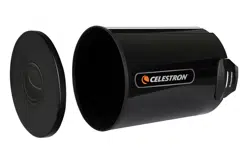
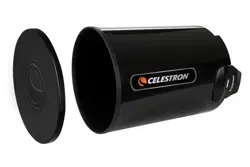
Dew Shield DX: C9.25-C11
INSTRUCTION MANUAL
Modelo #94016
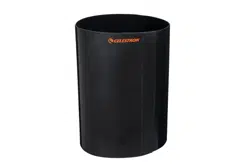
This Dew Shield has been designed to bring maximum protection to your telescope’s corrector lens during cold or humid
observation sessions. Moisture on your corrector lens can impair your optical image as well as attract dust and debris that will
further obstruct your viewing. The Dew Shield also serves as a lens shade preventing stray light from falling on the corrector
plate- greatly improving the contrast of your imaging. This Celestron Dew Shield is also designed with additional Velcro, so it rolls
up in a tight tube for easy transport.
INSTALLING/ATTACHING THE DEW SHIELD
4. As the ends opposite the notch meet, the Velcro strips
should align. Press the strips firmly together to hold the
Dew Shield in place.
NOTE: The surface with the Celestron logo should be on top
and the logo readable.
1. Secure your telescope tube in the upright position in
your mount of choice
5. Check to make sure the Dew Shield is secure and
straight on the telescope tube. Adjust as necessary.
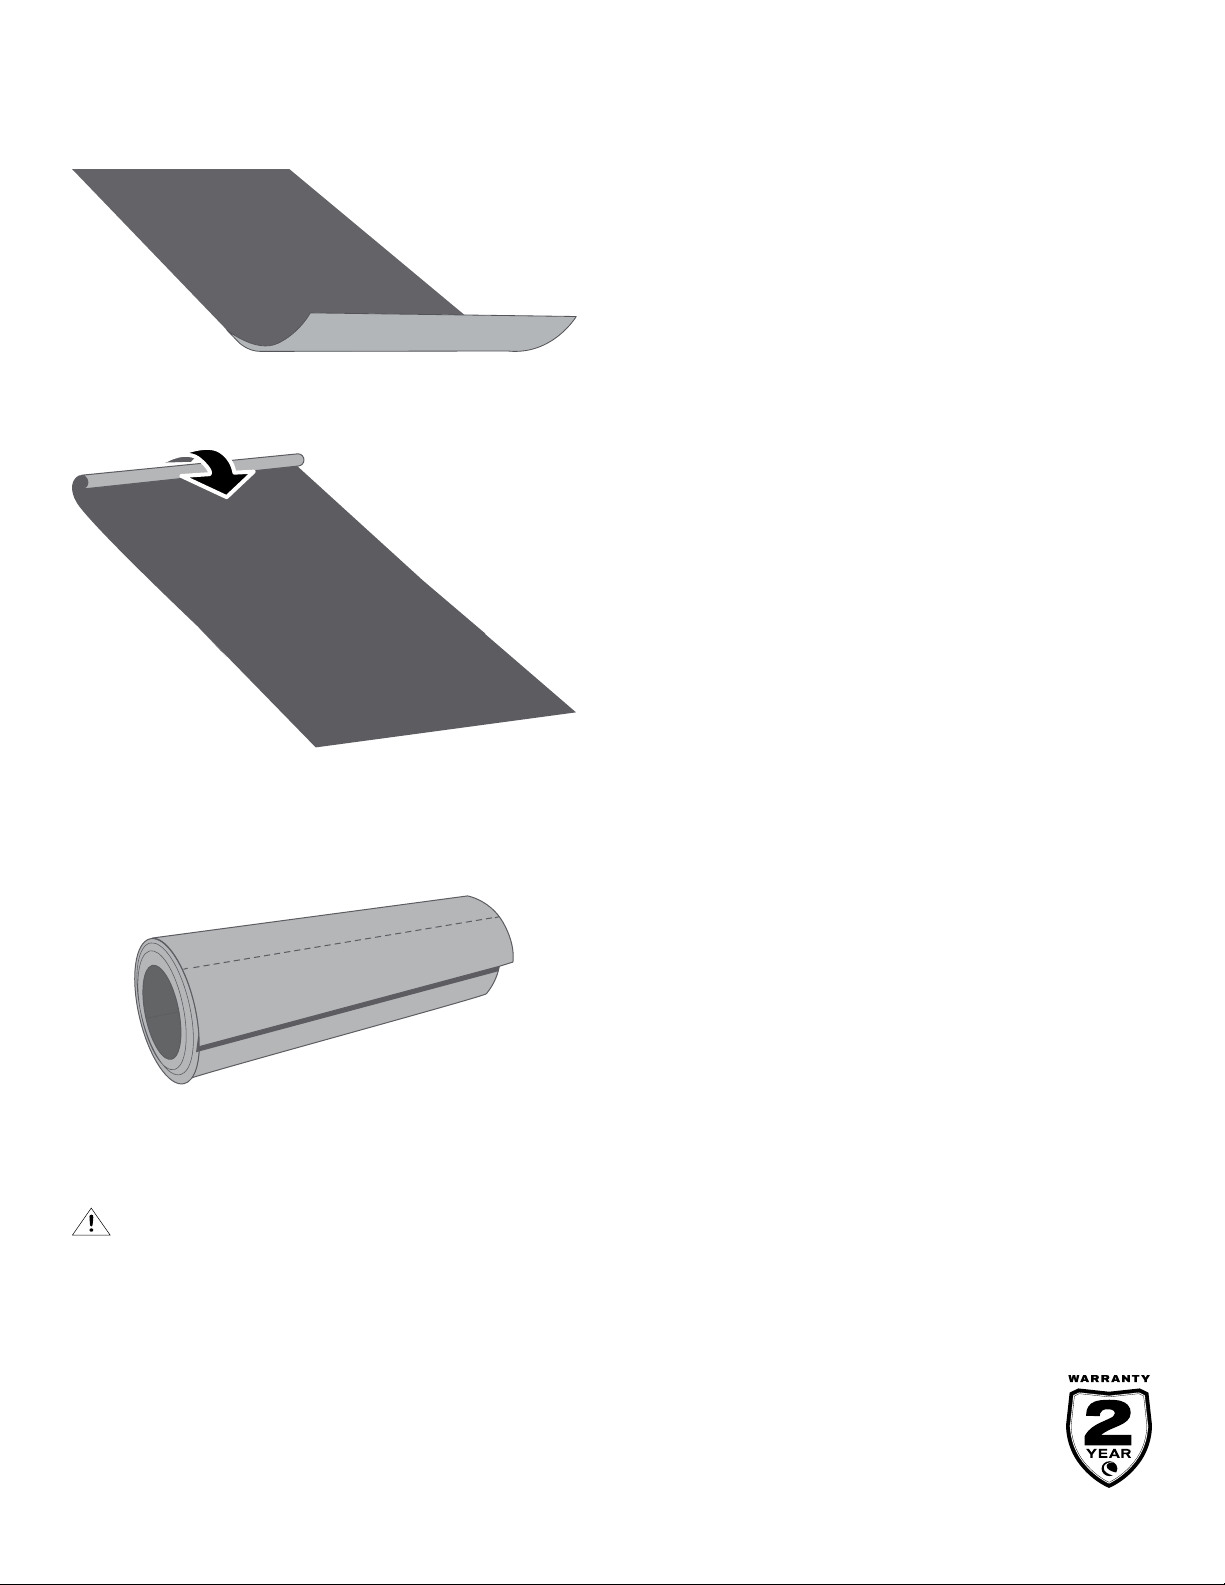
REMOVAL AND PACK UP
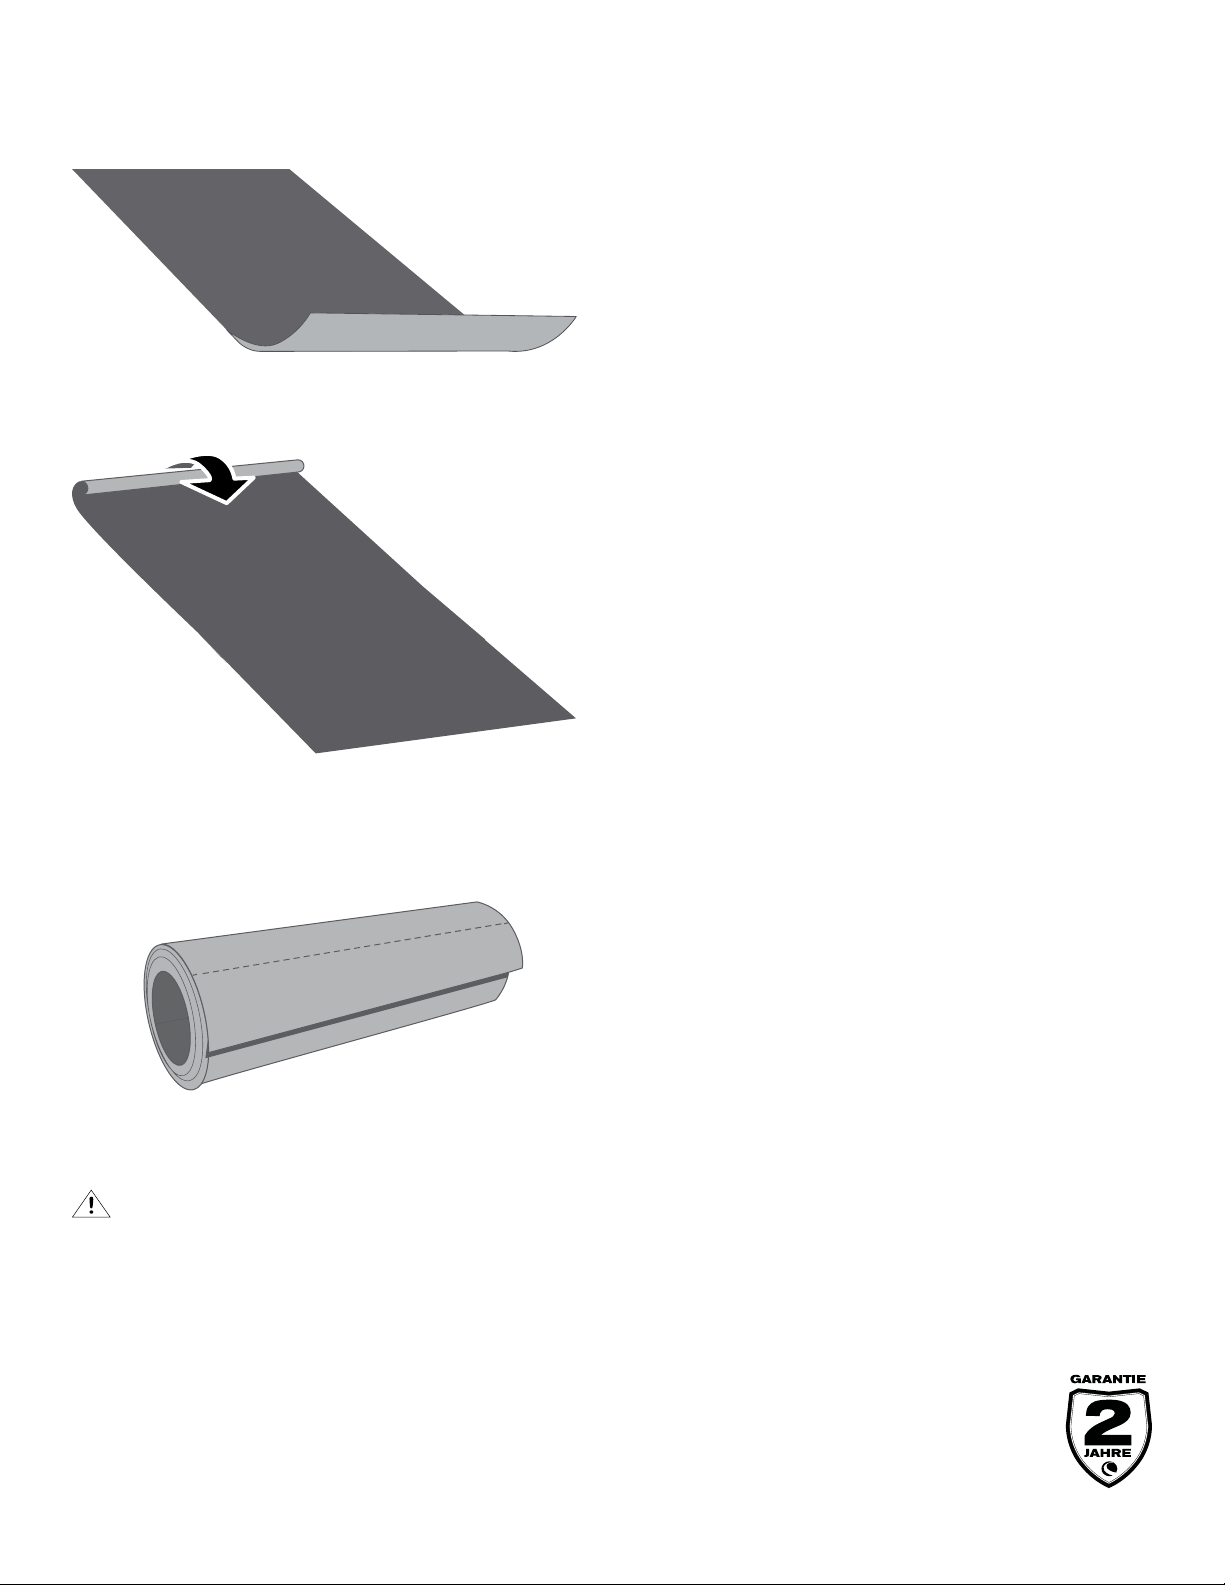
1. Lay the Dew Shield out with the Celestron logo facing
the ground
2. Starting at the end that is opposite the Celestron logo,
roll the Dew Shield up tightly.
3. Upon completion, the Velcro strip on the surface under
the logo should line up with another strip on the Dew
Shield. Press the Velcro strips firmly together to secure
the Dew Shield for transport.
4. The Dew Shield should now fit easily into a case or
backpack for easy transport.
SOLAR WARNING Never look directly at the sun with the naked
eye or with a telescope (unless you have the proper solar filter). Permanent
and irreversible eye damage may result! This Dew Shield is NOT intended to
protect your eyes from being damaged by the sun.
©2023 Celestron. Celestron and Symbol are trademarks of Celestron, LLC.
All rights reserved. • Celestron.com • 2835 Columbia Street, Torrance, CA 90503 USA
This product is designed and intended for use by those 14 years of age and older.
Made in China.
07-23
www.celestron.com/pages/warranty
3. Tenez le bouclier anti-rosée fermement sur le tube du
télescope d’une main, et de l’autre, enroulez ce dernier
autour du tube du télescope.
2. Sortez le bouclier anti-rosée de son emballage plastique
transparent, et alignez l’encoche de 4” sur le rail de la
monture en queue d'aronde du tube de votre télescope,
en vous assurant que la bordure rembourrée soit en
contact avec le tube du télescope.
Bouclier anti-rosée DX: C9.25-C11
MODE D'EMPLOI
Modèle #94016
Ce bouclier anti-rosée a été conçu pour apporter la meilleure protection possible à la lentille du correcteur de votre télescope
pendant les sessions d’observation en environnement froid ou humide. L’humidité sur la lentille de correction peut dégrader la
qualité de l’image et a également le désavantage de fixer la poussière et des débris indésirables sur vos optiques. Le bouclier
anti-rosée fait également office de pare-soleil de lentille, empêchant la lumière indésirable de tomber sur la plaque du correc-
teur et améliorant ainsi grandement le contraste de l’image reçue. Ce bouclier anti-rosée de Celestron comporte un système
Velcro qui permet de le rouler en un tube serré pour simplifier le transport.
INSTALLATION/FIXATION DU BOUCLIER ANTI-ROSÉE
4. Les bandes Velcro doivent s’aligner l’une sur l’autre
lorsque les bordures opposées du bouclier se ren-
contrent. Pressez les deux bandes Velcro fermement
l’une contre l’autre pour que le bouclier reste bien en
place.
NOTE: La surface comportant le logo Celestron doit être positionnée sur le
dessus et ce logo doit être visible.
1. Orientez et le tube de votre télescope sur la monture de
votre choix vers le haut et fixez-le ainsi.
5. Vérifiez que le bouclier anti-rosée est bien fixé et bien
aligné sur le tube du télescope. Ajustez-le si nécessaire.

RETRAIT ET RANGEMENT
1. Posez le bouclier anti-rosée sur le sol, le logo Celestron
tourné vers le bas.
2. En commençant par l’extrémité opposée du logo Celestron,
enroulez le bouclier anti-rosée aussi serré que possible.
3. Cela fait, la bande Velcro présente sur la surface sous le
logo devrait s’aligner sur l’autre bande du bouclier anti-
rosée. Pressez les deux bandes Velcro l’une contre l’autre
pour les fixer l’une sur l’autre. Le bouclier anti-rosée est prêt
au transport.
4. Le bouclier de rosée devrait maintenant s’insérer facilement
dans un étui ou un sac à dos pour un transport facile.
AVERTISSEMENT SUR LE SOLEIL Ne regardez jamais directement
vers le Soleil à l'œil nu ou avec un télescope (à moins que vous n'utilisiez un
filtre solaire adéquat). Cela peut causer des lésions oculaires permanentes et
irréversibles! Ce bouclier anti-rosée n’est PAS prévu pour protéger vos yeux contre
les effets néfastes du Soleil.
©2023 Celestron. Celestron et le Symbol sont des marques déposées de Celestron, LLC
Tous droits réservés. • Celestron.com • 2835 Columbia Street, Torrance, CA 90503 É.-U.
Ce produit est conçu et prévu pour être utilisé par des personnes âgées de 14 ans et plus.
Fabriqué en Chine
07-23
www.celestron.com/pages/warranty

3. Halten Sie den Tauschschutz mit einer Hand am Tele-
skoptubus fest und wickeln Sie ihn mit der anderen
Hand um den Tubus.
2. Nehmen Sie den Tauschschutz aus seiner durchsichtigen
Kunststoffverpackung, richten Sie die 10 cm (4 Zoll)
breite Aussparung mit der Schwalbenschwanzleiste an
Ihrem Teleskoprohr aus und achten Sie darauf, dass die
gepolsterte Kante am Teleskoprohr anliegt.
Tauschutz DX: C9.25-C11
BEDIENUNGSANLEITUNG
Modell-Nr. 94016
Dieser Tauschutz wurde entwickelt, um die Korrekturlinse Ihres Teleskops bei Beobachtungen unter kalten oder feuchten Wetter-
bedingungen optimal zu schützen. Feuchtigkeit auf Ihrer Korrekturlinse kann Ihr optisches Bild beeinträchtigen sowie Staub und
Fremdkörper anziehen, die Ihr Bild weiter verschlechtern. Der Tauschutz dient auch als Streulichtblende, um zu verhindern, dass
Streulicht auf die Korrekturlinse fällt. Dadurch wird der Kontrast Ihrer Aufnahmen deutlich verbessert. Dieser Celestron-Tausch-
utz ist auch mit zusätzlichem Klettverschluss ausgestattet, sodass er für einen einfachen Transport als schmale Rolle aufgerollt
werden kann.
MONTAGE / BEFESTIGUNG DES TAUSCHUTZES
4. Wenn die Enden gegenüber der Aussparung aufeinan-
dertreffen, sind die Klettbänder ausgerichtet. Drücken
Sie die Bänder fest zusammen, um den Tauschutz zu
fixieren.
HINWEIS: Die Seite mit dem Celestron-Logo muss nach vorne zeigen
und das Logo somit lesbar sein.
1. Sichern Sie Ihren Teleskoptubus in aufrechter Position in
einer Montierung Ihrer Wahl.
5. Vergewissern Sie sich, dass der Tauschutz fest und ge-
rade auf dem Teleskoptubus sitzt. Passen Sie ihn bei
Bedarf an.
ENTFERNEN UND AUFROLLEN
1. Legen Sie den Tauschutz mit dem Celestron-Logo auf
der Vorderseite nach unten auf den Boden.
2. Beginnen Sie an dem Ende, das dem Celestron-Logo
gegenüberliegt und rollen Sie den Tauschutz fest nach
oben auf.
3. Nach Abschluss muss das Klettband auf der Oberseite
unterhalb des Logos mit dem anderen Klettband auf dem
Tauschutz übereinstimmen. Drücken Sie beide Klettbänder
fest zusammen, um den Tauschutz für den Transport zu
sichern.
4. Der Tauschutz sollte sich jetzt problemlos in eine Tasche
oder einen Rucksack einpassen lassen, damit er problemlos
transportiert werden kann
SONNENSTRAHLENWARNHINWEIS Niemals mit bloßem
Auge oder mit einem Teleskop (außer bei Verwendung eines vorschriftsmäßigen
Sonnenfilters) direkt in die Sonne schauen. Sie könnten permanente und
irreversible Augenschäden davontragen. Dieser Tauschschutz ist NICHT dazu
bestimmt, Ihre Augen vor schädlicher Sonneneinstrahlung zu schützen.
©2023 Celestron. Celestron und Logo sind Marken von Celestron, LLC. • Alle Rechte
Vorbehalten. • Celestron.com • 2835 Columbia Street, Torrance, CA 90503 USA
Dieses Produkt ist für Personen ab 14 Jahren konzipiert und vorgesehen.
Hergestellt in China
07-23
www.celestron.com/pages/warranty

3. Tenere lo scudo anti-rugiada saldamente sul tubo del
telescopio con una mano e, con l'altra, avvolgerlo intorno
al tubo stesso.
2. Rimuovere lo scudo anti-rugiada dall'imballaggio in
plastica trasparente e allineare l'apertura da 4" con
la guida a coda di rondine del tubo del telescopio,
assicurandosi che il bordo imbottito sia a contatto con il
tubo del telescopio.
Scudo anti-rugiada DX: C9.25-C11
MANUALE DI ISTRUZIONI
Modello n. 94016
Lo scudo anti-rugiada è stato ideato per garantire massima protezione alla lente del correttore del telescopio durante sessioni
di osservazione in ambienti freddi o umidi. Eventuale umidità sulla lente del correttore può compromettere le immagini nonché
attrarre polvere e detriti che ostruiscono ulteriormente la vista. Lo scudo anti-rugiada ha inoltre la funzione di proteggere la lente
dai raggi di luce che colpiscono la piastra del correttore e migliorare così il contrasto delle immagini. Lo scudo anti-rugiada Ce-
lestron è inoltre ideato con velcro aggiuntivo, così può essere arrotolato in un tubo per essere facilmente trasportato.
INSTALLAZIONE/FISSAGGIO DELLO SCUDO ANTI-RUGIADA
4. Quando le estremità opposte all'apertura si incontrano,
le strisce in velcro dovrebbero allinearsi. Premere salda-
mente l'una sull'altra le strisce per fissare in posizione lo
scudo anti-rugiada.
NOTA: La superficie con il logo Celestron deve trovarsi in alto e il logo deve
essere leggibile.
1. Fissare il tubo del telescopio in posizione eretta sulla
montatura desiderata.
5. Verificare che lo scudo anti-rugiada sia fissato salda-
mente e dritto sul tubo del telescopio. Regolarne la
posizione se necessario.
RIMOZIONE E IMBALLAGGIO
1. Estendere lo scudo anti-rugiada con il logo Celestron
rivolto verso terra.
2. Iniziando dall'estremità dove non è presente il logo
Celestron, arrotolare saldamente lo scudo anti-rugiada.
3. Al termine, la striscia in velcro sulla superficie sotto il logo
dovrebbe allinearsi con un'altra striscia sullo scudo anti-
rugiada. Premere saldamente l'una sull'altra le strisce di
velcro per fissare lo scudo anti-rugiada per il trasporto.
4. Lo scudo anti-rugiada ora dovrebbe essere facilmente
inserito in una custodia o in uno zaino per un facile
trasporto
AVVERTENZA SOLARE Mai guardare direttamente il Sole a
occhio nudo o con un telescopio (a meno che non si disponga di un filtro
solare adeguato). Ciò potrebbe causare danni irreversibili agli occhi. Questo
scudo anti-rugiada NON è ideato per proteggere gli occhi da eventuali danni
provocati dal Sole.
©2023 Celestron. Celetron e Symbol sono marchi di Celestron, LLC. • Tutti i diritti
riservati. • Celestron.com. • 2835 Columbia Street, Torrance, CA 90503 Stati Uniti
Questo prodotto è progettato per essere utilizzato da persone di età pari o superiore
ai 14 anni.
Prodotto in Cina
07-23
www.celestron.com/pages/warranty
3. Aguante firmemente el protector de rocío contra el tubo
del telescopio con una mano, y con la otra enrolle el pro-
tector de rocío alrededor del tubo del telescopio.
2. Saque el protector de rocío de su embalaje de plástico
transparente y alinee la muesca de 4” de ancho con el raíl
machihembrado del tubo de su telescopio, asegurándose
de que el borde acolchado esté en contacto con el tubo
del telescopio.
Protector de rocío DX: C9.25-C11
MANUAL DE INSTRUCCIONES
Modelo #94016
El protector de rocío ha sido diseñado para ofrecer la máxima protección a la lente correctora de su telescopio durante sesiones
de observación frías o húmedas. La humedad en su lente correctora puede afectar a la imagen óptica y atraer polvo y suciedad
que obstruirán aún más su observación. El protector de rocío sirve como parasol de lente, evitando que caiga luz en la placa del
corrector y mejorando en gran medida el contraste de su captura de imágenes. Este protector de rocío Celestron también se ha
diseñado con velcro adicional, de forma que se enrolla en un tubo para transportarlo fácilmente.
INSTALAR/MONTAR EL PROTECTOR DE ROCÍO
4. Cuando coincidan los extremos del lado opuesto de la
muesca, las tiras de velcro deberían alinearse. Presione
juntas con firmeza las tiras de velcro para asegurar el
protector de rocío en posición.
NOTA: La superficie con el logotipo de Celestron debe estar en la parte
superior y el logotipo debe ser legible.
1. Asegure el tubo de su telescopio en posición derecha en
el soporte que desee.
5. Asegúrese de que el protector de rocío esté asegurado
y recto sobre el tubo del telescopio. Ajústelo según
sea necesario.
EXTRACCIÓN Y EMBALAJE
1. Coloque el protector de rocío con el logotipo
Celestron hacia el suelo.
2. Comenzando por el extremo opuesto al logotipo
Celestron, enrolle el protector de rocío fuertemente.
3. Cuando termine, la tira de velcro en a superficie bajo
el logotipo debería estar alineada con otra tira en el
protector de rocío. Presione juntas con firmeza las tiras
de velcro para asegurar el protector de rocío para el
transporte.
4. El protector de rocío ahora debe caber fácilmente en
una caja o mochila para facilitar el transporte.
ADVERTENCIA SOLAR No mire nunca directamente al Sol con
los ojos descubiertos o un telescopio (a menos que tenga un filtro solar
adecuado). Puede producir daños oculares permanentes e irreversibles. El
protector de rocío NO ha sido diseñado para proteger sus ojos de daños
causados por el Sol.
©2023 Celestron. Celestron y su símbolo son marcas comerciales de Celestron, LLC.
Todos los derechos reservados. • Celestron.com • 2835 Columbia Street, Torrance, CA
90503 EE.UU. • Este producto ha sido diseñado y está pensado para ser usado por
personas de 14 años o más de edad.
Fabricado en China
07-23
www.celestron.com/pages/warranty