Loading ...
Loading ...
Loading ...
11
ENG
CAUTION!
Before troubleshooting, disconnect the power supply. Only a qualified electrician of competent person must do the troubleshooting that is not
in this manual.
IMPORTANT! There are some sounds during normal use (compressor, refrigerant circulation).
If the malfunction shows again, contact the Service Center.
This data is necessary to help you quickly and correctly. Write the necessary data here, refer to the rating plate.
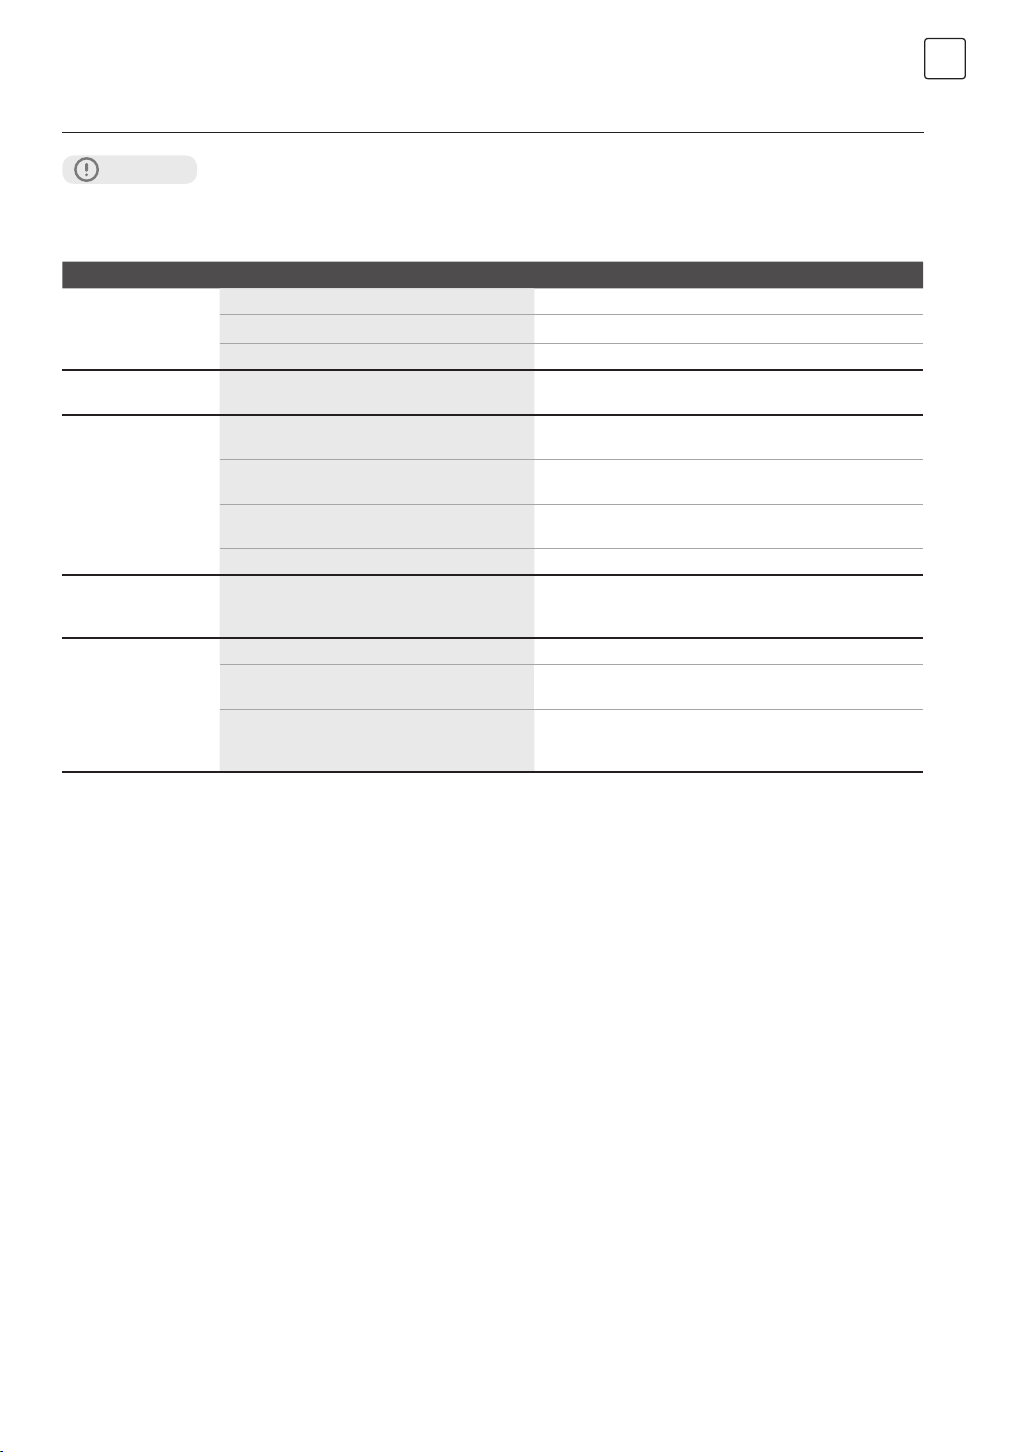
TROUBLESHOOTING
Problem Possible cause Solution
Appliance does not
work
Power plug is not plugged in or is loose Insert power plug.
Fuse has blown or is defective Check fuse, replace if necessary.
Socket is defective Socket malfunctions are to be corrected by an electrician.
Appliance freezes too
much
Temperature is set too cold or the appliance runs
at “7” setting.
Turn the temperature regulator to a warmer setting
temporarily.
The food is not frozen
enough.
Temperature is not properly adjusted.
Please look in the initial Temperature
Setting section.
Door was open for an extended period. Open the door only as long as necessary.
A large quantity of warm food was placed in the
appliance within the last 24 hours.
Turn the temperature regulation to a colder setting
temporarily.
The appliance is near a heat source. Please look in the installation location section.
Heavy build-up of frost
on the door seal.
Door seal is not air-tight.
Carefully warm the leaking sections of the door seal with a
hair dryer (on a cool setting). At the same time shape the
warmed door seal by hand such that it sits correctly.
Unusual noises
Appliance is not level. Check the appliance and level it by some articles.
The appliance is touching the wall or other
objects.
Move the appliance slightly.
A component, e.g. a pipe, on the rear of the
appliance is touching another part of the
appliance or the wall.
If necessary, carefully bend the component out of the way.
The switch of LED lamp is gravity controlled, when the angle of door-
opening is biggerthan 30. Degree, light willswitch on and switch off
when the angle is smallerthan 30 degree.
Notice:
When LED lamp does notwork when dooris open, Please be
released and check as below steps:
• Firstly, loosen screws on the lamp cover
• Secondly, loosen the screws fixed on the lamp electronic parts
• Thirdly, check the cable terminals of electronic parts and terminals
of contacting lines for doorlamp is loosening or not. Please fix
them if they are notfixed. Then, check the light is on or not. If
the lamp is switch on please install the lamp cover; If not, please
further check the electronic part is intact or not. If necessary,
please replace the electronic partto check the lamp is on or not. If
the lamp still does notwork. Please contact with staff of after-sale
service for assistance.
• The steps of Led lamp installing
Fix the cable terminals of electronic parts and contacting lines in
the door liner;
Install LED electronic part in the door linerand fix on by screws;
lnstalHamp coveron the holderand fix to finish all process
Replace the lamp
Loading ...
Loading ...
Loading ...