Loading ...
Loading ...
Loading ...
14
CUSTOM TOE KICK PANEL
1
2
3
4
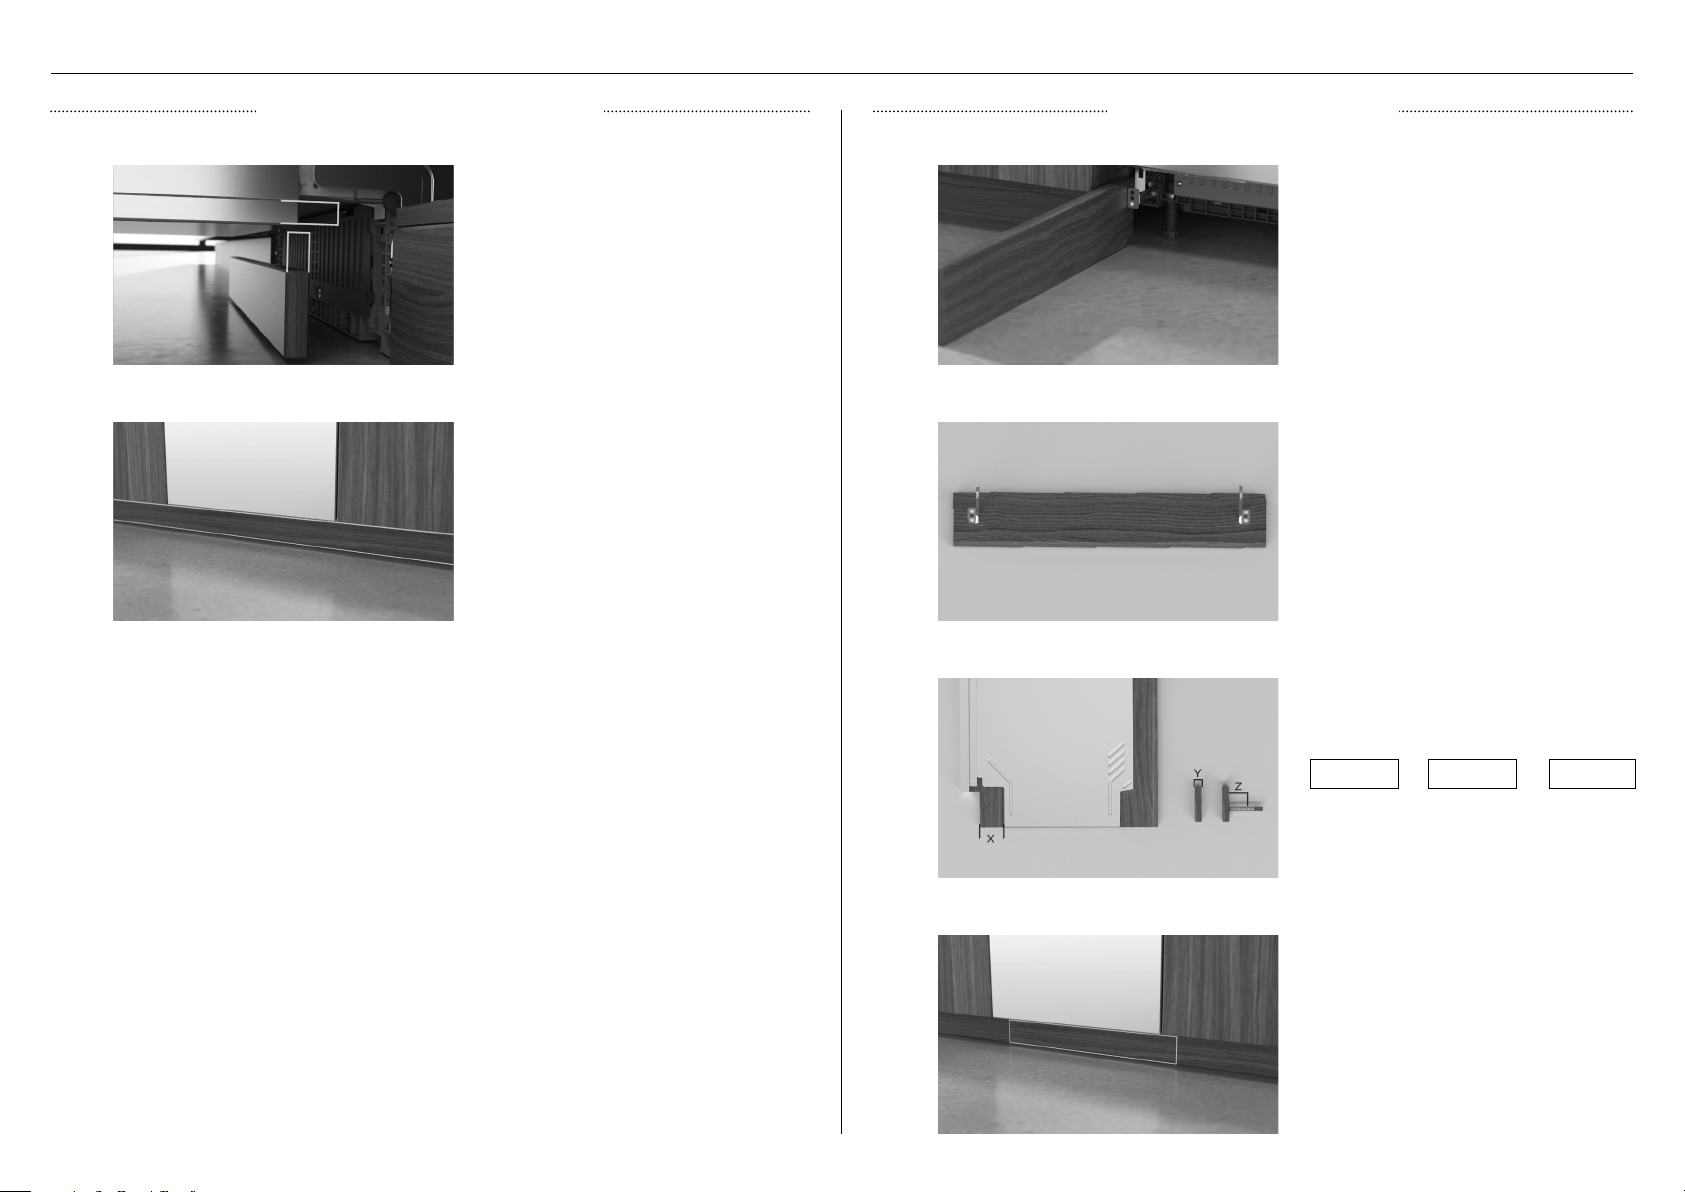
Ensure brackets are oriented correctly
before fitting to the panel using 2 x
screws per bracket.
Align the brackets to the slots on the
product and slide into place.
Mark the pilot hole locations for each
bracket. Measure the centre of the
panel and mark 237mm to each side.
To determine the height of the
brackets, measure the height of the
lowest bracket hole against the toe
kick panel.
Measure the toe kick depth:
Use Z to determine which tooth to
bend back on each toe kick bracket.
x y z
-
=
toe kick recess panel thickness toe kick depth
INSTALL TOE KICK
CONTINUOUS TOE KICK PANEL
1
2
Fit panel to surrounding cabinetry
Align toe kick to product and ensure all
door swing clearances have been met.
Loading ...
Loading ...
Loading ...