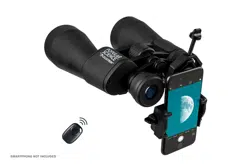
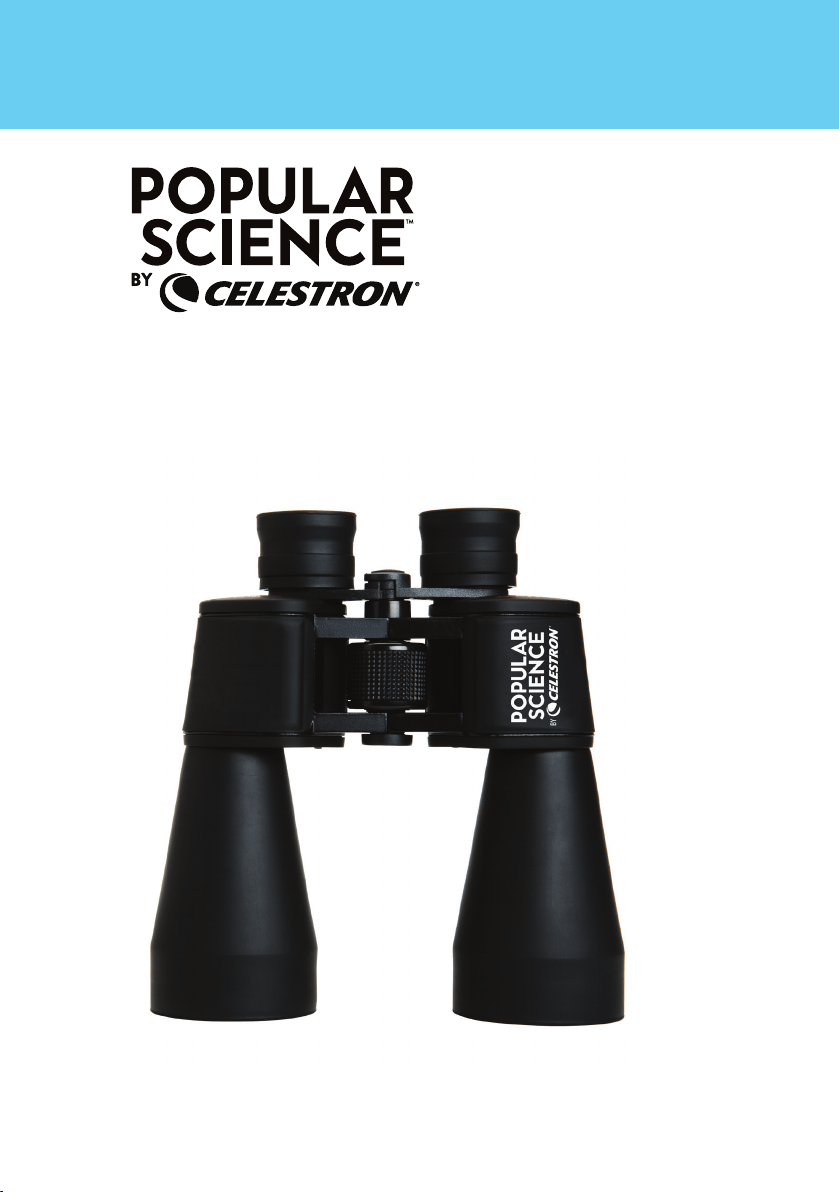
INSTRUCTION MANUAL
MODEL #71023
9X60 BINOCULAR
WITH SMARTPHONE ADAPTER AND BLUETOOTH REMOTE
SKYMASTER
1
Thank you for choosing this Popular Science™ by
Celestron
®
binocular. We hope they bring you many
years of enjoyment. To maximize the use of your new
binoculars, please read these instructions on use and
care before using them.
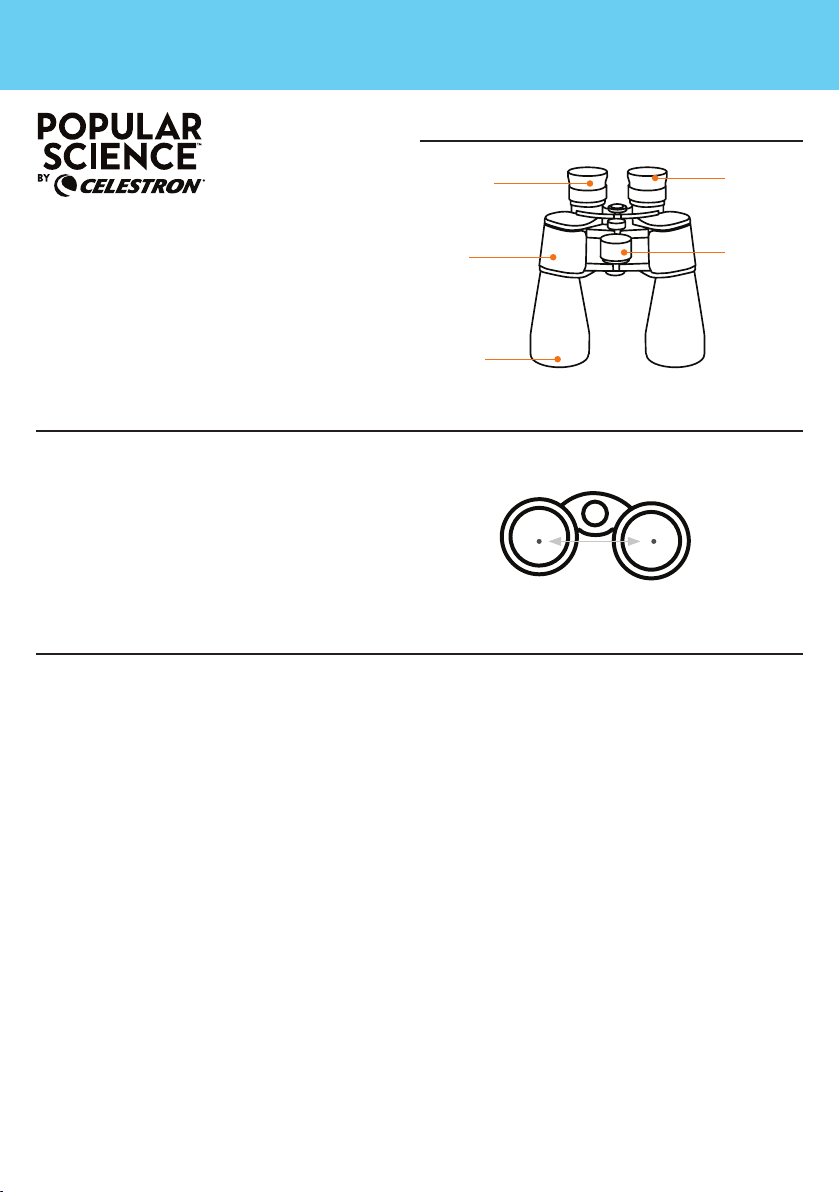
ADJUSTING THE INTERPUPILLARY DISTANCE (IPD)
SETTING THE DIOPTER COMPENSATION FOR A CENTER FOCUS BINOCULAR
WITH A RIGHT OPTICAL CHANNEL DIOPTER COMPENSATION DIAL
Since the distance between the eyes (specifically,
the distance between the centers of the pupils) varies
among individuals, the two eyepieces of the binoculars
must be correctly aligned (adjusted).
This is called adjusting the interpupillary distance. To
adjust this distance, using both hands, lift the binoculars
up to your eyes and look through them at an object in
the distance. Move the two halves of the binoculars
about the hinge until you see one clear circle of image
through both eyes.
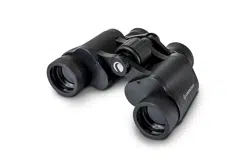
Roof Binocular
As most people have a difference in visual acuity
between their right and left eyes, modern binoculars
incorporate a mechanism that allows compensation
to be adjusted between the left and right optical
channels so that each eye is presented with an image
that is accurately focused for it. This compensation
mechanism should always be set using the following
procedure whenever a new user takes up a new
binocular, and should be repeated if a different
user changes this compensation setting or if the
compensation setting is noticed by the user to
no longer be appropriate for his or her own visual
requirements.
NOTE: If you normally wear eyeglasses for normal
daily activities (not just reading glasses but “full
time” eyeglasses) it is recommended that you also
wear them while using binoculars. Simply twist the
binoculars’ eyecups down to their lowest position
to allow the proper eye relief to be achieved while
wearing the eyeglasses.
1. Pick a subject to observe approximately 50 yards or
meters in the distance.
2. Cover the right objective lens with the binocular’s
own objective cover or with your hand.
3. View the selected subject through the binocular
as you normally would but do not attempt to focus
upon it yet.
4. Keeping both eyes open, use the binoculars’ center
focus dial to bring the image seen through the
binocular into focus.
5. Without touching the center focus dial, uncover the
right objective lens of the binocular and cover the
left objective lens.
6. View the selected subject through the binocular as
you normally would once again but do not touch
binoculars’ center focus dial.
7. Keeping both eyes open, determine if the subject
is still in clear focus. If it is not, use the binoculars’
diopter compensation dial to bring the image seen
through the binocular into focus.
8. Uncover the left objective lens and view the selected
subject through the binocular as you normally would.
It should be clearly in focus to both eyes. If it is not,
repeat this process.
9. Once the diopter compensation has been
satisfactorily set for the user, the center focus dial
will change the focus appropriately for the user.
IPD
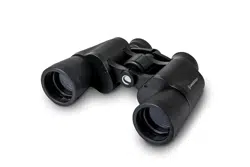
PARTS OF A BINOCULAR
9X60 BINOCULAR
WITH SMARTPHONE ADAPTER AND BLUETOOTH REMOTE
SKYMASTER
OBJECTIVE
LENS
FOCUSING
RING
EYECUP
BODY
EYEPIECE

2
SET THE TWIST UP RUBBER EYECUPS
TRIPOD ADAPTABILITY
CARE AND CLEANING
PROBLEMS OR REPAIR
WARRANTY
Twist the rubber eyecups up if you do not wear
eyeglasses or twist them down if you do wear
eyeglasses to obtain the maximum field of view.
Now you are ready to use your binoculars — enjoy the
view!
If you ever notice that while using the binocular you
feel a “pulling” sensation in either eye, the diopter
compensation dial may have been moved. The above
procedure should be used to return it to the correct
balance for your eyes.
These binoculars feature a built-in tripod adapter
fitting which is a threaded screw hole underneath a
cap. To attach a binocular tripod adapter, remove the
cap and then thread the screw from the binocular
tripod adapter into the threaded screw hole. The
other end of the binocular tripod adapter attaches to
a photographic tripod. Mounting binoculars this way
allows for added stability and comfort.
Binoculars do not need routine maintenance other
than making sure that the objective lenses and
eyepieces are kept clean. If repairs become necessary,
they should be serviced by the manufacturer or a
qualified binocular repair company. Collimation (optical
alignment) is the biggest concern with binoculars.
If your binoculars are roughly handled or dropped,
there is a good chance that the collimation will be out,
and they should be serviced. Dirty objectives and/
or eyepieces mean less light transmission and loss
of brightness as well as unsharp images. Keep your
optics clean! When not using your binoculars, store
them in the case provided. Avoid touching the glass
surfaces, however, if fingerprints (which contain mild
acid) do get on the glass, they should be cleaned as
soon as possible to avoid damaging the coatings.
To clean the optical surfaces, we recommend the
Celestron Lens Cleaning Kit (#93576), available at
most photo or optical shops. Follow the instructions
provided with the kit closely for best results. If you
have a lot of dust or dirt accumulated, brush it off
gently with a camel’s hair brush and/or utilize a
can of pressurized air before using the cleaning kit.
Alternately, you could use the Celestron LensPen
(#93575) made especially for cleaning binoculars.
Never attempt to clean your binoculars internally or try
to take them apart!
CAUTION!
Viewing the Sun may cause permanent eye damage. Do not view the Sun with your binoculars or even with the
naked eye.
If warranty problems arise or repairs are necessary,
contact the Celestron customer service department if
you live in the U.S.A. or Canada. If you live elsewhere,
please contact the Celestron dealer you purchased
the binoculars from or the Celestron distributor in your
country (listings are available at celestron.com).
Your binocular has the Celestron Limited Lifetime
Warranty for U.S.A. and Canadian customers.
For complete details of eligibility and for warranty
information on customers in other countries visit the
Celestron website.
This product is designed and intended for use by
those 14 years of age and older.
Product design and specifications are subject to
change without prior notification.
For complete specifications and product
information, visit celestron.com

With the eyecup of the binocular twisted down to it’s lowest position:
USING THE
SMARTPHONE ADAPTER
CAUTION: Do not carry the binocular with the smartphone adapter in place as
it may be accidentally bumped and fall off, potentially damaging the
smartphone as a result.
3
(A)
(B)
(C)
(D)
(E)
FRONT BACK
1. Before attaching the adapter, look through your optic binocular, and
make sure that the view is in sharp focus.
2. Open the eyepiece clamp (B) by loosening the eyepiece clamp knob (A)
at the top of the eyepiece clamp.
3. Place the eyepiece clamp over the eyepiece of your optic. Tighten
the eyepiece clamp knob to secure the eyepiece clamp tightly
against the eyepiece.
NOTE: Make sure to mount the clamp on a section of the eyepiece
barrel that does not rotate freely, such as an eye relief
adjuster.
4. Loosen the holder clamp knob (D) until the holder clamp (C) is open
wide enough to accommodate the width of your phone. Once the phone
is in place, tighten the holder clamp knob until the phone is secured.
NOTE: This adapter can be used with most phone cases, but the case
surface MUST be flat so it will fit in the holder correctly. Any
grips, stands, rings, or raised surfaces on the case will impede
the placement of the phone. All folio-style phone cases must
be removed.
5. Launch the camera app on your phone. Loosen the holder alignment
knob (E) and adjust the positioning of your phone camera so that it
lines up with the eyepiece of your optic.
6. Once the camera is over the eyepiece and your camera is capturing the
view through the eyepiece, carefully tighten the holder alignment knob to
secure your phone in position.
7. If needed, adjust the focus on your optic again for the sharpest
possible view.
8. You are now ready to take images and videos using your smartphone
camera!
IMPORTANT: always be certain the eyepiece clamp knob is sufficently
loosened before attempting to remove the adapter from the binocular’s
eyepiece

USING THE
BLUETOOTH
REMOTE
Press and hold the button on the remote for 5
seconds. A blue light will turn on and, after a
few seconds, start to blink. The remote is now
in pairing mode.
Using the Bluetooth settings on your phone,
pair the device called “GBshutter”.
Open your camera app. Press the button on the
remote to trigger the shutter on your phone.
If your camera is in video mode, you can press
the button once to start recording and again to
stop the recording.
4 5
To insert or replace the battery, place your
thumb in the center of the back cover, pressing
inward and sliding downward remove the
battery door. The CR2032 battery should be
inserted with the positive (+) side facing
upward. Replace the cover.
1
2
3
4

• Risk of explosion if battery is replaced by an
incorrect type.
• The included battery is not rechargeable.
• Please use the battery in its original purpose to
avoid causing the battery to short circuit. When the
conductive material is connected directly to the battery
positive and negative will cause a short circuit.
• Do not use a damaged battery.
• Keeping the battery in an extremely cold or very hot
location can result in shortened battery life.
• When replacing the battery, please refer to the
instruction manual and pay attention to the positive and
negative direction of battery.
• Do not put the battery in the fire. Dispose of the
battery according to local regulations.
FCC IDENTIFIER: 2A2FG-X9
This device complies with Part 15 of the FCC Rules.
Operation is subject to the following two conditions: (1)
This device may not cause harmful interference, and
(2) this device must accept any interference received,
including interference that may cause undesired
operation.
CAUTION: Changes or modifications not expressly approved by the
party responsible for compliance could void the user’s authority to
operate the equipment.
NOTE: This equipment has been tested and found to comply with
the limits for a Class B digital device, pursuant to part 15 of
the FCC Rules. These limits are designed to provide reasonable
protection against harmful interference in a residential installation.
This equipment generates, uses and can radiate radio
frequency energy and, if not installed and used in
accordance with the instructions, may cause harmful
interference to radio communications. However, there
is no guarantee that interference will not occur in a
particular installation.
If this equipment does cause harmful interference to
radio or television reception, which can be determined
by turning the equipment off and on, the user is
encouraged to try to correct the interference by one or
more of the following measures:
• Reorient or relocate the receiving antenna.
• Increase the separation between the equipment and
receiver.
• Connect the equipment into an outlet on a circuit
different from that to which the receiver is connected.
• Consult the dealer or an experienced radio/TV
technician for help.
Product design and specifications are subject to
change without prior notification. This product is
designed and intended for use by those 14 years of
age and older.
© 2021 Celestron • All rights reserved
celestron.com/pages/technical-support
Telephone: 1(800) 421-9649
2835 Columbia Street • Torrance, CA 90503 U.S.A.
SAFETY INSTRUCTIONS