Loading ...
Loading ...
Loading ...
21
Oven Controls
Self-Cleaning Oven
A self-cleaning oven cleans itself with high temperatures (well
above cooking temperatures) which eliminate soils completely
or reduces them to a fine powdered ash you can wipe away
with a damp cloth.
Adhere to the following cleaning precautions
• Allow the oven to cool before cleaning.
• Wear rubber gloves when cleaning any exterior parts of the
oven manually.
• Do not use oven cleaners or oven protective coatings in or
around any part of the oven interior.
• Do not clean the oven door gasket. The woven material of
the oven door gasket is essential for a good seal. Care
should be taken not to rub, damage or remove the gasket.
• Do not use any cleaning materials on the oven door gasket.
Doing so could cause damage.
• Remove all utensils and any aluminum foil. These items
cannot withstand high cleaning temperatures.
• Porcelain Coated Racks: Some ovens come with lubricated
porcelain oven racks, which can remain in the oven during
the self-clean cycle. Do not clean this vegetable oil lubrica-
tion off the racks. It is important that the sides of the oven
racks always have a light coating of vegetable oil. To
maintain optimal rack performance, re-apply a thin layer of
vegetable oil to the sides of the rack after every self-clean
cycle or when the rack becomes difficult to slide.
• Chrome Oven Racks: Some models come with chrome oven
racks, which have to be removed from the oven during the
self-clean cycle or else their finish will turn dull and their
color slightly blue. If left in, after the cycle is complete and
the oven has cooled, rub the sides of the oven racks with
wax paper or a cloth containing a small amount of salad oil
(this will make the racks glide easier into the rack position).
Clean chrome oven racks by using a mild cleaner following
manufacturer’s instructions. Rinse with clean water and dry.
• Before starting the self-cleaning cycle, hand clean any soil
from the oven frame, the door liner outside the oven door
gasket, and the small area at the front center of the oven.
These surfaces are not in the self-cleaning area. Clean with
soap and water. Burned-on residue can be cleaned off with
a stiff nylon brush and water or nylon scrubber.
• Remove any excess soil and debris from oven bottom
before starting self-clean. Large spillovers can cause heavy
smoke or fire when subjected to high temperatures.
• Do not allow foods with a high sugar or acid content (milk,
tomatoes, sauerkraut, fruit juices, pie fillings, etc.) to remain
on surfaces. They may leave a dull spot even after cleaning.
• Do not hand clean the oven door gasket or it will be perma-
nently damaged.
To Start the Self-Clean Cycle
The
Self-Clean key controls the self Clean feature. If you are
planning to use the oven directly after a self-clean cycle
remember to allow time for the oven to cool down and the oven
door to unlock. This normally takes about one hour. So a 3 hour
self-clean cycle will actually take about 4 hours to complete.
*It
is recommend to use a 2 hour self-clean cycle for
light soils, a 3
hour cycle for
average soils.
To avoid possible burns use care when opening
the oven door after the self-cleaning cycle. Stand to the side of
the oven when opening the door to allow hot air or steam to
escape.
Do not force the oven door open. This can damage the
automatic door locking system. Use caution and avoid possible
burns when opening the door after the self-cleaning cycle has
completed. The oven may still be very hot.
To start an immediate Self-Clean cycle or to set a Delay Start
time of 4:30 and shut-off automatically (example is a default 3
hour Self-Clean Cycle)
1. Be sure clock is set for correct time of day and door is
closed.
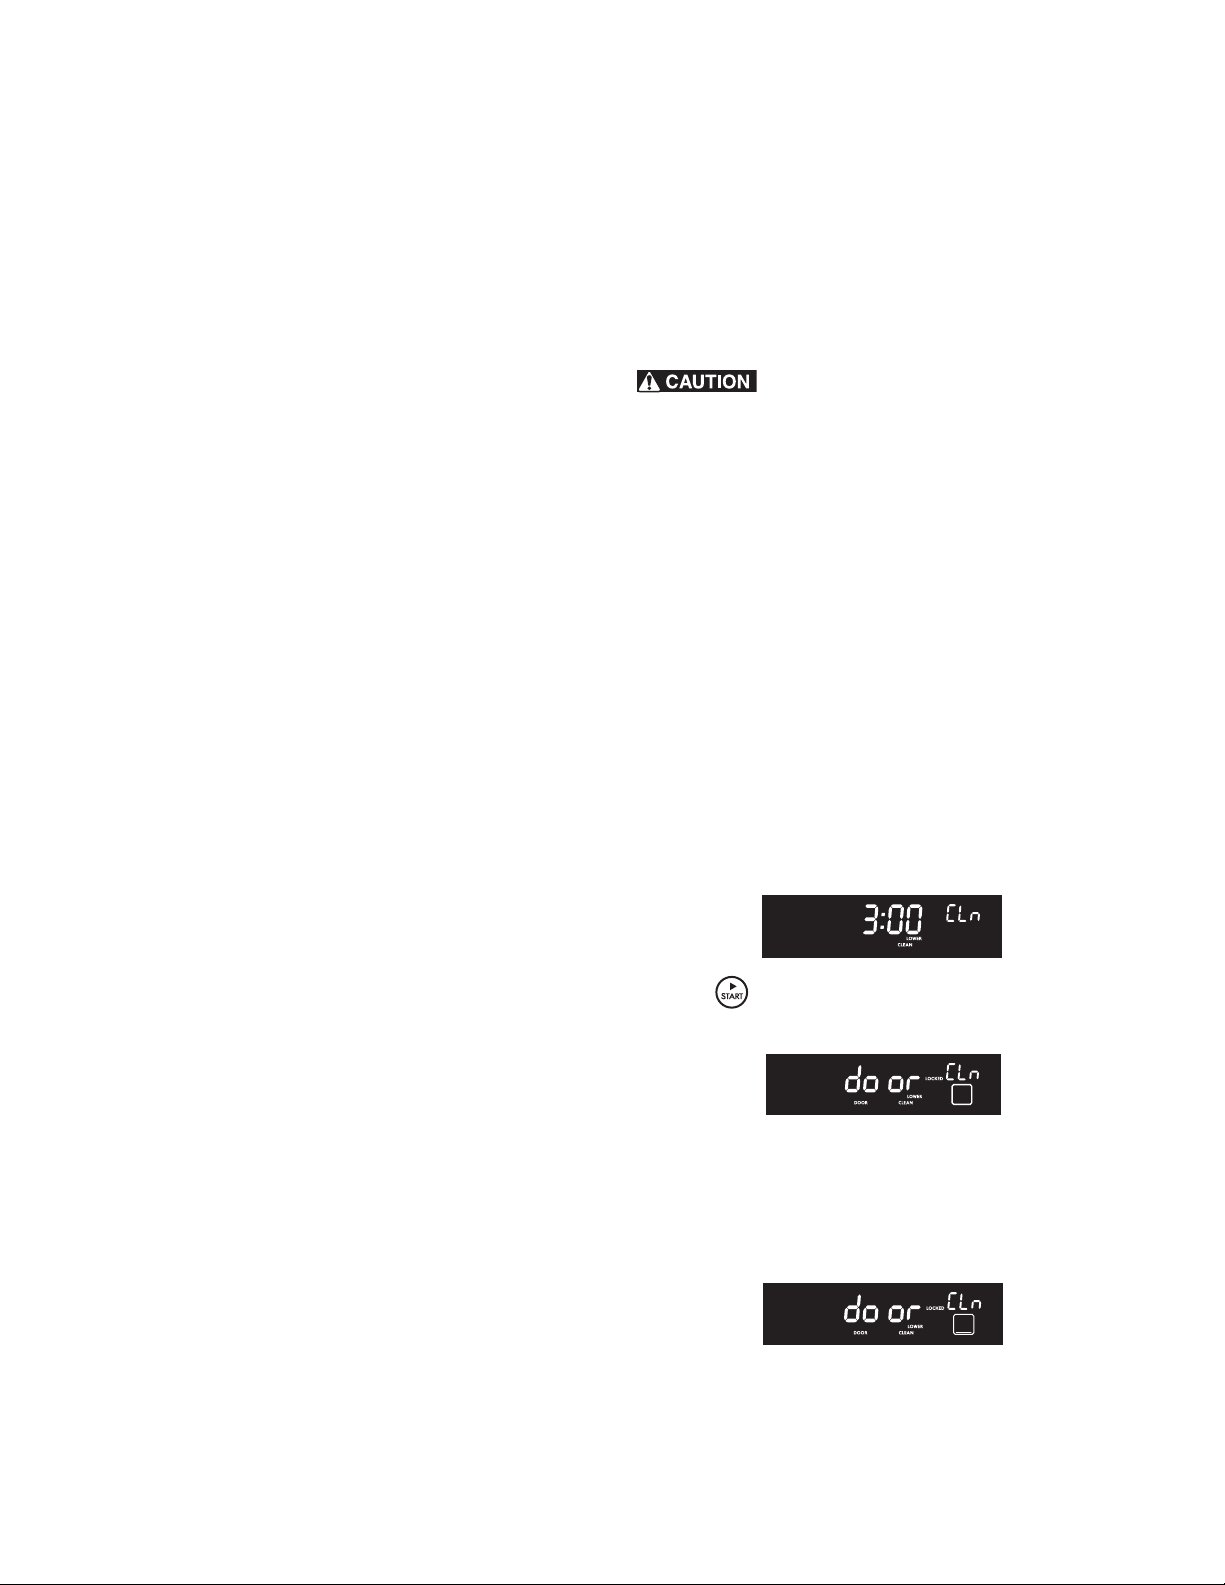
2. Press Self -Clean. CLEAN will flash and 3:00 HR will show in
the display. The oven will automatically clean for a 3 hour
period (default clean cycle). Note: if a 2 or 4 hour clean
time is desired, press
2 0 0 for 2 hour or 4 0 0 for a 4 hour
clean time.
3. Press . The DOOR LOCKED icon will flash; CLEAN
icon and the letters CLn will remain in the display.
4. As soon as the control is set, the motor driven oven door
lock will begin to close automatically. Once the door has
been locked the DOOR LOCKED indicator light will stop
flashing and remain on. Also, the oven icon will appear in
the display.
Note: Allow 15 seconds for the oven door to lock.
Loading ...
Loading ...
Loading ...