
Loading ...
Loading ...
Loading ...
60
You can display the frame and check that
the subject is horizontal or vertical by
setting [GUIDEFRAME] to [ON].
The frame is not recorded. Press DISPLAY/
BATT INFO to make the frame disappear.
z Tips
• Placing the subject at the cross point of the
guide frame makes a balanced composition.
When you set [CENTER MARKR] to
[ON], the marker is displayed at the center
of the screen so you can identify the center
of the screen easily. The marker is not
recorded. Press DISPLAY/BATT INFO to
make the marker disappear.
You can display the color bar or record it on
the tape by setting [COLOR BAR] to [ON].
It is convenient to adjust the color on the
monitor connected.
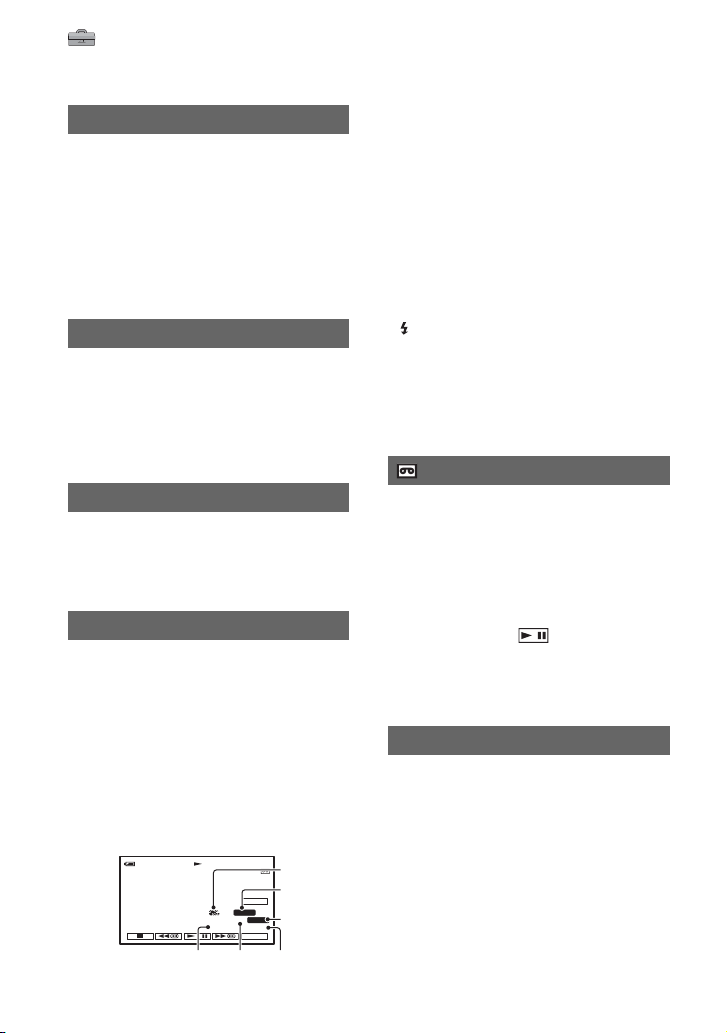
During playback, displays the information
(data code) recorded automatically at the
time of recording.
B OFF
Data code is not displayed.
DATE/TIME
Displays the date and time.
CAMERA DATA (below)
Displays camera setting data.
ASteadyShot off
BExposure
CWhite balance
DGain
EShutter speed
FAperture value
b Notes
• The exposure adjustment value (0EV), a shutter
speed, and the aperture value appear when still
images on a “Memory Stick Duo” are played
back.
• appears for a picture recorded using a flash.
• In the DATE/TIME data display, the date and
time are displayed in the same area. If you
record a picture without setting the clock, [--- --
----] and [--:--:--] will appear.
• During Easy Handycam operation, you can set
only [DATE/TIME].
B AUTO
Displays the remaining tape indicator for
about 8 seconds in situations such as those
described below.
• When you set the POWER switch to PLAY/
EDIT or CAMERA-TAPE with a cassette
inserted.
• When you touch (Play/Pause).
ON
Always displays the remaining tape
indicator.
The default setting is [ON], allowing you to
use the supplied Remote Commander
(p. 106).
z Tips
• Set to [OFF] to prevent your camcorder from
responding to a command sent by remote
control units of other camcorders or VCRs.
GUIDEFRAME
CENTER MARKR
COLOR BAR
DATA CODE
0:00:00:0060min
AWB100
9dBF1. 8
AUTO
P-MENU
60min
GUIDE
1
2
3
45
6
REMAINING
REMOTE CTRL (Remote control)
STANDARD SET menu (Continued)
Loading ...
Loading ...
Loading ...