Loading ...
Loading ...
Loading ...
OPERATIONS AND FUNCTIONS
Add Water
1. Remove the nozzle and turn the water tank upside down.
2. Remove the tank cap and ll the tank with clean and cool water only.
3. Attach the tank cap and place the tank back onto the base. Make sure it ts together
securely so that water can go from the tank to the reservoir. Put the nozzle back on.
1. If tap water is too hard, it is recommended to use ltered or distilled water to avoid white
dust. DO NOT use hot water.
2. DO NOT add any essential oils or medicinal tablets into the water tank.
3. DO NOT add water into the base or through nozzle.
4. DO NOT move the humidier while the water tank is full of water to avoid leakage or base
overlling.
1
5
3
07
08
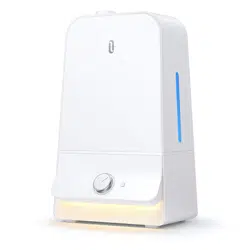
Plug the power cord into a wall socket. Now the humidier is ready for use.
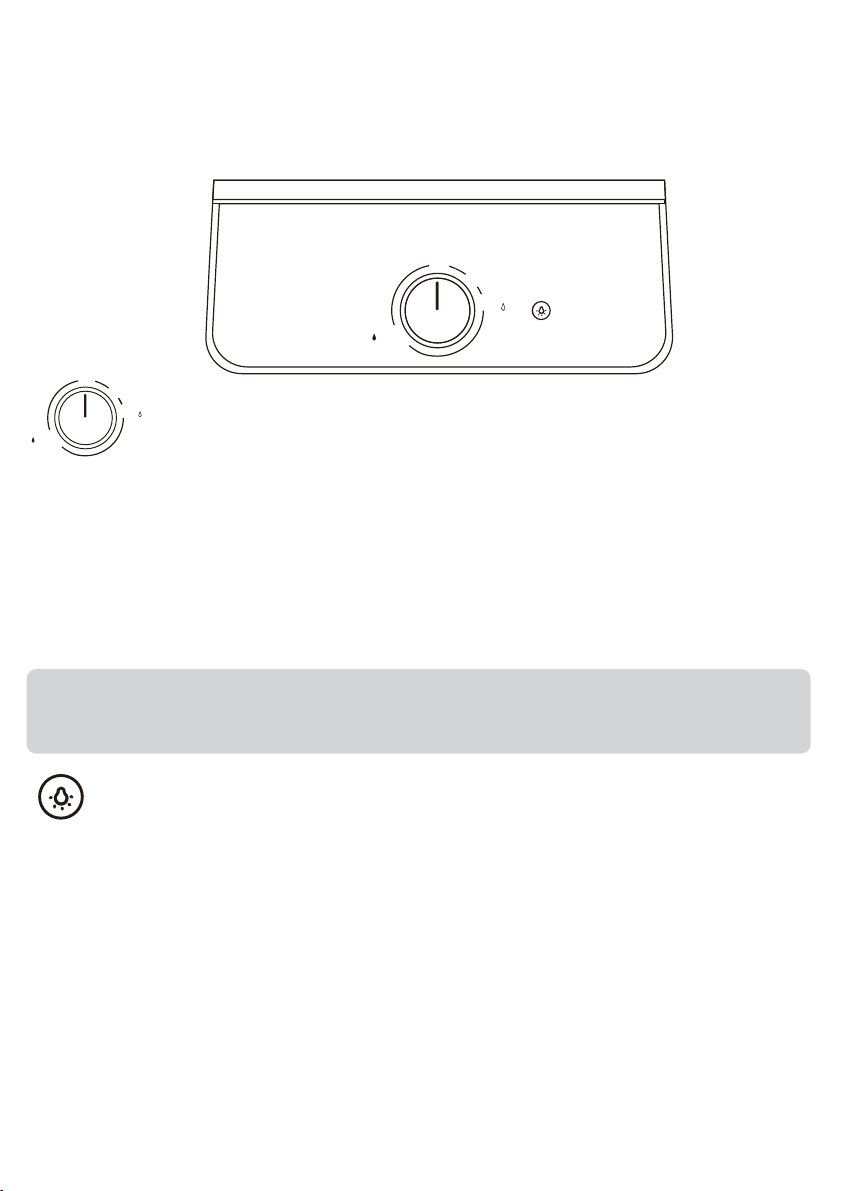
1. Rotate the control knob clockwise to the ON position. The blue LED indicator will light up
indicating that the humidier has been turned on .
2. Keep rotating the control knob clockwise to increase the mist level.
3. Rotate the control knob counterclockwise to decrease the mist level.
4. Rotate the control knob counterclockwise to the OFF position to turn off the humidier.
The LED indicator will turn off. The fan will work for another 3 minutes to dry the mist tube.
Power On / Off and Mist Adjustment
Light Control
Low Water Protection: Auto Shut-off the Humidier
1. Press the Light Button to turn on / off the night light.
2. Press and hold the Light Button for 1.5 seconds to turn on / off the tank light.
When there is not enough water inside the water reservoir, the humidier will stop misting and the LED
indicator will become red. It is designed for safety concern to prevent the humidier from possibly
overheating and damaging the atomizer.
Note:
The most comfortable environmental humidity is between 40%-60%.
Please adjust the mist output as needed.
OFF
ON
Max
Min
OFF
ON
Max
Min
2
3 4
21 4
Loading ...
Loading ...
Loading ...