Loading ...
Loading ...
Loading ...
English Installation and Operating Guide Page 15
pro.Bose.com Installation and Operating Guide
Making Connections
Connection and Configuration Steps
Use the following procedure when setting up a PowerMatch
®
amplifier for the first time.
1. Install any digital expansion cards (optional)
2. Mount the amplifier into the rack
3. Connect power cable and retaining clip
4. Turn on amplifier
5. Enable Standby Mode from the front panel of the amplifier (See page 29.)
6. Configure amplifier (use front panel or ControlSpace
®
Designer
™
software)
7. Wire input connection from source device(s)
8. Wire output connectors to speakers
9. Disable Standby Mode
10. Connect Fault Notification Output to management system or device (optional)
11. Clear alarms (See page 30.)
12. Test system
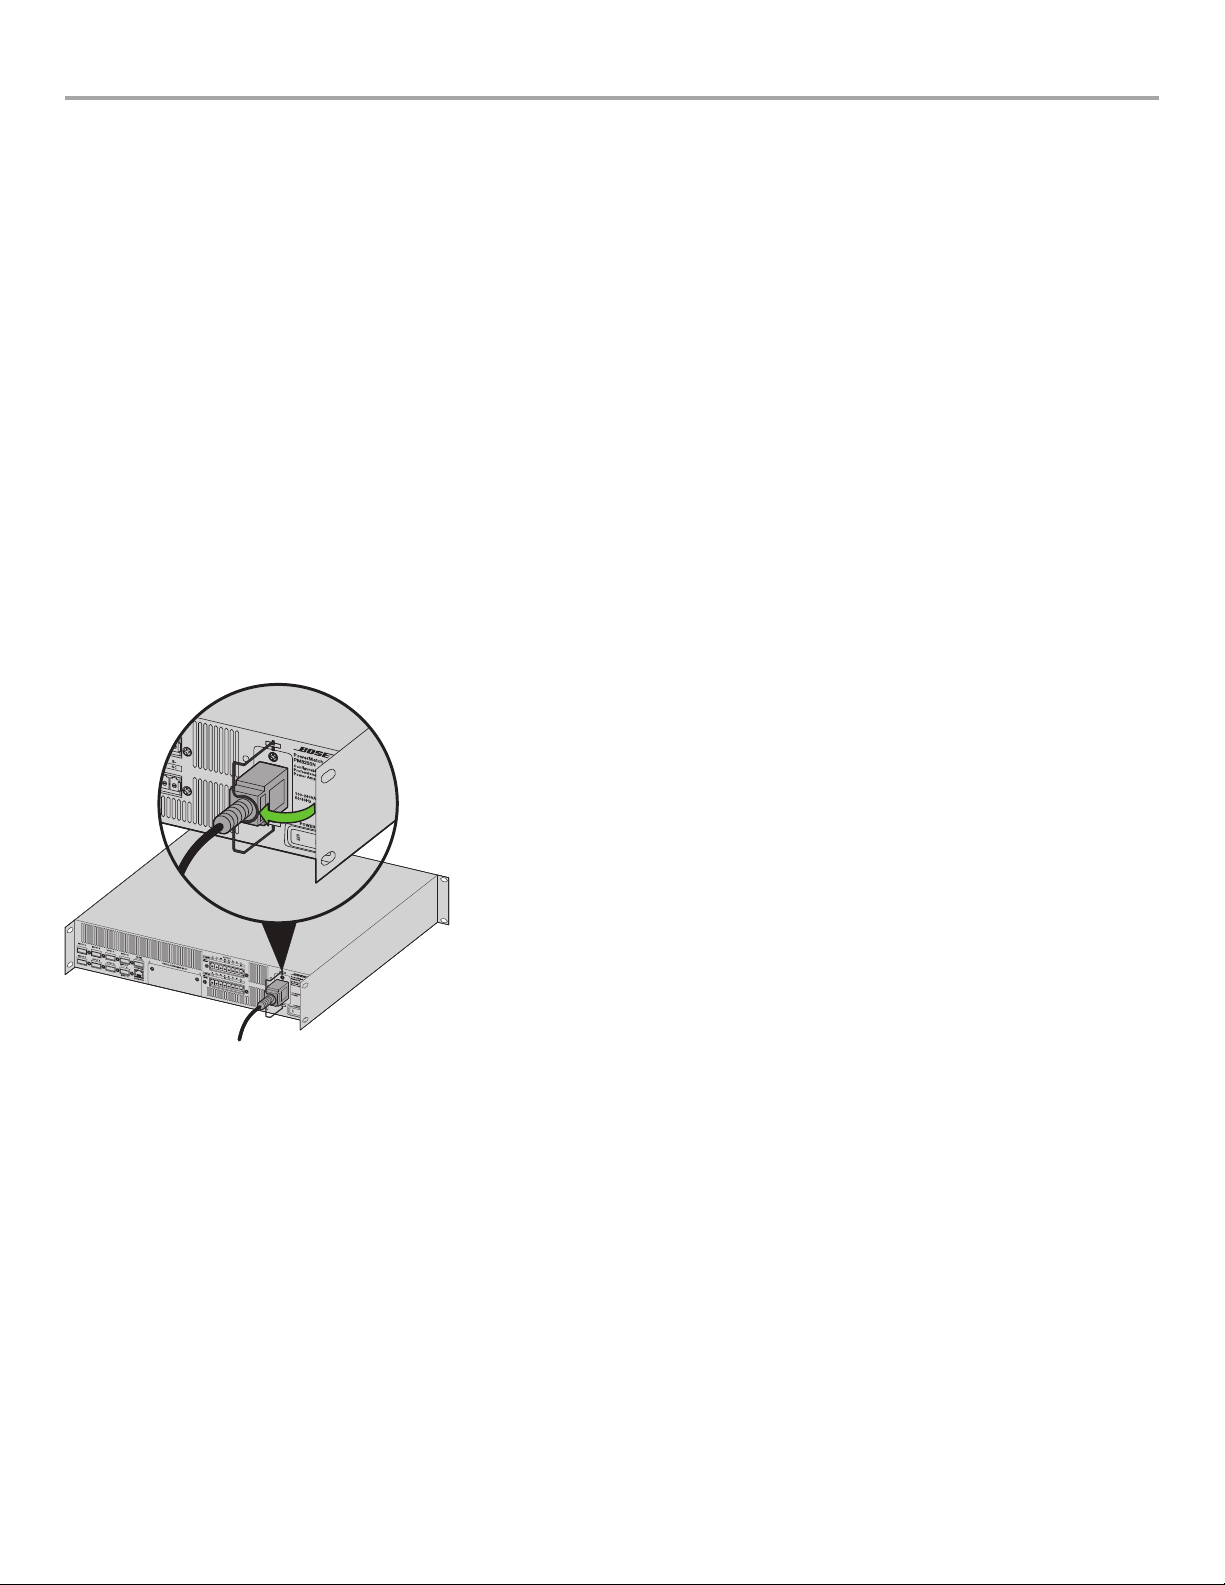
Power (Mains) Connection
Power connection is made using the included IEC power cord. The amplifier also includes a retaining clip to help secure the power
connection to the amplifier. To install, place the retaining clip toward the center of the amplifier, plug in the IEC power cord, then swing
the retaining clip so it locks behind the IEC connector.
Figure 4. IEC Connector retaining clip in place.
Standby Mode
Enabling Standby Mode decouples the amplifier section from the loudspeaker output. In this state the product also consumes less
power. Standby Mode can be entered manually from the front panel using the following steps:
MAIN MENU > UTILITY > STANDBY MODE > press ENTER STANDBY
While in Standby, front panel options and loudspeaker output configurations can be changed without directly affecting the loudspeaker
load.
Standby Mode can be automatically entered and exited using the Auto-Standby/Auto-Wake function as a method to help reduce energy
usage during times when audio is not required. Refer to the ControlSpace Designer Software Guide for details on this feature.
Loading ...
Loading ...
Loading ...