FITTING INSTRUCTIONS
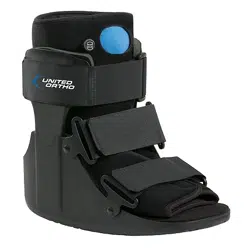
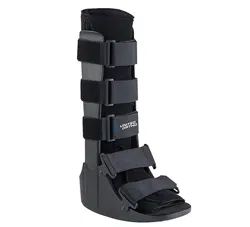
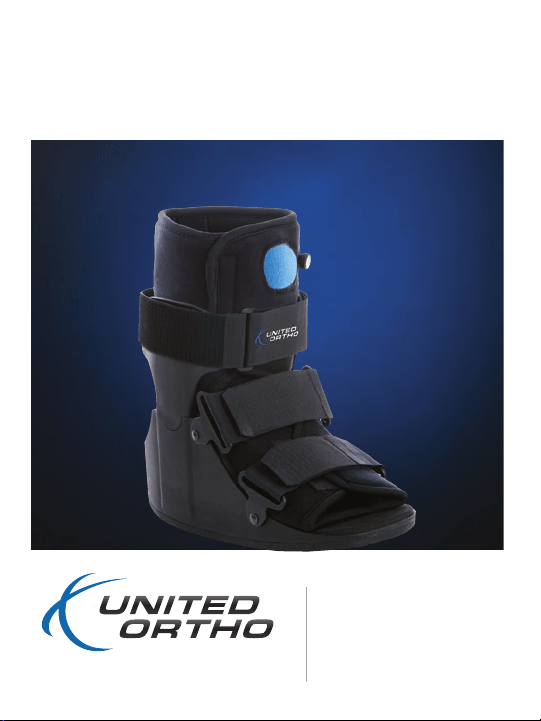
Air Stabilizer Ankle
Please read carefully.
Correct application
is vital to the proper
functioning of the brace.
UNITED-ORTHO.COM | 800-227-8748
INTENDED USE
Management of edema and fracture healing, acute
ankle sprains, soft tissue injuries of the lower leg, stress
fractures of the lower leg, stable fractures of the foot
and ankle, stable delayed union of non-union fractures
of the distal tibia and bula, Achilles tendon repairs,
Bunionectomies, metatarsal fractures, forefoot, midfoot
and hindfoot injuries.
This product was designed to complement the
variety of medical treatments common to the above
afictions. The frequency and duration of use should be
determined by your prescribing healthcare professional.
CLEANING INSTRUCTIONS
• Remove the foam liner from the walker frame
prior to washing.
• Hand wash the foam liner in cold water with
mild soap.
• Do not dry clean or tumble dry.
• Do not use bleach.
• Air dry only and do not expose this brace to
any heat source.

Step 1:
Open all the straps.
Open liner, leaving
liner in the boot.
*Additional comfort pads
provided to ll gaps in liner
and provide additional
padding where needed.
Step 3:
Close boot liner
starting at toes and
working up.
Step 5:
To inate: Turn
“inate/deate” knob
clockwise until it stops
turning. Press and
release air bulb several
times until the air
liner provides
desired support.
*Liner may expand during
initial use. Additional pumps
may be required to return to
desired support.
Step 2:
Step into boot liner.
Slide heel all the
way back.
*Sewn in comfort pad should
rest on the top of the foot.
Step 4:
Fasten the straps
starting at toes and
working up.
*Toes may extend past end of
liner. If toes extend past rigid shell,
a larger size is recommended.
*If numbness, tingling or other
discomfort is experienced, loosen
the strap until comfortable. If any
of these symptoms persist, contact
your medical professional.
Step 6:
To deate: Turn
“inate/deate”
knob counter-
clockwise until it
stops turning.
*If air liner is fully deated,
it may take upwards of 50
pumps to feel the desired
support.

FITTING INSTRUCTIONS
Air Stabilizer Ankle
Please read carefully.
Correct application
is vital to the proper
functioning of the brace.
UNITED-ORTHO.COM | 800-227-8748
INTENDED USE
Management of edema and fracture healing, acute
ankle sprains, soft tissue injuries of the lower leg, stress
fractures of the lower leg, stable fractures of the foot
and ankle, stable delayed union of non-union fractures
of the distal tibia and bula, Achilles tendon repairs,
Bunionectomies, metatarsal fractures, forefoot, midfoot
and hindfoot injuries.
This product was designed to complement the
variety of medical treatments common to the above
afictions. The frequency and duration of use should be
determined by your prescribing healthcare professional.
CLEANING INSTRUCTIONS
• Remove the foam liner from the walker frame
prior to washing.
• Hand wash the foam liner in cold water with
mild soap.
• Do not dry clean or tumble dry.
• Do not use bleach.
• Air dry only and do not expose this brace to
any heat source.