Loading ...
2
WARNING FOR CALIFORNIA RESIDENTS
State of California Proposition 65 requires that we include the following: This product contains a chemical known to the State of Cali-
fornia to cause cancer and birth defects or other reproductive harm.
Important Cord Information
This appliance has a polarized plug (one blade is wider than the other). To reduce the risk of electric shock, this plug is intended to fit
into a polarized outlet only one way. If the plug does not fit fully into the outlet, reverse the plug. If it still does not fit, contact a qualified
electrician. Do not attempt to modify the plug in any way.
A short power supply cord (or cord set) is provided to reduce the risk resulting from becoming entangled in or tripping over a longer
cord. An extension cord may be used if care is properly exercised in its use. If an extension cord is used, the marked electrical rating of
the extension cord should be at least as great as the electrical rating of the appliance. The extension cord should be arranged so that it
will not drape over the countertop or tabletop where it can be pulled on by children or tripped over unintentionally.
Connect the power supply cord to a 120VAC electrical outlet only.
How to Assemble
1. Place the skillet upside down on the table or counter.
2. Remove the four screws from mounting projections on the skillet body and set aside.
3. Position the handles on the skillet, lining up the holes in the handles with the mounting projections
on the skillet.
4. Replace the screws and fasten securely. When properly assembled, the skillet should sit level on the
table or counter.
NOTICE: Continuing to tighten, once secure, can result in the stripping of screws or the cracking of
handles.
NOTICE: This skillet is not intended to be used as a warming tray, hot plate, or for heating any cookware nor to melt wax, gels, plastics,
glue, or other materials for making candles or for other hobbyist activities, or in any commercial or business application. Using this
appliance for purposes different from those specified in the instruction manual may cause damage to the appliance and will void the
appliance warranty.
How to Use
Before using for the first time, wash the skillet and cover in warm, sudsy water; rinse and dry completely. Do not immerse the Control
Master
®
heat control or let it come in contact with any liquid.
1. Place skillet on a dry, level, heat-resistant surface away from walls, cabinets, and other objects.
NOTICE: To prevent possible heat damage to your countertop, place a heat-resistant counter protector, such as aluminum foil, under
the skillet, taking care not to place the foil under the legs.
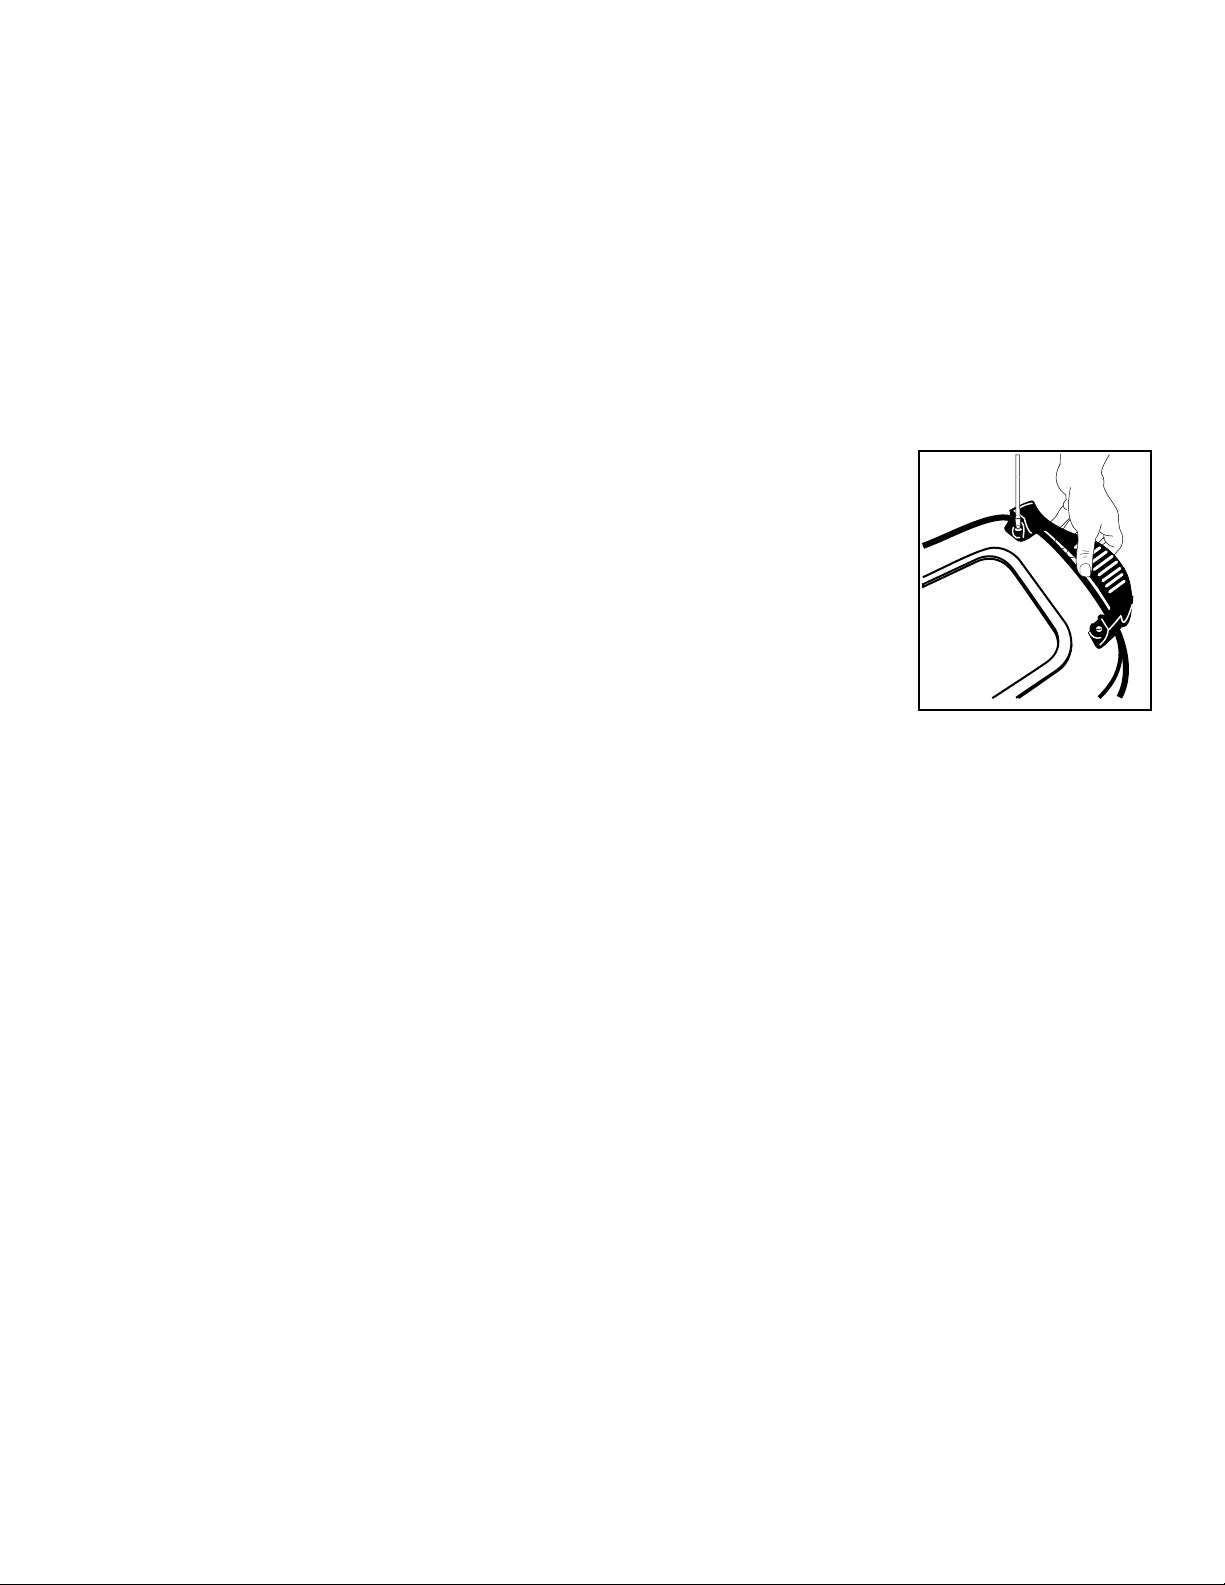
2. Insert the heat control probe into the skillet so the two electrical pins on the skillet are fully inserted into the heat control. Connect
the cord to a 120VAC electrical wall outlet only.
3. Turn the heat control to the desired temperature (see page 3 for the temperature-timetable). Remove the cover and preheat the skillet.
The pilot light goes off when the selected temperature is reached, approximately 5 to 10 minutes.
NOTE: Occasionally you may hear a pop or clicking sound while the skillet is preheating; this is due to the expansion of the metal
as it heats. It is normal. You may also notice this sound as the unit cools down.
4. Prepare food for cooking. Because the skillet features a nonstick finish, food may be prepared with little or no oil.
NOTICE: Avoid using no-stick cooking sprays as they may cause the cooking surface to become tacky.
5. Place the food in the skillet and cook according to temperature-timetable. Heat should be adjusted according to personal preference
and the particular food being cooked. During cooking, the pilot light will go on and off indicating the desired temperature is being
maintained.
6. Turn the heat control to OFF when cooking is completed. Unplug the heat control from wall outlet, and then from the skillet. Allow
the skillet to cool before cleaning.
Loading ...
Loading ...