INSTALLATION / INSTALACIÓN / INSTALLATION
Screwdriver
Destornillador
Tournevis
(Allen) Hex Wrench
(Allen) Llave Hexagona
(Allen) Clé Hexagonale
Drill
Taladro
Perceuse
Level
Nivel
Niveau
Pencil
Lapiz
Marqueur
Screw Anchor
tornillo de anclaje
vis d'ancrage
Screw
Tornillo
Vis
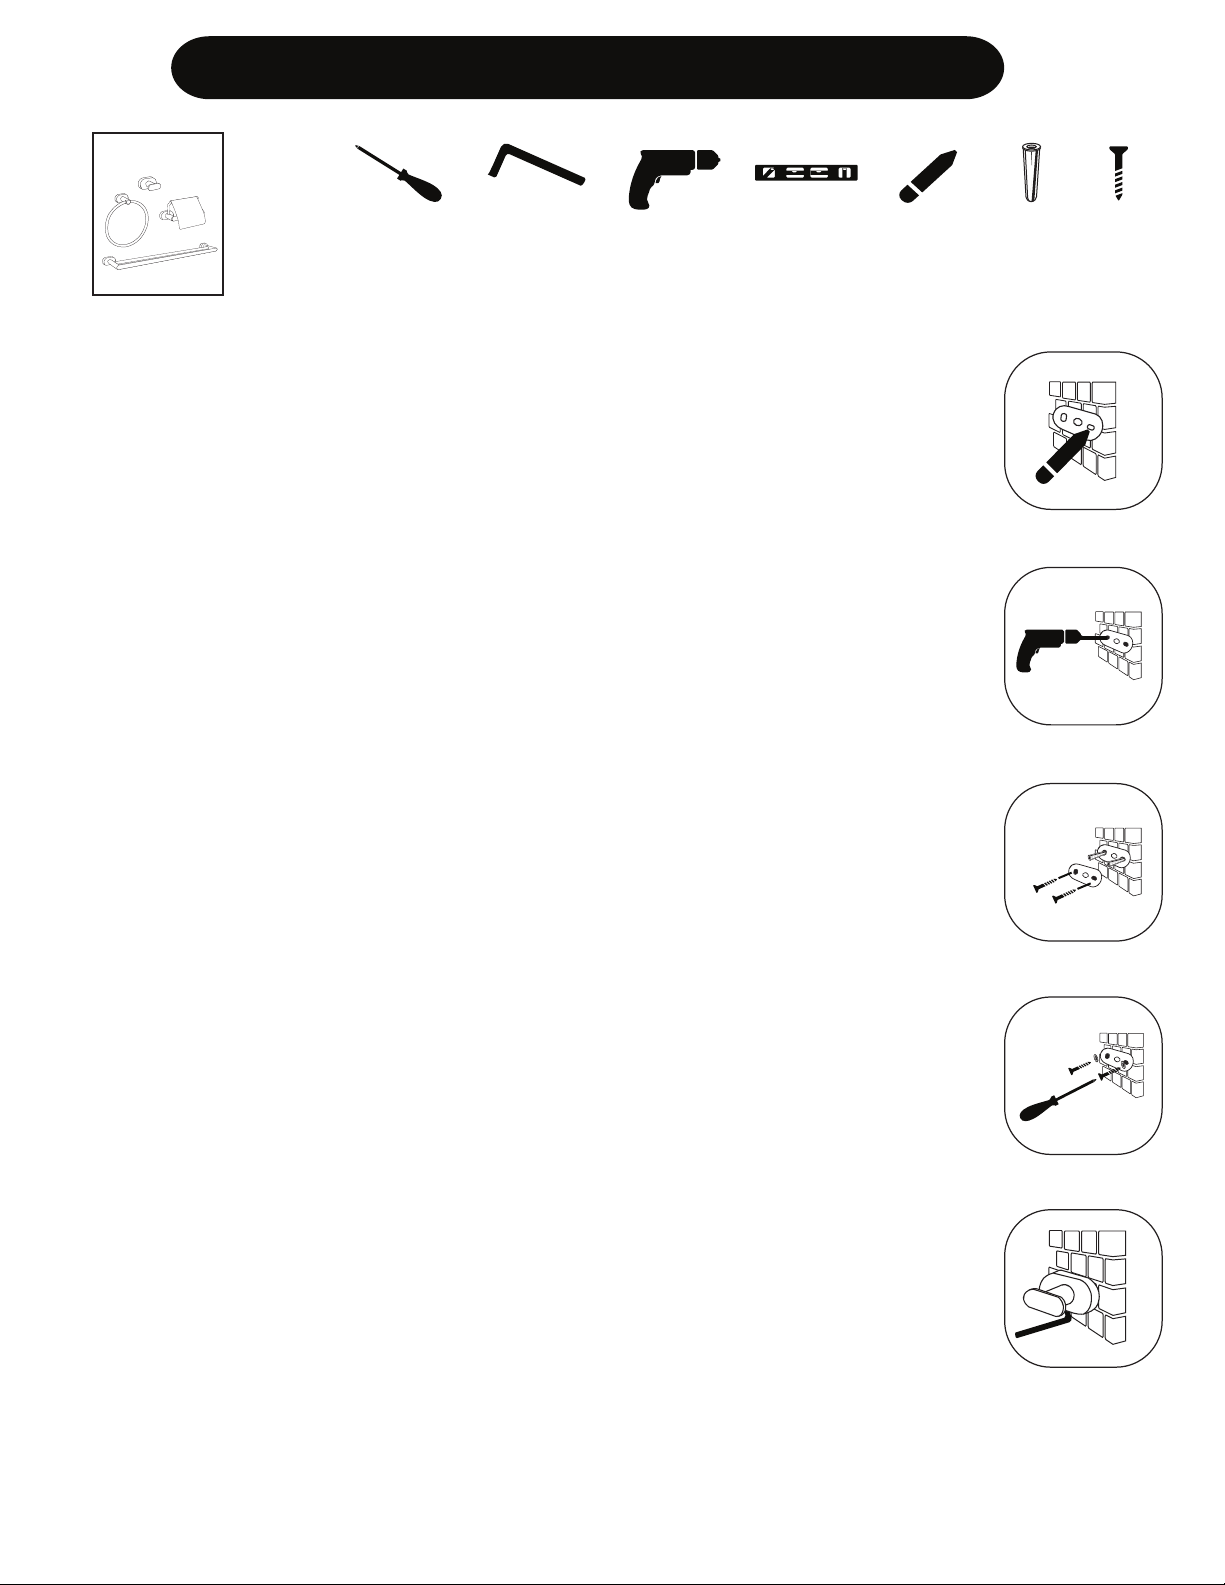
Fig. 1
Fig. 2
Fig. 3
Fig. 4
Fig. 5
INSTALLATION
These instructions are for drywall installation. If you are installing into a stud, you will need wood screws. If you are
installing into ceramic tile, you will need standard masonry anchors and screws.
Fig. 1 Measure where on the wall you want to install each accessory. Position the mounting bracket and mark
the position of the screw anchors.
Fig. 2 Drill the holes for the screw anchors.
Fig. 3 Insert the plastic screw anchors, making sure they are ush with the wall.
Fig. 4 Position the mounting bracket over the holes and screw into place.
Fig. 5 Secure the unit over the mounting bracket and tighten it into place using the Allen (hex) wrench.
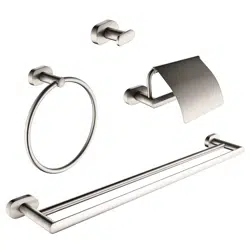
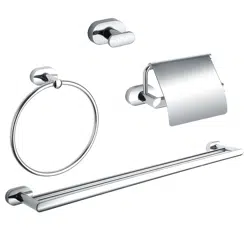
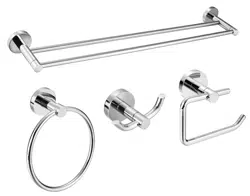
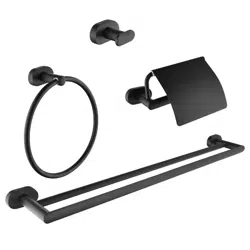
TOWEL SHELVES
Repeat the instructions for your type of product, taking care to use the level to be sure the mounting posts are perfectly aligned.
INSTALACIÓN
Estas instrucciones son para la instalación del tablero de yeso. Si usted está instalando sobre un montante,
necesitará tornillos para madera. Si usted está instalando sobre azulejo de cerámica, usted necesitará tornillos y
anclajes de mampostería.
Fig. 1 Mida en la pared donde desea instalar cada accesorio. Coloque el soporte de montaje y marque la
posición de los tornillos de anclaje.
Fig. 2 Utilice el taladro para hacer las perforaciones para los tornillos de anclaje.
Fig. 3 Inserte los tornillos de anclaje de plástico, asegurándose de que estén nivelados con la pared.
Fig. 4 Posicione el soporte de montaje sobre las perforaciones y atorníllelo.
Fig. 5 Asegure la unidad sobre el soporte de montaje y sujételo usando la llave hexagonal Allen.
TOALLEROS DE ARO
Repita las instrucciones para su tipo de producto, procurando usar el nivel para asegurarse de que los postes de montaje estén
mente perfecta alineados.
INSTALLATION
Ces instructions s’appliquent à l’installation sur cloison sèche. Si vous eectuez l’installation dans un montant, vous
aurez besoin de vis à bois. Si vous eectuez l’installation dans des carreaux de céramique, vous aurez besoin de
pattes de pièces d’ancrage de maçonnerie standard et de vis.
Fig. 1 Au mur, mesurez l’endroit où vous désirez installer chaque accessoire. Positionnez le support de xation au
mur là où vous voulez installer chaque accessoire. Après avoir positionné le support de xation, marquez
l’emplacement des vis d’ancrage.
Fig. 2 Forez les trous pour les vis d’ancrage.
Fig. 3 Insérez les vis d’ancrage en plastique, en vous assurant qu’elles sont complètement enfoncées dans le mur.
Fig. 4 Positionnez le support de xation sur les trous et vissez-le en place.
Fig. 5 Fixez l’unité sur le support de xation et serrez à l’aide de la clé Allen (hexagonale).
TABLETTE POUR SERVIETTES
Répétez les instructions selon le type de produit, en prenant soin d’utiliser un niveau pour vous assurer que les tiges de xation sont
parfaitement alignées.
CLEANING / LIMPIEZA / NETTOYAGE
to preserve the product nish and enjoy its ne gleam, year after year.
humide. Il sut d’essuyer et de bien sécher le produit pour en préserver le ni, qui conservera ainsi sa brillance année après année.
Type I
Type I