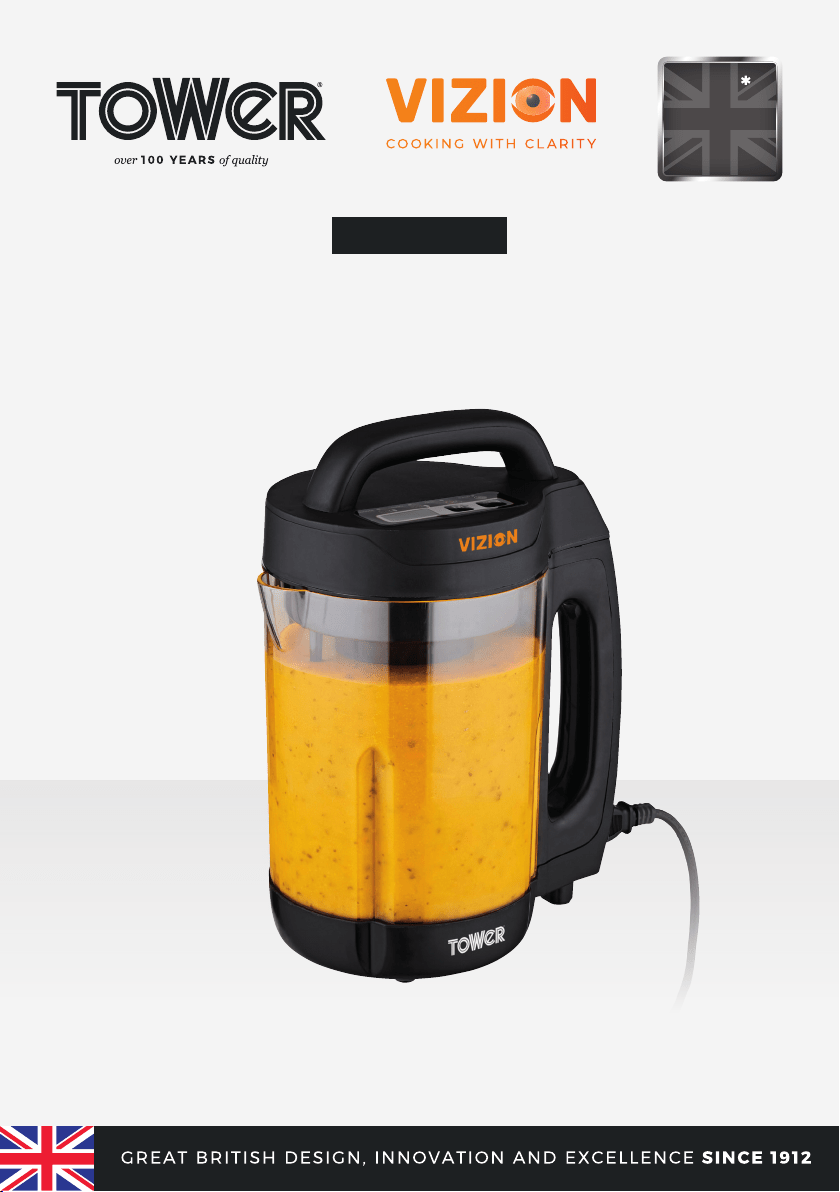
1.6 LITRE
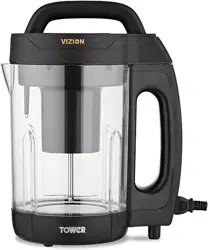
VIZION SOUP MAKER
USER MANUAL
MODEL: T12067
YEAR
GUARANTEE
3

THIS BOX CONTAINS 1
SPECIFICATIONS 1
IMPORTANT SAFETY INFORMATION 2
GETTING TO KNOW YOUR SOUP MAKER 4
BEFORE FIRST USE 5
USING YOUR APPLIANCE 5
• Your soup maker programmes 6
• Tips for getting the most out of your soup maker 7
• Healthy options for wholesome soup 7
• Making stock 7
• Safety features 7
• Weights and measures 8
CLEANING AND CARE 9
TROUBLESHOOTING 9
DISPOSAL OF THE UNIT 10
CUSTOMER SUPPORT 10
ACCESSORIES / SPARE PARTS 10
Table of contents

This box contains
Specications
DESCRIPTION
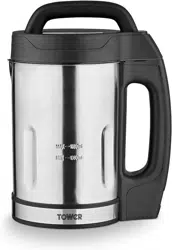
1.6L Soup Maker
MODEL
T12067
RATED VOLTAGE
220-240V
FREQUENCY
50/60Hz
POWER CONSUMPTION
140-160W (Motor)
800-1000W (Heating)
Instruction Manual
1.6L Soup Maker
Max 1600ml
MIN 1300ml
1

Please read these safety NOTES
carefully BEFORE using your
Tower appliance
Check that the voltage of the main
circuit corresponds with the rating of the
appliance before operating.
If the supply cord or appliance is
damaged, stop using the appliance
immediately and seek advice from the
manufacturer, its service agent or a
similarly qualied person.
DO NOT let the cord hang over the edge
of a table or counter or let it come into
contact with any hot surfaces.
DO NOT carry the appliance by the power
cord.
The mains cable should reach from the
socket to the base unit without straining
the connections.
Always locate your appliance away from
the edge of a worktop.
DO NOT let the cable run across an open
space e.g. between a low socket and
table.
DO NOT use any extension cord with this
appliance.
DO NOT pull the plug out by the cord
as this may damage the plug and/or the
cable.
Always disconnect the appliance from the
supply if it is left unattended and before
assembling, disassembling or cleaning.
Switch off and unplug before tting or
removing tools/attachments and after use.
Close supervision is necessary when any
appliance is used by or near children.
Children should not play with the
appliance.
This appliance can be used by children
aged from 8 years and above and persons
with reduced physical, sensory or mental
capabilities or lack of experience and
knowledge if they have been given
supervision or instruction concerning
use of the appliance in a safe way and
understand the hazards involved.
Cleaning and user maintenance should
not be undertaken by children without
supervision.
Take care when any appliance is used near
pets.
DO NOT use this product for anything
other than its intended use.
This appliance is for household use only.
This appliance includes a heating
function.
Please ensure that the appliance is used
on a stable, level, and heat resistant
surface.
USE CAUTION when lifting or moving
the appliance. Use the handle on the
appliance to lift or move the jug. It is
advised to use heat protective gloves or
pot holders when handling the jug. Areas
which are not intended to hold must be
given sufcient time to cool.
Always remove the plug and lid before
using the jug to serve soup.
WARNING! Keep your ngers away from
moving parts and tted attachments.
The use of accessory attachments is
not recommended by the appliance
manufacturer apart from those supplied
with this product. DO NOT use extension
cords with the appliance.
When the appliance is used for reheating
foods, always ensure food is piping hot
before eating.
Never exceed the maximum capacities
outlined in this instruction manual.
CAUTION! The blades in the jug are very
sharp, extreme caution shall be taken
when using and cleaning the inside of the
jug.
DO NOT immerse cords, plugs or any part
of the appliance in water or any other
liquid.
DO NOT use the appliance outdoors.
Important safety information
2

This appliance is not intended to be
operated by means of an external timer or
separate remote control system.
DO NOT use the appliance outdoors, or
near water.
WARNING! HOT SURFACE THE BODY OF
THE PRODUCT CAN GET HOT DURING
USE. When in use, the surfaces of the
appliance will become very hot. Always
use the handle.
Extreme caution must be observed when
moving an appliance with hot contents.
CAUTION! DO NOT use the appliance with
wet or moist hands.
Treating Scalds: Run cold water over the
affected area immediately. DO NOT stop
to remove clothing, get medical help
quickly.
DO NOT place the appliance on or near
heat sources such as gas or electric stove,
ovens, or burners.
Keep the appliance and the cable away
from heat, direct sunlight, moisture, sharp
edges and the like.
When using the unit, ensure the lid is in
place before switching on.
DO NOT remove the lid until the blade has
stopped.
Ensure that the appliance is switched off
before any further steps are taken.
After one operation, ensure contents is
emptied and appliance has cooled down
before cleaning.
DO NOT operate the appliance for making
soup continuously.
Be careful if hot liquid is poured into the
soup maker as it can be ejected out of the
appliance due to sudden steaming.
In the unlikely event the appliance develops a fault, stop
using it immediately and seek advice from the Customer
Support Team. +44 (0) 333 220 6066
3
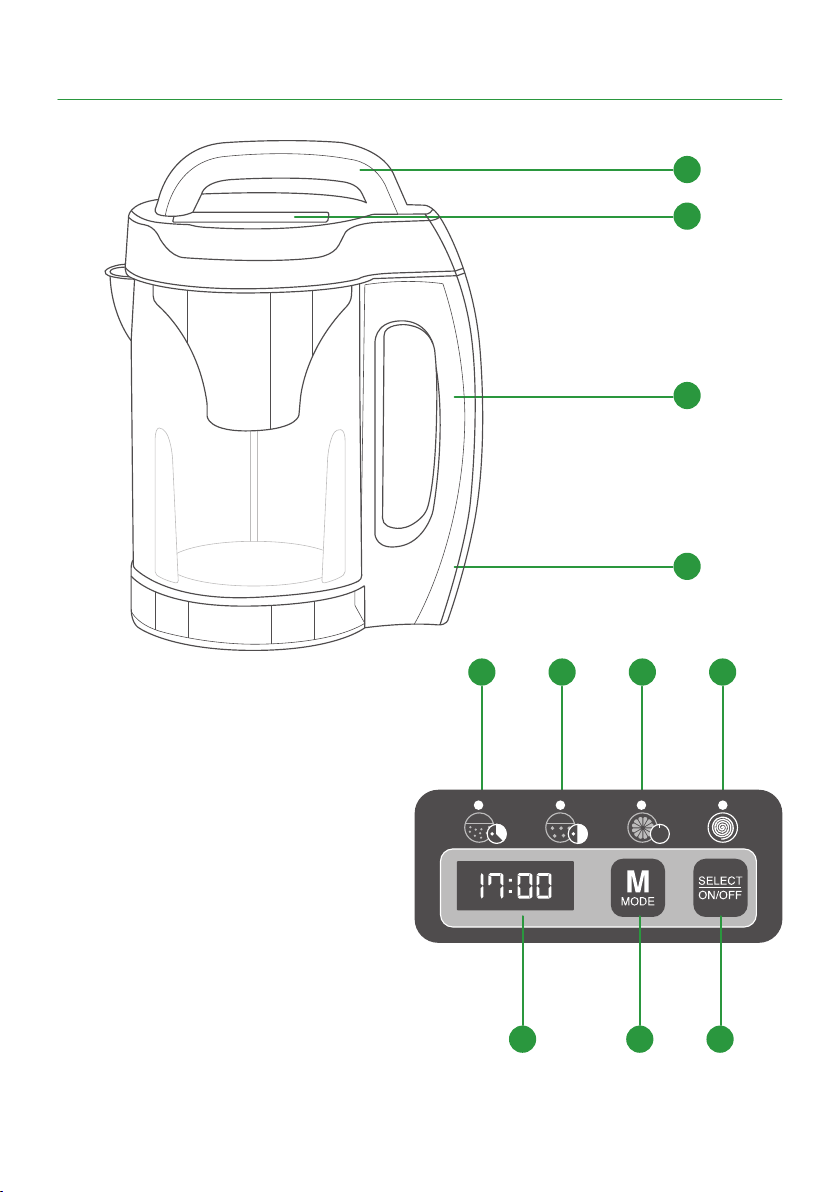
Getting to know your soup maker
1. Lid Handle
2. Digital Control Panel
3. Jug Handle
4. Power Socket
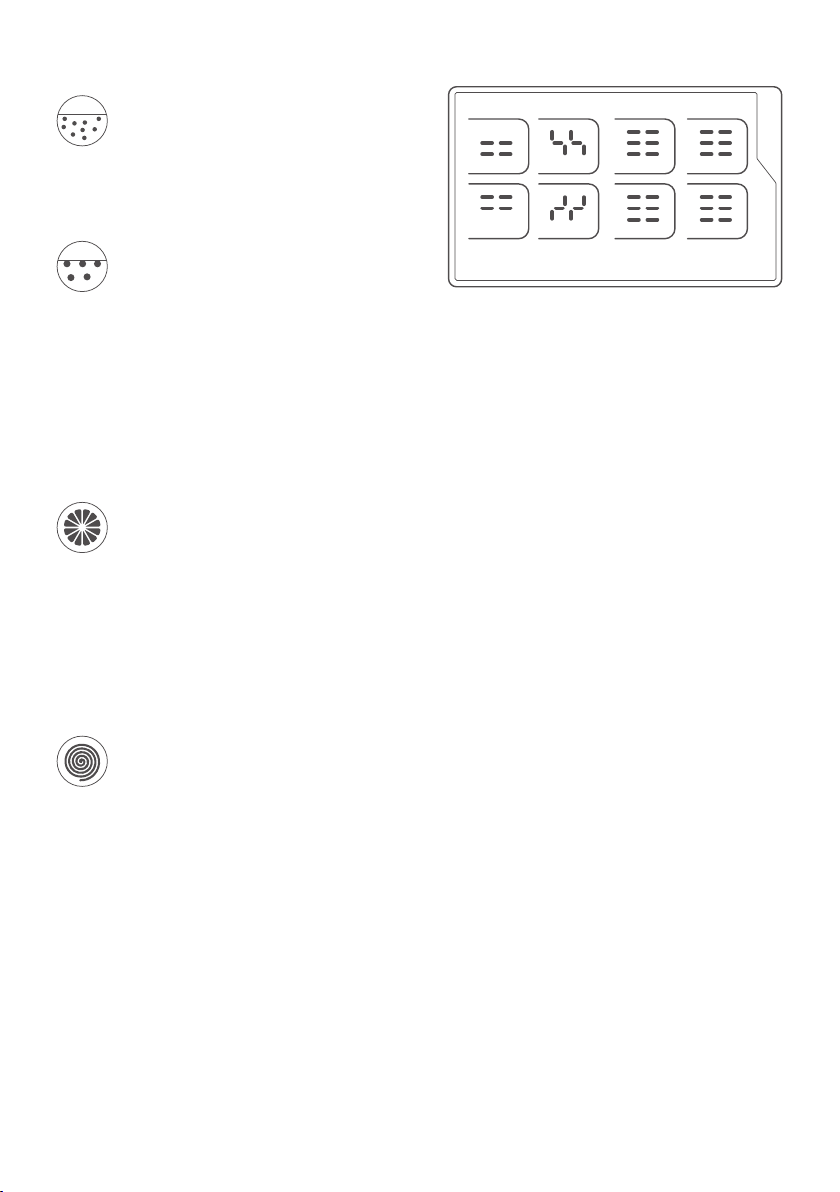
5. Smooth Function Indicator
6. Chunky Function Indicator
7. Juice Function Indicator
8. Blend Function Indicator
9. LED Screen
10. Mode Button
11. Select On/Off Button
1
2
3
4
5
9 10 11
6 7 8
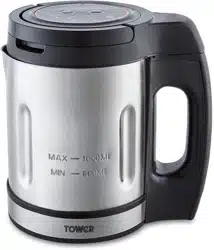
Max 1600ml
MIN 1300ml
SMOOTH CHUNKY JUICE BLEND
4

Read all instructions and safety information carefully before rst use. Please retain this
information for future reference.
1. Remove your appliance from the packaging.
2. Check that there is no damage to the cord or any visible damage to the body.
3. Your appliance is now ready for normal use.
4. Dispose of the packaging in a responsible manner.
5. It is important to clean your Soup Maker before rst use or if it has not been used for a
long period of time.
6. When you rst use your Soup Maker you may notice some smoke/vapour emitting from
the lid, this is normal and is simply grease that is used on some parts of the appliance
applied during the manufacturing process. After using a few times this will stop.
Before rst use
1. Begin by washing your vegetables (i.e.
potatoes, carrots).
2. Chop your ingredients into pieces, no
larger than 1.5 – 2.5cm.
3. Ensure the Soup Maker is unplugged
from the mains.
4. Remove the Lid. Be careful NOT to
touch the Mixing Blade.
WARNING: Sharp blades.
5. Place all the ingredients into the jug.
Ensure all of your ingredients do not
surpass the Soup Max Fill line on the
jug.
6. Top up the ingredients with liquid,
lling up to between the max and min
lines marked on the jug.
NOTE: To prevent food from burning,
ensure some liquid is added to
the soup maker before the solid
ingredients are put in. Once the solid
ingredients are in, add in the rest of
the liquid, up to the Min ll line.
7. Once all of your ingredients have been
added to the Soup Maker, place the
lid back onto the jug ensuring it is
securely in place.
Using your appliance
8. Plug into the mains. The icons will ash
in sequence.
9. Press the Mode Button to select the
program. The icon will illuminate.
10. To start the Soup Maker, press the
Select On/Off Button. The Soup Maker
will beep and begin the cooking
process. The cooking time will be
displayed and start to count down.
11. When nished, the Soup Maker will
beep for 60 seconds and all four icons
will ash.
12. Once the cooking time has nished,
check the consistency of the soup. You
can use the blend button at the end of
cooking to ensure your soup is made
to your desired consistency.
13. Unplug the appliance from the mains
and remove the lid, being careful to
avoid any steam that it may emit.
14. Using the handle, pour the soup into
bowls to serve.
5
Your Soup Maker Programmes:
SMOOTH
Use the Smooth programme
to produce a thorough mix
and blend of ingredients. The
programme will run for 21 minutes
and is ideal for such classic dishes
as Tomato and Basil Soup.
CHUNKY
Recipes which make use of bold
chunks of meat and veg can
use this setting. The Chunky
programme will only heat the
contents, it doesn’t perform
any blending, so make sure to
chop the ingredients to your
preferred size. The smaller the
chunks the better the spread of
heat throughout the dish. This
programme has a runtime of 28
minutes.
JUICE
If smoothies or milkshakes are
your thing your Soup Maker
can handle them easily. Juice
is a 2 minute programme that
will blend your ice cream or
fruit/vegetables perfectly. The
ingredients are not heated so all
kinds of drinks can be made.
NOTE: Do not place ice cubes into
the Soup Maker.
BLEND
Additional Blending. This setting
allows you to further blend the
soup, if required. This function
works without additional
heating of the soup. To access
this function after cooking, you
will need to unplug your Soup
Maker before re-plugging into the
mains. This resets the Soup Maker,
allowing you to select the Blend
Setting with the Mode Button.
When highlighted, press and
hold the Select ON/OFF Button to
blend the contents of the jug.
NOTE: To preserve the life of the
motor, we recommend blending
in 30 second intervals.
LED Screen:
Heating
Blending Resting Completed
Your Soup Maker utilises 3 different
processes to create fresh soups and
drinks; heating, blending and resting.
These processes are highlighted during
the programme with a small animation
on the LED Screen.
HEATING
The heating animation will appear in
motion when the Soup Maker is heating
the contents of the jug.
BLENDING
The blending animation will be displayed
when the Mixing Blade is in use. When
switching from heating to blending the
Soup Maker will give off a single audible
beep.
RESTING
During the programme the Soup Maker
will occasionally ‘rest’, at which point no
animation will be shown, but the timer
on the LED Screen will continue to count
down. This is normal.
NOTE: During the resting period do not
lift the Lid as this will void the programme.
Once the process is completed the soup
maker will beep for 60 seconds and the
screen will display the ‘completed’ icon.
COMPLETED
When completed, your Soup Maker will
show the same animation as resting, but
the timer will be at ‘0’ and all four icons on
the panel will ash.
6

Tips For Getting The Most
Out Of Your Soup Maker:
• Prepare as many of your ingredients as
possible in advance.
• Add a little olive or vegetable oil and
water to the bottom of the jug before
adding ingredients that are high in
starch or sugar, to avoid them burning
to the bottom of the jug.
• Once you’ve added all the ingredients
to the jug, stir with a wooden spoon
before tting the lid and turning the
soup maker on.
• Make a full batch of soup at a time and
freeze your leftovers to enjoy later in
the week. When freezing soup, leave it
to chill overnight in the fridge before
putting it into the freezer.
• Layer softer, lighter ingredients like
lentils or chopped tomatoes on top
of heavier ingredients such as potato.
This stops the lighter ingredients from
being pressed down into the bottom
of the jug and the blades too much.
• If your soup seems too thin, lower
the amount of liquid you are adding.
Reducing the liquid will give you
thicker soup.
• Never ll the soup maker above the
maximum ll line and always make
sure it isn’t under the minimum ll line
either. The Tower Soup Maker is as easy
to use as a kettle, and in this instance it
abides by the same rules.
Healthy Options for
Wholesome Soup:
• Using vegetable stock as your liquid
addition gives the soup a great added
avour.
• Sauté onions and garlic in vegetable
oil for a healthier option rather than oil
before adding to your soup maker.
• Certain vegetables increase in
antioxidant content when they’re
cooked. For a real health boost, make
soups that include these vegetables:
carrots, spinach, green and red
peppers, asparagus, broccoli and red
cabbage.
• For a boost to your immune system
include these ingredients in your
healthy soups: garlic, sweet potatoes,
tomatoes and kale.
• Include potato to bulk up a soup, add
some energizing carbs and to ll you
up a little more. This will also thicken
the soup naturally.
• Garnish your soup with fresh basil,
which is thought to ease stress and
help with problem skin.
• For low fat soups, replace crème
fraîche or soured cream with low fat
fromage frais
• Always remember to season your soup
with salt and pepper after cooking.
• When you’ve nished cooking your
soup and you’re getting ready to serve
it, try adding some fresh herbs or a
dollop of fresh yoghurt or cream - the
fresh ingredients will really highlight
the delicious avours in the soup.
Making Stock:
Good quality stock can help give soup a
delicious, avourful taste. For some soups,
you may wish to omit stock and just use
water. For others, a stock cube thrown
in with the rest of the ingredients and
topped up with water will do. Making your
own stock is nutritious and economical.
Safety Features:
The appliance is tted with a number of
safety features, for added peace of mind
when creating delicious soups.
• The built-in overspill sensor will
automatically shut the device off if it
starts to overboil, as well as prevent the
soup maker from starting if too much
liquid is detected inside the unit.
• The intelligent control systems prevent
the contents from drying out and
burning
• An audible notication clearly indicates
when the program is complete, for
added peace of mind and ease of use.
7

WEIGHTS AND MEASURES
Check these charts for basic imperial to metric conversions of weights
Metric Imperial US cups
250ml 8 oz 1 cup
180ml 6 oz 3/4 cup
150ml 5 oz 2/3 cup
120ml 4 oz 1/2 cup
75ml 2 ½ oz 1/3 cup
60ml 2 oz 1/4 cup
30ml 1 oz 1/8 cup
15ml 1/2 oz 1 tablespoon
Imperial Metric
1/2 oz 15g
1 oz 30g
2 oz 60g
3 oz 90g
4 oz 110g
5 oz 140g
6 oz 170g
7 oz 200g
8 oz 225g
9 oz 255g
10 oz 280g
11 oz 310g
12 oz 340g
13 oz 370g
14 oz 400g
16 oz 425g
1 lb oz 450g
8

• CAUTION! The appliance is not
dishwasher safe. DO NOT put any part
of the appliance into the dishwasher.
• Do not immerse the appliance, cord or
plug in water or any other liquids.
• Clean the base housing and outside of
the jug with a soft cloth.
• Rinse the lid in warm, soapy water.
• To clean the inside of the jug, rinse
to remove any soup or large food
particles. Remove any food remains
using a soft cloth and mild detergent
before rinsing again.
• Before wiping the inside of the jug,
add a small amount of mild detergent
to the jug together with some warm
water. Place the lid securely onto the
jug and press the Blend/Clean button
to loosen food remnants.
Cleaning and care
Troubleshooting
QUESTIONS ANSWERS
Can I use uncooked meat
in the soup maker?
No. You need to rst cook the meat separately before
transferring it to the soup maker with the rest of your
ingredients. Meats such as lamb will need browning
before adding to the ingredients.
What is the capacity of
the soup maker?
The Tower Soup Maker has a capacity of 1.6 Litres.
Always ensure ingredients and liquids do not exceed the
maximum ll line marked on the jug.
Can I remove the lid
during cooking?
If you remove the lid during cooking, the soup maker will
automatically power off. You would then need to turn
the soup maker back on and reset the function.
Why is my soup maker
overowing?
The water may be lled above the maximum ll line.
Ensure you take note of the maximum ll line before using.
CAUTION: The blades in the jug are
very sharp. Take extreme caution when
cleaning the inside of the jug.
IMPORTANT: After cleaning allow to dry
fully before using again. Do not use the
appliance if damp.
To store your appliance:
• Unplug the power cord from the
power outlet and clean as above.
• Ensure the appliance is completely
clean and dry before storing.
• Store on a at, dry, level surface and
out of the reach of children.
9
Disposal of the unit
Customer support
Appliances bearing the symbol shown
here may not be disposed of in domestic
rubbish. You are required to dispose of old
electrical and electronic appliances like
this separately.
Please visit www.recycle-more.co.uk
or www.recyclenow.co.uk for access
to information about the recycling of
electrical items.
Please visit www.weeeireland.ie for
access to information about the recycling
of electrical items purchased in Ireland.
If you have any questions or concerns about your new product,
please contact our helpful Customer Support Team:
+44 (0) 333 220 6066
www.towerhousewares.co.uk
Please have your Model No. available. This can be found on the front
cover of this instruction manual and on the appliance’s rating label.
The WEEE directive, introduced in August
2006, states that all electrical items must
be recycled, rather than taken to landll.
Please arrange to take this appliance to
your local Civic Amenity site for recycling,
once it has reached the end of its life.
Accessories / Spare Parts
Spare part replacements and accessories are available to purchase via:
+44 (0) 333 220 6066
www.towerhousewares.co.uk
PART NO DESCRIPTION
T1206701 Non slip feet
T1206702 Power cord
10

Notes

This product is guaranteed for 12 months
from the date of original purchase.
If any defect arises due to faulty materials
of workmanship, the faulty products must
be returned to the place of purchase.
Refund or replacement is at the discretion
of the retailer.
THE FOLLOWING CONDITIONS APPLY:
The product must be returned to the
retailer with proof of purchase or a receipt.
The product must be installed and used
in accordance with the instructions
contained in this instruction guide.
It must be used only for domestic
purposes.
It does not cover wear and tear, damage,
misuse or consumable parts.
Tower has limited liability for incidental
or consequential loss or damage.
This guarantee is valid in the UK and
Eire only.
YEAR
GUARANTEE
3
The standard one year guarantee is only
extended to the maximum available
for each particular product upon
registration of the product within 28
days of purchase. If you do not register
the product with us within the 28 day
period, your product is guaranteed for
1 year only.
To validate your extended warranty, please
visit www.towerhousewares.co.uk and
register with us online.
Please note that length of extended
warranty offered is dependent on product
type and that each qualifying product
needs to be registered individually in
order to extend its warranty past the
standard 1 year.
Extended warranty is only valid with proof
of purchase or receipt.
Your warranty becomes void should you
decide to use non Tower spare parts.
Spare parts can be purchased from
www.towerhousewares.co.uk
Or call our Customer Support Team on:
+44 (0) 333 220 6066
We hope you enjoy your appliance for many years...