Loading ...
Loading ...
13
3. INSTRUCTIONS FOR USE
3.1 First use
• When used for the rst time, a strange smell may be de-
tected. This is part of the appliance’s normal operation.
• USE OF REMOTE CONTROL: Before using the appliance for
the rst time, remove the plastic tab (g. 1). Point the re-
mote control toward the LED display. The maximum oper-
ating distance is approx. 6 metres from the receiver.
3.2 Turning the appliance on and o
1. Connect the appliance to a power outlet: the appliance will
make an audible signal. The machine is ready for use.
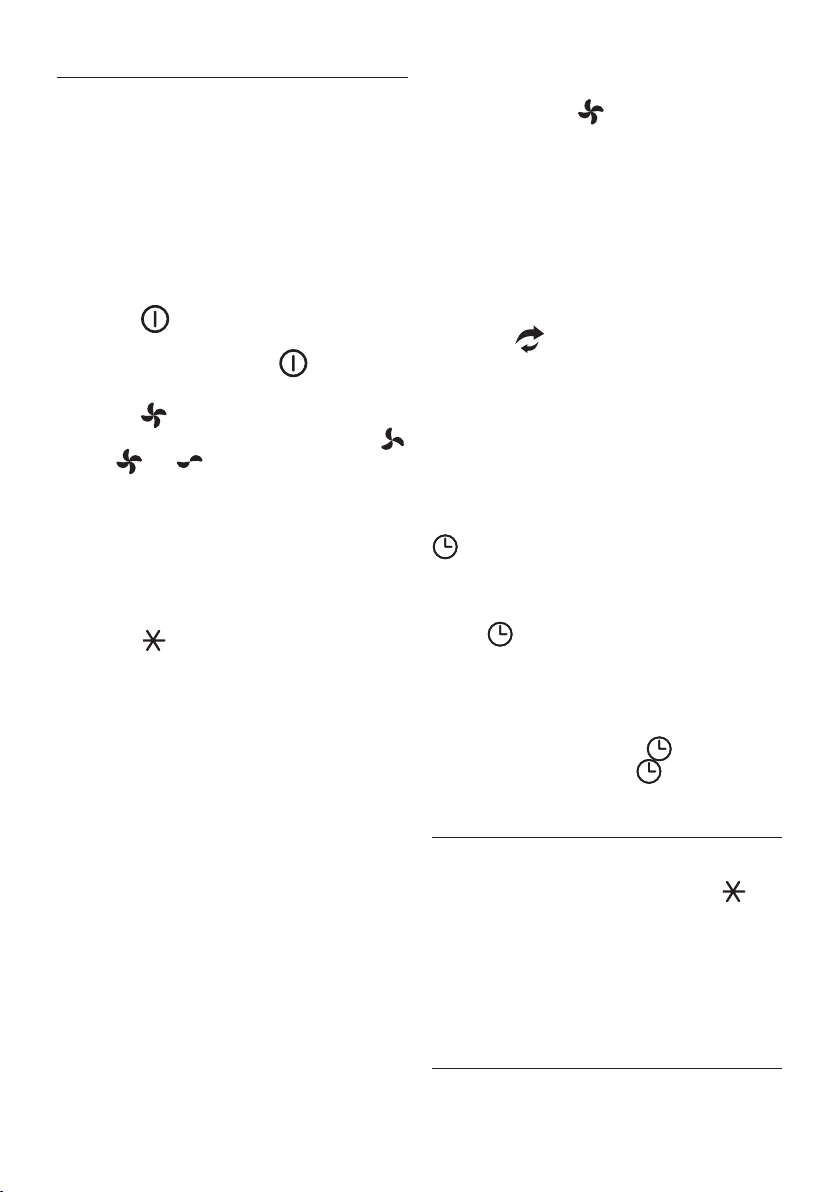
2. Press the key (B1 or D1). The appliance will turn on
with the “MED” fan speed and “ionisation” active (g.2);
3. To turn the appliance o, press the key (B1 or D1).
3.3 Selecting the fan speed
1. Press the key (B2 or D4);
2. Each time the key is pressed, the fan speed changes (
MED, MAX, MIN) (g. 3).
3.4 Cooling/humidication
Prepare the appliance by lling up the water tank.
1. Extract the water tank (g. 4) and ll it with fresh tap water
(MAX 4.5L); take care not to exceed the MAX level visible
through the level indicator (A2). The MAX level guarantees
6 hours of appliance use;
2. Re-insert the water tank;
3. Press the key (B3 or D6): the corresponding symbol
will light up on the display (g. 5). The air enters the cool-
ing device and exits cooled, thus helping to reduce the air
temperature;
Note:
When this function is used for the rst time, the water in the
tank may change colour: this is part of the appliance’s normal
operation.
To improve the performance of the appliance, use the “Ice box”
(A11).
4. Fill the “Ice box” with tap water (g. 6);
5. Place the ”Ice box” in the freezer (g. 7) and leave it there
until it freezes;
6. Extract the water tank and insert the “Ice box” inside, plac-
ing it in the rear left corner (g. 8).
Note:
Make sure the “Ice box” is properly positioned in its housing (g.
8).
7. Re-insert the water tank, turn on the appliance and select
the “Cooling/humidication” function: the air delivered by
the appliance will be cooler (g. 9).
3.5 Selecting the fan mode
The appliance can be set to work in 3 dierent fan modes:
1. NORMAL - Press the key (B2 or D4) to select the fan
speed;
2. NATURAL Press the MODE key once (B4 or D5). The device
will run random fan cycles at dierent speeds, pausing
every now and then for a few seconds (g. 10);
3. SLEEP- Press the MODE key twice (B4 or D5). The appliance
will automatically work at MAX speed for 30 minutes, then
MED speed for 30 minutes: it will then continue at MIN
speed (g. 11).
3.6 Swing
1. Press the key (B5 or D2) to activate grill rotation (g.
12): the corresponding symbol will light up on the display;
2. To stop rotation, press the same key again.
Note:
The grill can be vertically tilted by manually adjusting it to di-
rect the air ow (g. 13): make this adjustment with the grill
stopped, without forcing it.
3.7 AUTO-OFF
It is possible to delay shutdown by 1 to 24 hours by pressing the
key (B6 or D3).
1. Press until selecting the number reecting the desired
hours of operation: the number is shown on the display
(C1);
2. The symbol and numeric value ash to indicate that
automatic shutdown programming is in progress. When
the symbol and numeric value remain xed, programming
has been saved (g. 14).
Note:
To exit automatic shutdown, press the key (B6 or D3) until
setting the numeric value “00”: the symbol and “00” will
ash. When they turn o, automatic shutdown is cancelled.
4. FILLING THE WATER TANK
Before activating the Cooling/humidication function, always
make sure there is water in the tank. If the water nishes during
use, the appliance makes an audible signal and the sym-
bol ashes on the display (g. 15): the device will nonetheless
continue to ventilate.
1. Extract the water tank (g. 4) and ll it with MAX 4.5L of
fresh tap water (always use tap water, never overll the
tank): check the water level indicator (A2);
2. Re-insert the water tank.
5. CLEANING AND MAINTENANCE
• Always disconnect the appliance from the mains before
carrying out cleaning operations.
• Never submerge the appliance in water.
Loading ...
Loading ...