CHIMNEY
CORD SUPPORT
PEDAL(S)
CHIMNEY
CORD SUPPORT
PEDAL(S)
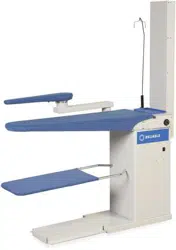
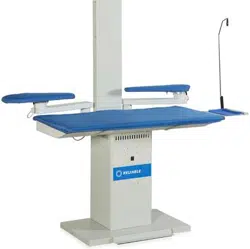
VACUUM TABLE ASSEMBLY 6000VB/6200VB
These assembly instructions are based upon the 6200VB vacuum
table. Each vacuum table model varies slightly in design, but the
general assembly is the same for all.
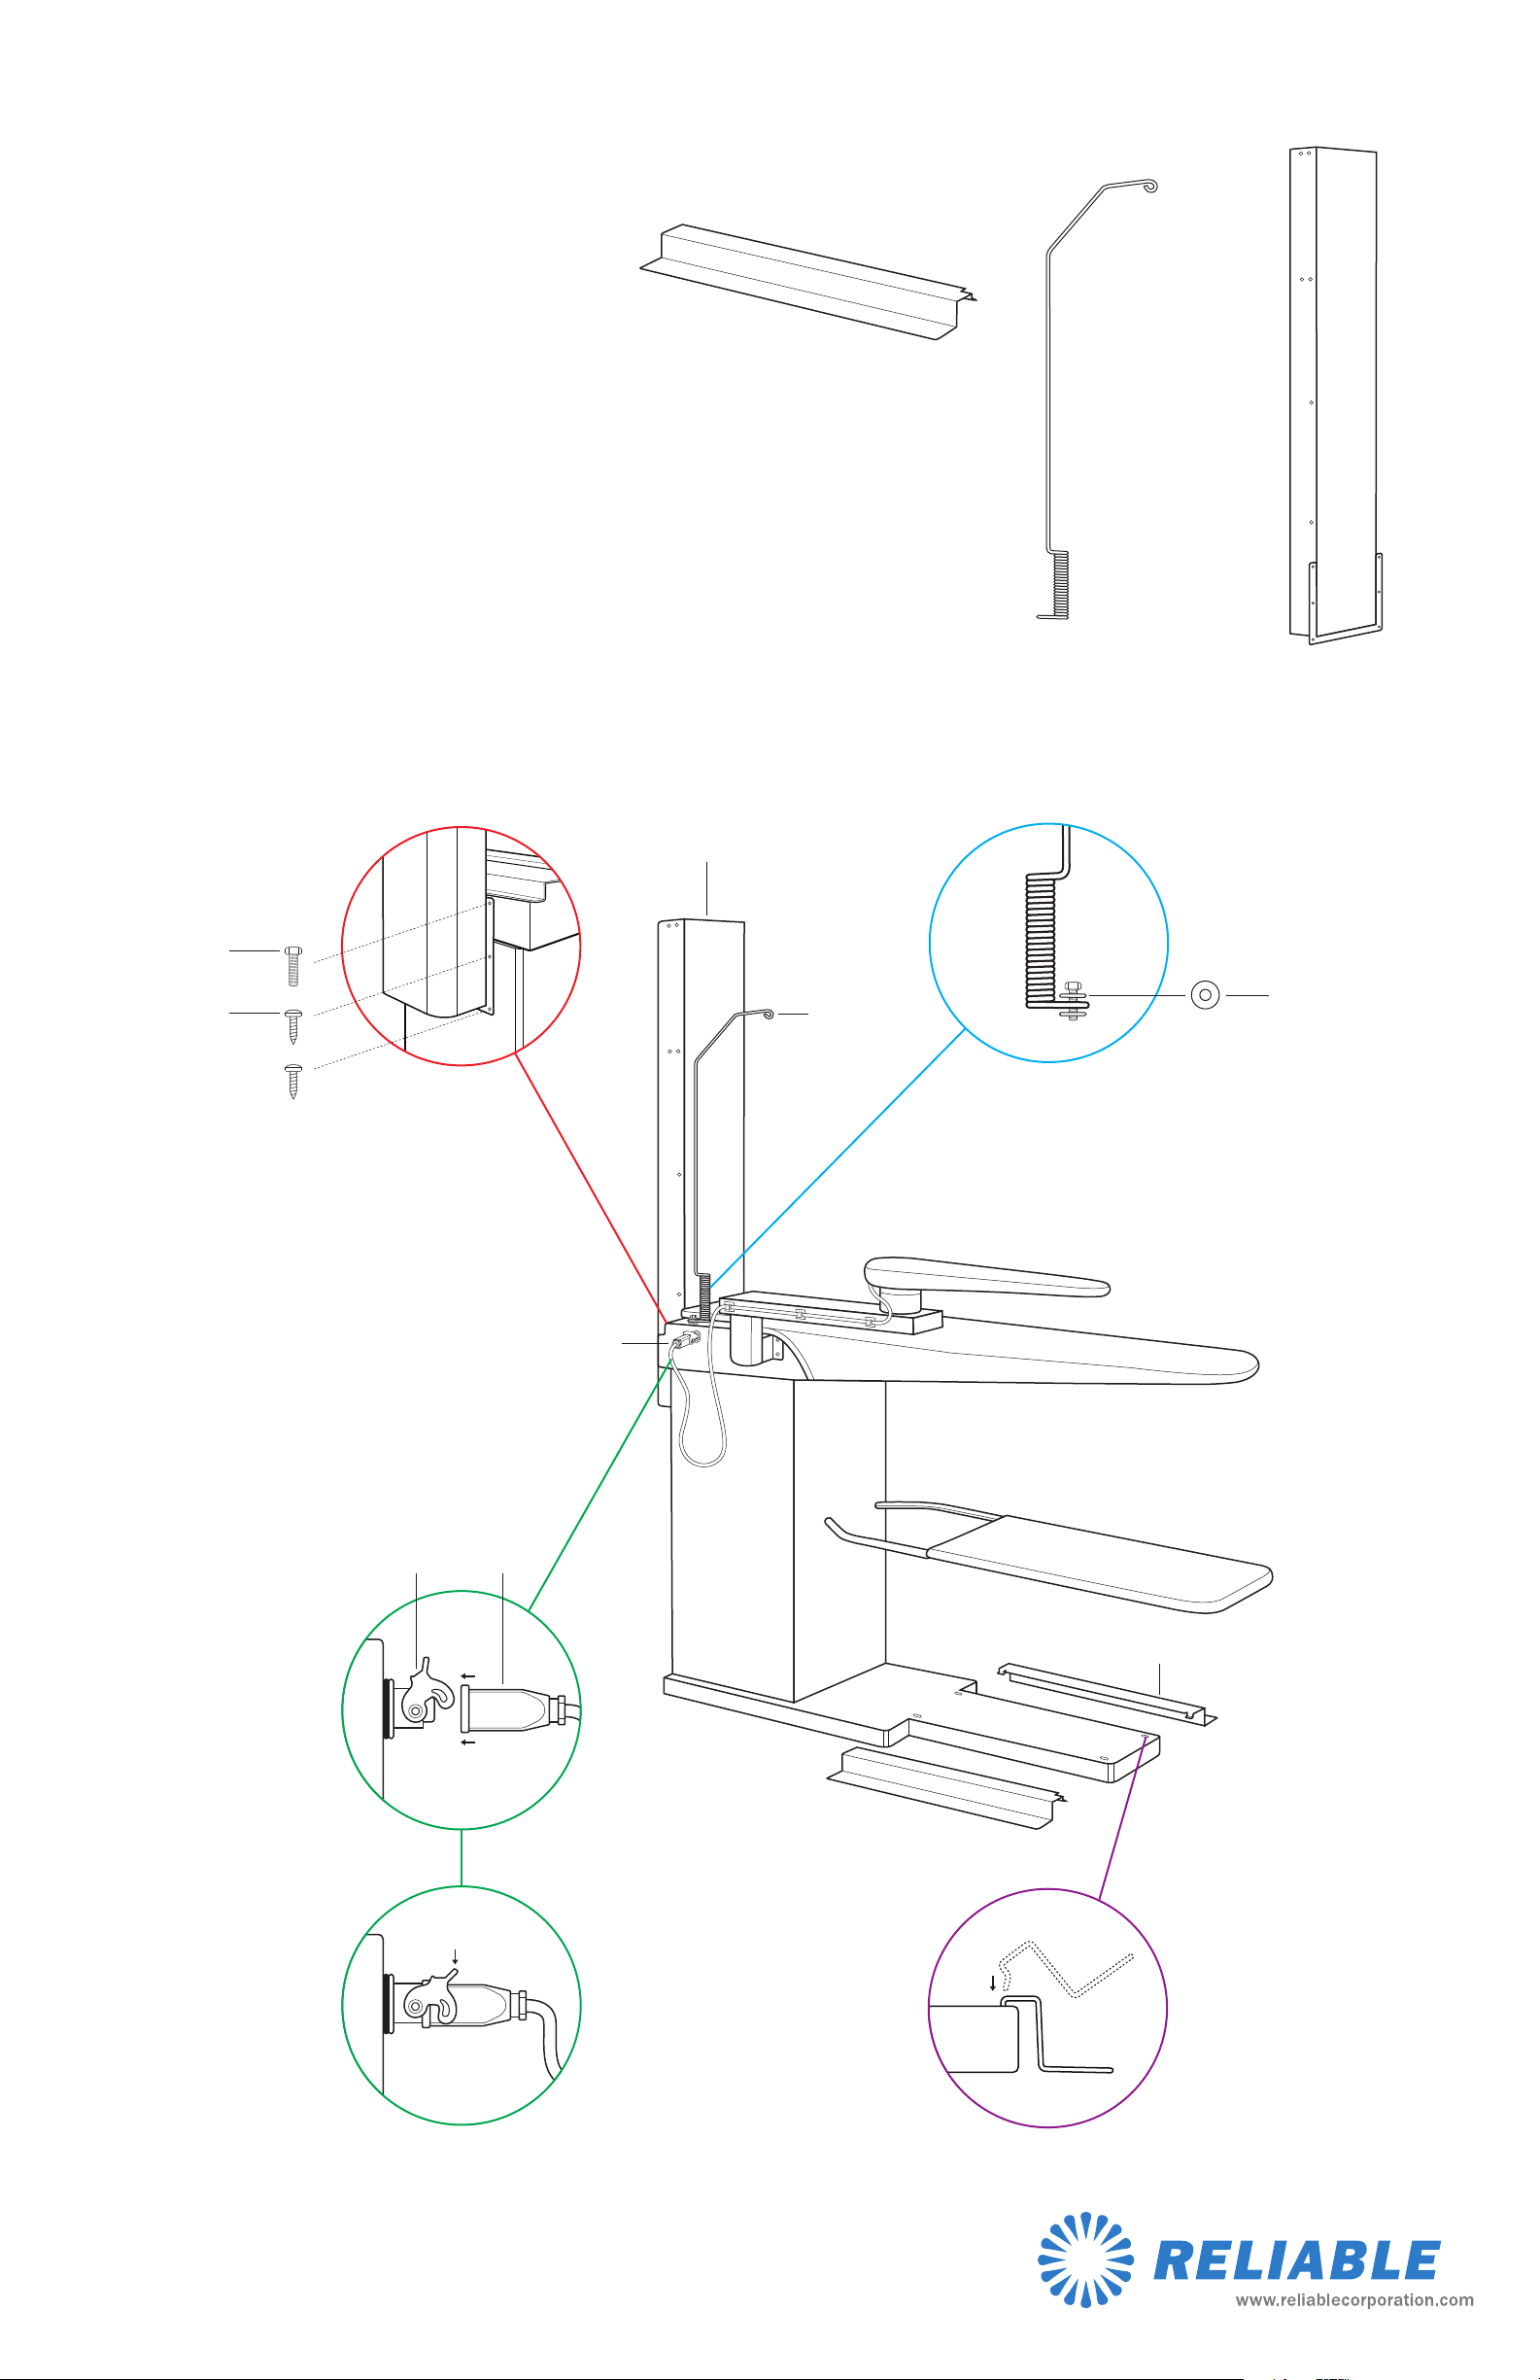
GENERAL
1. Remove all packagingwrap from the vacuum table.
2. Confirm that you have the following loose parts:
CHIMNEY
CORD SUPPORT
PEDAL(S)
The 6000VB has two pedals.
CHIMNEY
1. From the side of the vacuum table remove the 2 BOLTS (use 8mm
wrench) and the 4 SCRE
WS (use Phillips head screw driver).
2. Using the 2 bolts and the 4 screws, attach the chimney (two people
may be needed for this task – one to hold the chimney and the other to
attach it with the supplied hardware).
CORD SUPPORT
1. Remove the bolt and 2 washers from the top of the vacuum table (a
small hole will now be visible).
2. Put 1 washer over the hole at the top of the vacuum table, place the
cord support base loop over the washer then layer the second
washer on top of the base loop.
Using the bolt by placing it through the washers and base loop,
securely fasten the cord support to the vacuum table.
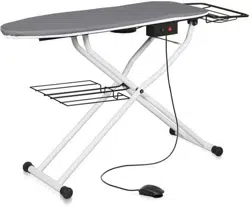
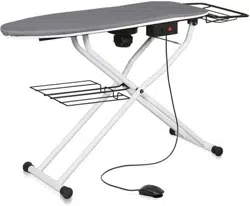
PEDAL(S)
1. Insert the small tabs on the foot pedalplate into the small
corresponding slots on the base of the table.
BUCK POWER
(6200VB)
1. Open the outlet by lifting the locking flap firmly but carefully.
2. Insert the 4-pin plug attached to the buck.
. Firmly close the locking flap.
BUCK POWER
locking flap
screw
bolt
washer
4-pin plug

Reliable Corporation (“Reliable”) warrants to original purchaser of its products that every
product sold by Reliable (a “Reliable Product”) is free from defects in material and workmanship
for a period of one year from the date of purchase if properly used and maintained. Subject
to the conditions and limitations set forth below, Reliable will either repair or replace any part
of a Reliable Product that proves defective by reason of improper workmanship or materials.
If the defective Reliable Product is no longer available and cannot be repaired effectively or
replaced with an identical model, Reliable shall replace the defective Reliable Product with a
current Reliable Product of equal or greater value. Repaired parts or replacement products
will be provided by Reliable on an exchange basis, and will be either new or refurbished to be
functionally equivalent to new. If Reliable is unable to repair or replace a Reliable Product, it will
refund the current value of that Reliable Product at the time the warranty claim is made.
This limited warranty does not cover any damage to a Reliable Product that results from
improper installation, accident, abuse, misuse, natural disaster, insufficient or excessive
electrical supply, abnormal mechanical or envsteamermental conditions, wear and tear resulting
from normal use of the product, or any unauthorized disassembly, repair, or modification. This
limited warranty does not extend to any indirect, consequential or incidental damages that
may be suffered by a user or from the use of a Reliable Product, including without limitation,
any liability for third party claims for damage, and is limited to the amount paid by the original
purchaser Reliable Product with respect to which this limited warranty protection applies.
This limited warranty does not apply with respect to products that have been altered or which
are missing serial numbers or for products not purchased directly from Reliable or a dealer
authorized by us to sell Reliable Products.
This limited warranty is the only warranty that applies to any Reliable Product, supersedes any
and all terms that may be contained in any other document or purchase order and may not be
altered or amended except expressly in writing by Reliable.
To obtain a repair or replacement under the terms of this warranty, please contact our customer
service group at 1-800-268-1649 or at support@reliablecorporation.com. You will be required
to submit an original receipt via fax or e-mail. The receipt must reflect that you are the original
purchaser, the product was bought directly from us or from an authorized Reliable dealer and
that the warranty claim is being made within the warranty period. You will be issued a return
authorization number (RA#) and asked to ship the defective product together with proof of
purchase and RA#, prepaid insured to the following address:
Reliable Corporation, 5-100 Wingold Avenue, Toronto, ON M6B 4K7. Freight collect shipments
will be refused. The risk of loss or damage in transit will be borne by
the customer. Once Reliable receives the defective product, it will initiate the repair or
replacement process.
If you have any questions regarding this warranty, you may write to:
Reliable Corporation
100 Wingold Avenue, Unit 5
Toronto, Ontario
Canada M6B 4K7
www.reliablecorporation.com
RELIABLE PRODUCTS
WARRANTY