Loading ...
Loading ...
Loading ...
K BARANDC_/M LUBRICANT-
• The Guide Bar and Cuffing Chain req_]m
continuous lubdcaffon in order.tb remain in
operating condition. Lubricationis provided
by theaulomaticoilersystemwhenthe oillank
_keptfilled.
-- Lackof oilwillquickly ruinthebarand chain,
Toolittleoilwigcause overheating shownby
smokecomingfromthechainandlordiscolora*
lionof theguidebar rails;
• Genuine Poulan®Barand Chain OI! isrecom-
mended toprotectyourunitagainstexcessive
wearduetoheatandfriction. Poulan® lubricant
resistshightemperaturethinning.IfPoular_ bar
andchaino_lisnotavailable,useagood gradeSAE
30 oil.Neverusewasteoilforthispurpose.
Oin freezing weather oil will thicken, making
it rmosssary to thin bar and chain oil with a
small amount, of Diesel Fuel #1 or
Kerosene, Bar and chainoilmustbe free Flow-
ingfor the oi!systemtopumpenoughoilfor ad-
equate lubrication.
1. USETHE FOLLOWING:
30°For above --lubricant -- undiluted.
30o-0°F_ 95% lubricant tO5% Diesel Fuel
#1or Kerosene.
.Below 0°F--90% lubricant to 10% Diesel
Fuel #1 orKerosene.
3- IMPORTANT POINTS TO REMEMB ER
a, Fill the oil tank each time you refill the fuel"
tank Io ensure there willbe sufhctent odforthe
cha=nwhenever youstart and run thesaw
b. The saw will normally use about 1/2 tank of
chain oil for each tank of fuel mixture. If less
oil is used, check for aplugged oil hole in the
guide bar.
c. Keep sawdust and debris cleaned from the
oil holes in the guide bar lo allowan adequate
odflow tothe bar and cha=.n
d. Keepspifled and spattered oilwiped from the
unitto avoidsatgduat and debrisbuilt-up. Pay
particularattentiontooil onthefanhousingand
starterassemblytoavoidov_heatingtheengine.
It is normal for a small amount of oil to ap-
pear under the saw after the engine stops. •
ThtssSdue tooddralmngfromthebar _,ndchain
when not=nuse.
Generally, less oil is required for softor
freshly cut wood end maximum oil is requir-
ed for hat_fwood or wood that has been
cut for a periodoftimeo
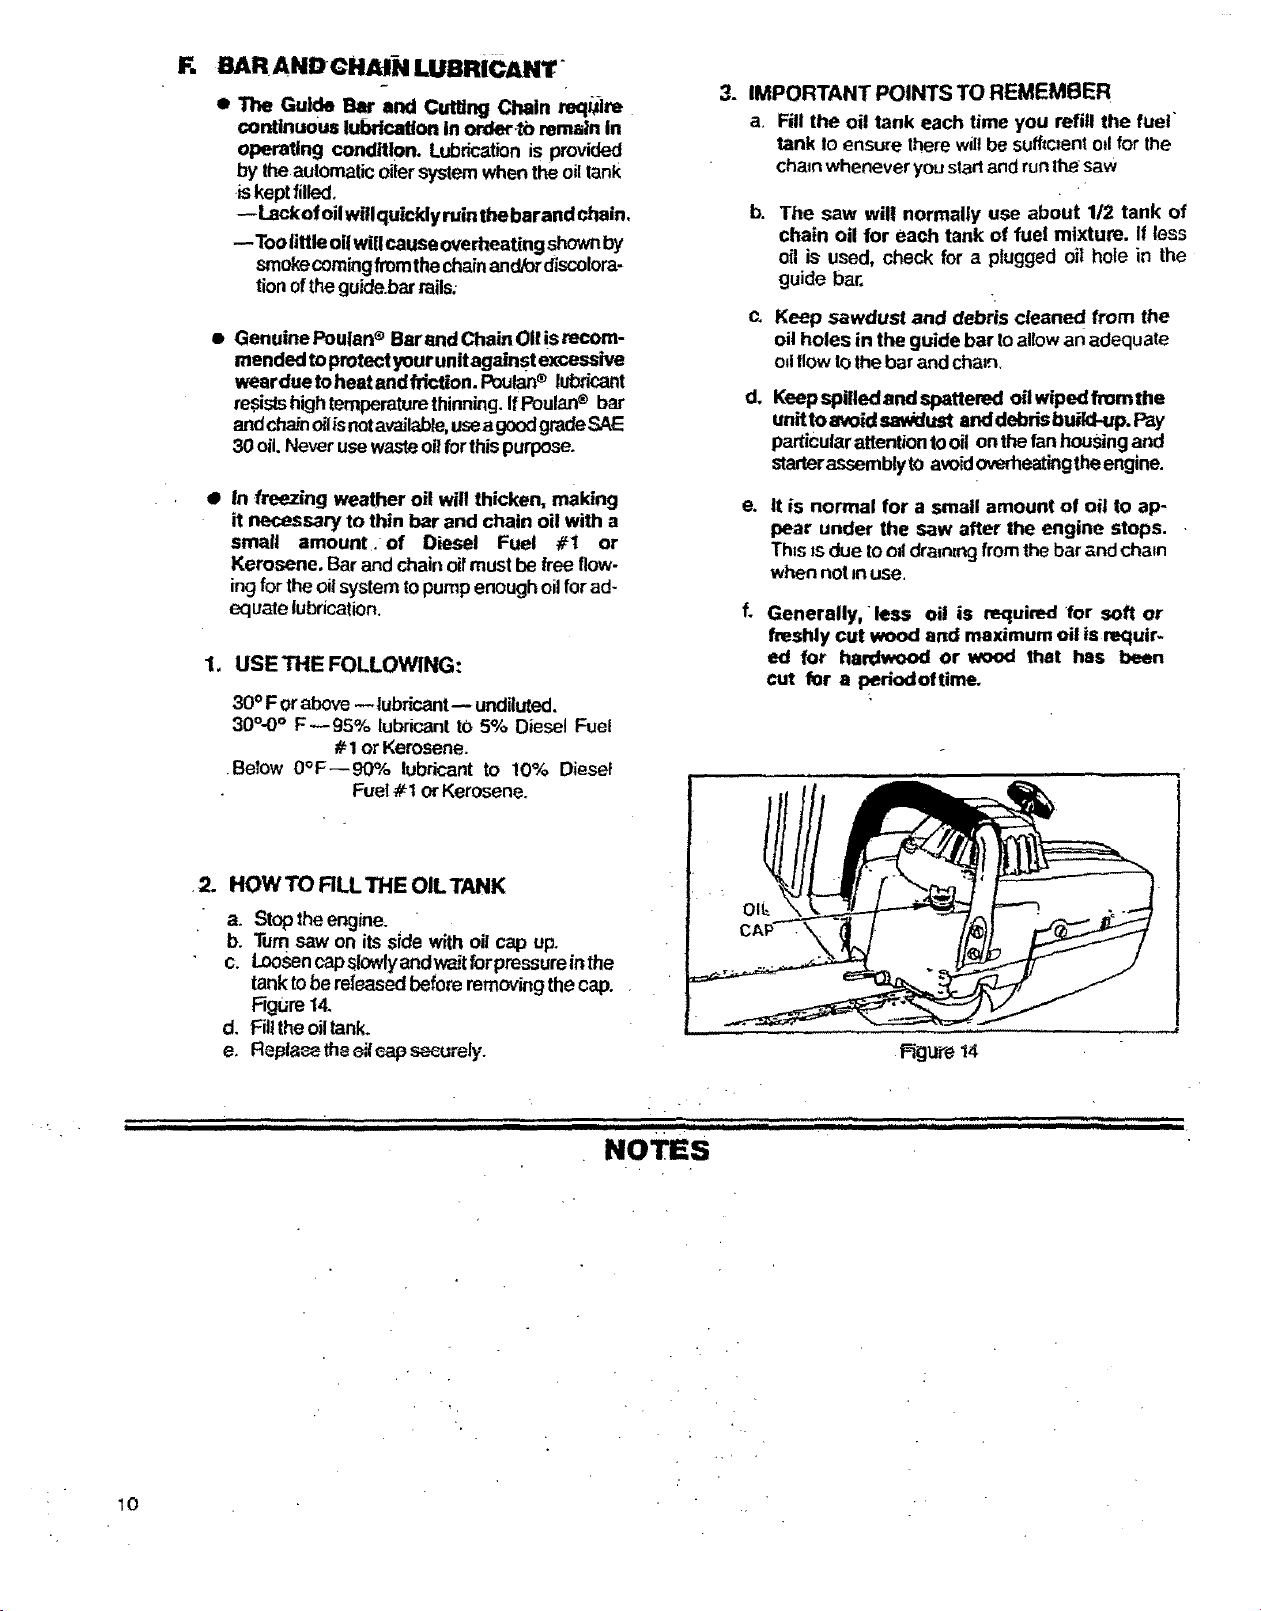
•2. HOWTO RLLTHE OILTANK
a. Stoptheengine.
b. Tum saw on itsside with oil cap up.
c. Loosencapslowlyandwaitforpmssureinthe
tank tobe released before removingthe cap.
Figure14.
d. Filltheoil tank.
e. Repla_ the _f _ap securely. Rgure 14
i iiiiii iiiiinul I............. ,,, ,,,,,,,.,,
NOTES
.,,_,,,i,
10
Loading ...
Loading ...
Loading ...