
ambertech.com.au • amber.co.nz
ambertech.com.au
amber.co.nz
Imported and distributed in Australia by
ENJOY IT
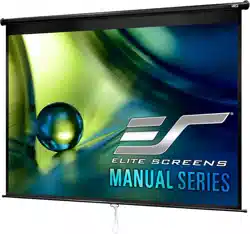
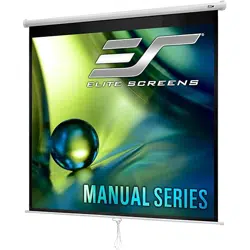
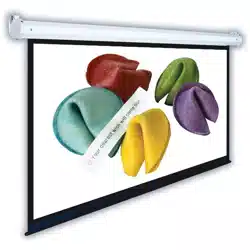
PULL-DOWN SCREEN
USER MANUAL
Note: Warranty does not cover un-installing
or re-installing unit.
Protecting your Screen:
To ensure long lasting viewing enjoyment keep the screen
rolled up when not in use. Check both the front and back
surfaces before retracting into the case to make sure it is free
of dust, dirt, insects or other foreign matter. Use a soft brush
or cloth to lightly remove any foreign particles.
Cleaning your Screen:
Use warm water with a mild detergent to remove any marks
on the surface (only dab, do not rub) or screen casing.
Immediately dry the screen with a soft cloth or towel.
Do not leave it to air dry.
Never use any solvents, chemicals or abrasive cleaners
on the screen surface as they can permanently damage
the screen surface.
Product Code:
2C745/2C747
2C756/2C757

To the owner
Congratulations on purchasing a 2C projection screen,
designed and engineered to produce the sharpest,
most pleasing pictures with maximum convenience.
Before you start
• Use the correct tools:
a level, a measuring tape and a pencil to mark with.
• Measure the bracket position accurately before
attaching to the wall or ceiling.
• Do not mount the brackets to the full width of
the casing, allow at least 100mm at each end
for horizontal picture alignment.
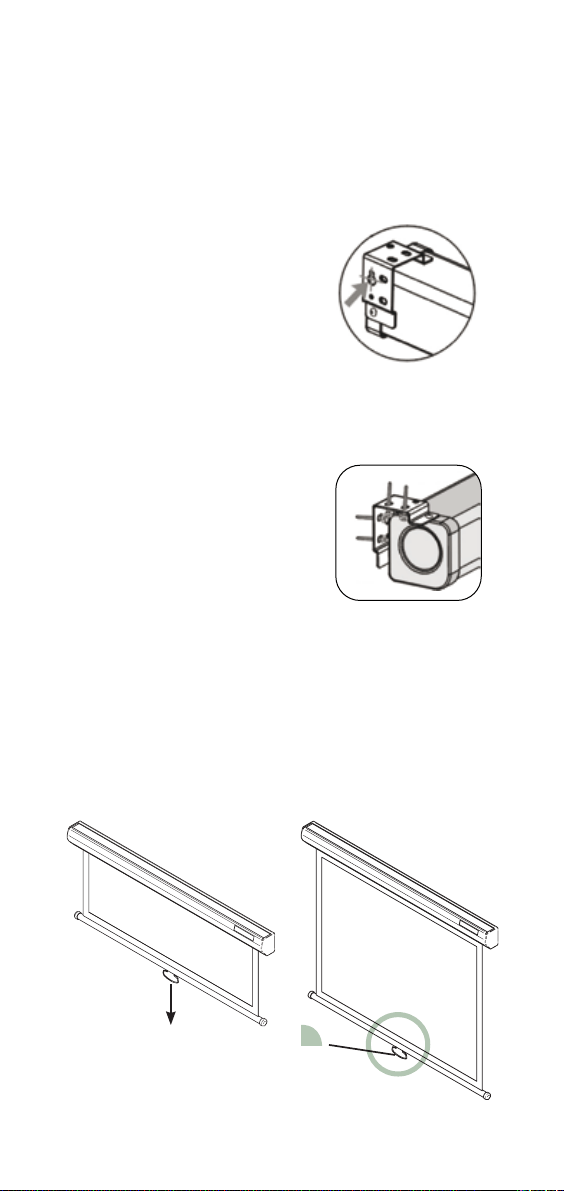
Wall mount
Mount the brackets firmly eg: into wall studs or bricks.
Ensure the brackets are in level.
Use the keyhole slot at the back of the hanging bracket
for flush wall suspension.
Position screws or other suitable
fasteners into the wall and hang the
screen using the slots as shown here.
Ceiling mount
Screen can be ceiling mounted
as shown here:
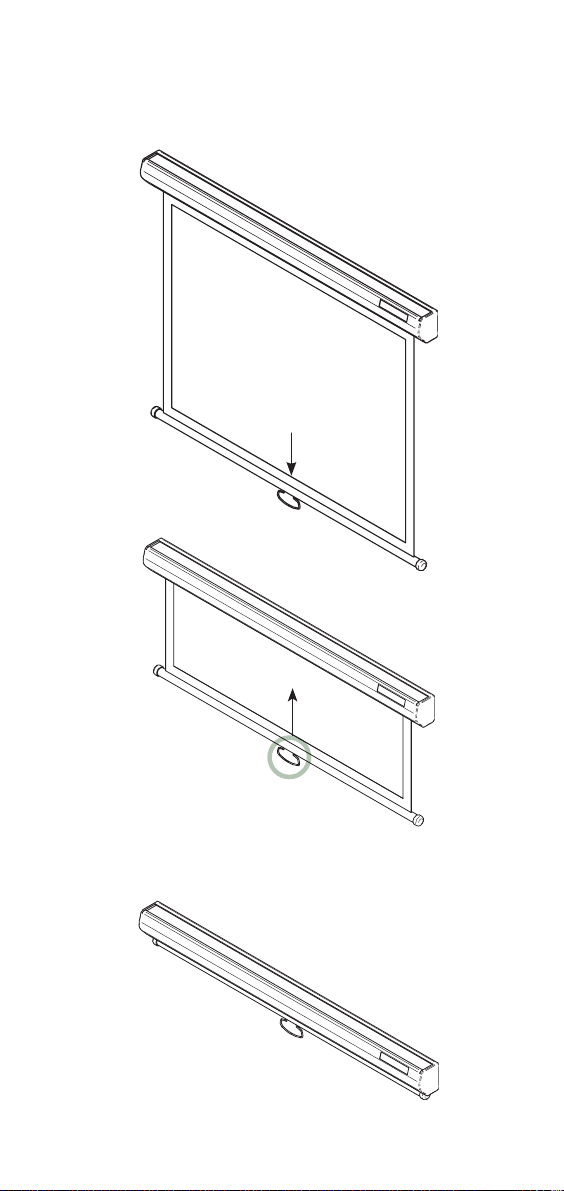
Retract the screen by pulling down the handle and then
let go of it. The screen will retract at a controlled speed.
Operation
Lower the screen by pulling down the handle. Once in
position, hold for 3 seconds: the self locking mechanism
will lock screen into position.
3 Sec.
Screen retracting slowly.
Screen fully retracted.
To the owner
Congratulations on purchasing a 2C projection screen,
designed and engineered to produce the sharpest,
most pleasing pictures with maximum convenience.
Before you start
• Use the correct tools:
a level, a measuring tape and a pencil to mark with.
• Measure the bracket position accurately before
attaching to the wall or ceiling.
• Do not mount the brackets to the full width of
the casing, allow at least 100mm at each end
for horizontal picture alignment.
Wall mount
Mount the brackets firmly eg: into wall studs or bricks.
Ensure the brackets are in level.
Use the keyhole slot at the back of the hanging bracket
for flush wall suspension.
Position screws or other suitable
fasteners into the wall and hang the
screen using the slots as shown here.
Ceiling mount
Screen can be ceiling mounted
as shown here:
Retract the screen by pulling down the handle and then
let go of it. The screen will retract at a controlled speed.
Operation
Lower the screen by pulling down the handle. Once in
position, hold for 3 seconds: the self locking mechanism
will lock screen into position.
3 Sec.
Screen retracting slowly.
Screen fully retracted.

ambertech.com.au • amber.co.nz
ambertech.com.au
amber.co.nz
Imported and distributed in Australia by
ENJOY IT
PULL-DOWN SCREEN
USER MANUAL
Note: Warranty does not cover un-installing
or re-installing unit.
Protecting your Screen:
To ensure long lasting viewing enjoyment keep the screen
rolled up when not in use. Check both the front and back
surfaces before retracting into the case to make sure it is free
of dust, dirt, insects or other foreign matter. Use a soft brush
or cloth to lightly remove any foreign particles.
Cleaning your Screen:
Use warm water with a mild detergent to remove any marks
on the surface (only dab, do not rub) or screen casing.
Immediately dry the screen with a soft cloth or towel.
Do not leave it to air dry.
Never use any solvents, chemicals or abrasive cleaners
on the screen surface as they can permanently damage
the screen surface.
Product Code:
2C745/2C747
2C756/2C757