Loading ...
Loading ...
Loading ...
7
REPLACING THE UV BULB
WARNING
Always make sure that the air purifier is turned OFF and UNPLUGGED from power outlet
before replacing UV bulb. Always use caution when handling the UV bulb to prevent
accidental breaking of the bulb. NEVER touch the glass part of the bulb.
Oil from fingers will reduce the performance of the UV bulb. Always use gloves or
handle the bulb only by the metal area on the bulb. Failure to do so may risk shock, fire
hazard or damage the unit and replacement lamp.
DO NOT use a vacuum to pick up broken bulb glass or handle broken bulb with your
hands. Sweep debris into a plastic bag and dispose properly. Contact your local waste
management authority for instruction regarding recycling and the proper disposal of the
old bulb(s).
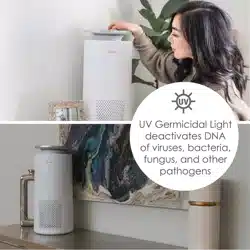
The UV bulb is designed to provide approximately one year continuous operation. After
one year the UV bulb’s effectiveness is greatly reduced. For maximum protection,
replace after a year or if the blue UV bulb does not illuminate when the UV switch is ON.
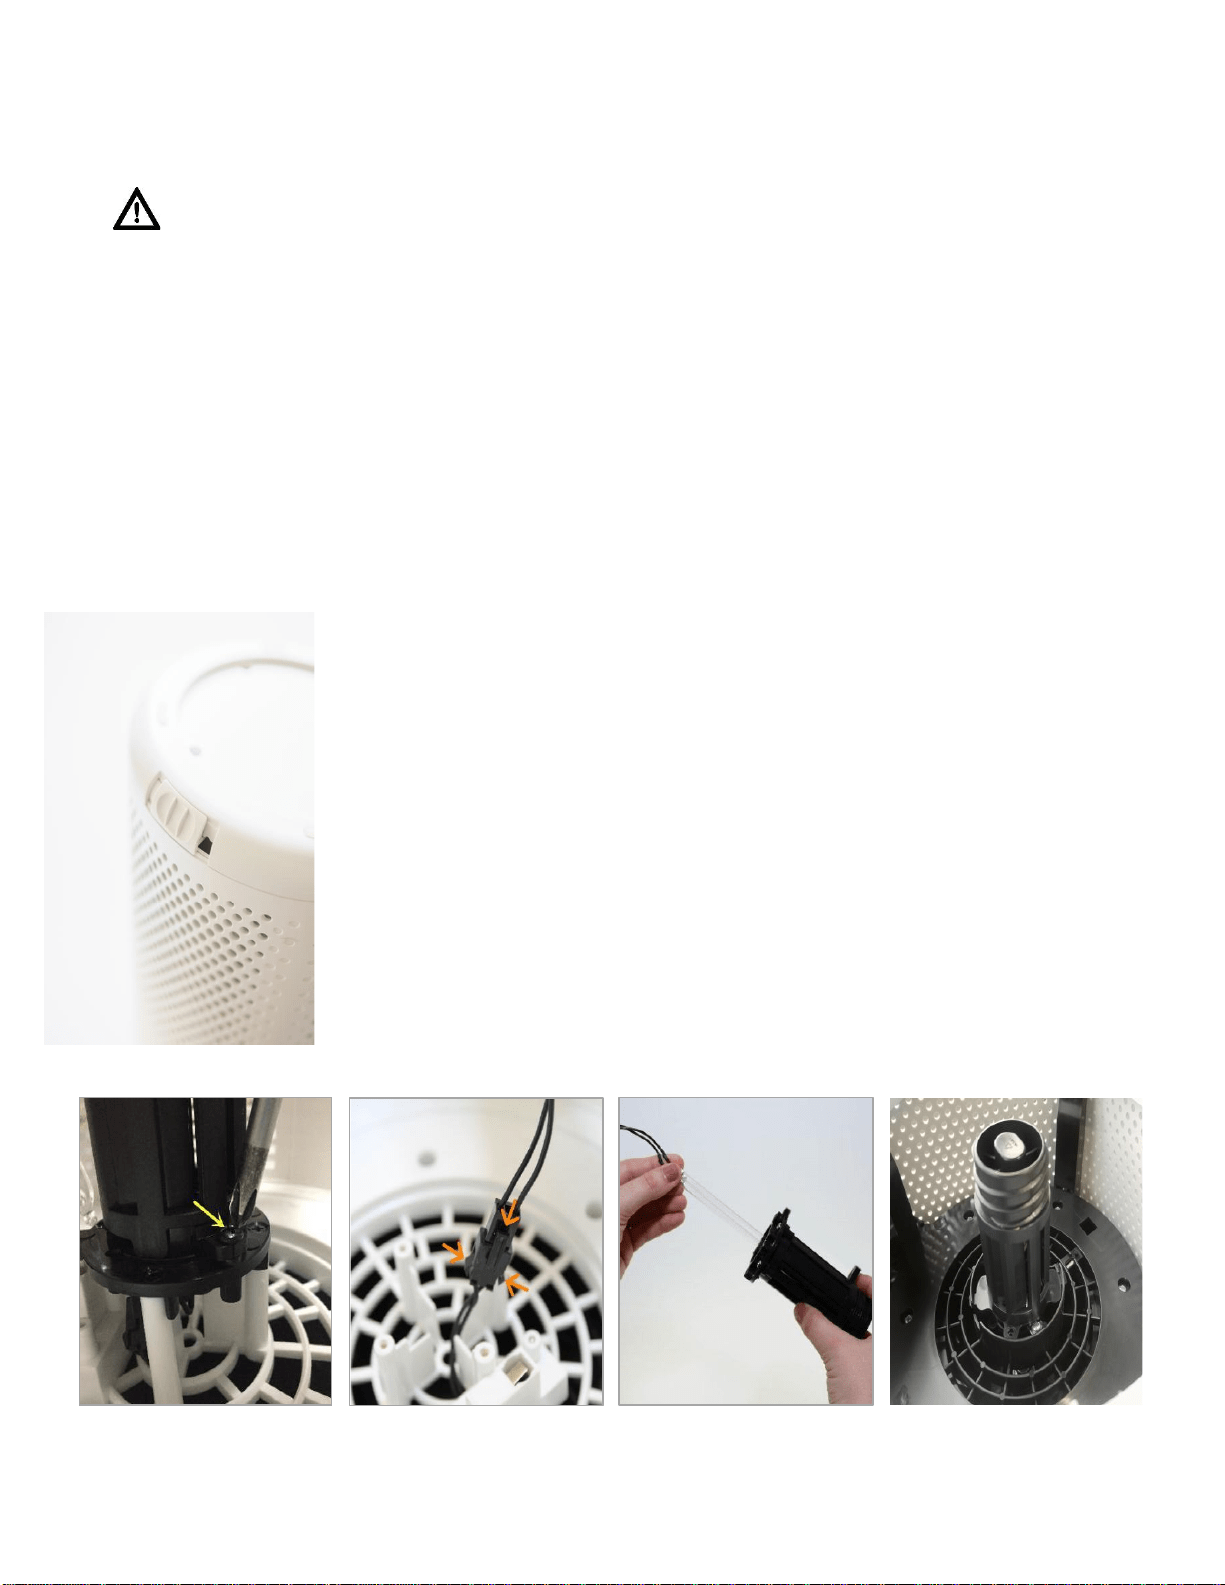
1. Unplug the unit and turn it upside down. Remove the base and
filter.
2. Slowly loosen the SINGLE SILVER screw.
3. Twist off the bulbs protective casing counterclockwise and pull off to
reveal the UV light bulb
4. Grasp the wire connectors just under the bulb housing and gently
disconnect it by squeezing the side and top notches.
5. Holding the bulb housing straight up SLOWLY slide the UV bulb out
of the housing to keep rubber protectors in place. SLOWLY slide the
new bulb into the housing to fit into the top and bottom rubber
protectors. DO NOT FORCE.
6. Grasp the wire connectors from the purifier and bulb housing and
reconnect by pushing together.
7. Re-attach the bulb housing by first twisting clockwise back onto the
unit and then tightening the SILVER screw.
8. Insert filter and reattach the base cover.
Loading ...
Loading ...
Loading ...