Loading ...
Loading ...
Loading ...

MAINTENANCE use. Do not use the unit with the shrouds or belt
__ To avoid personal injury, always shut off
and unplug the compressor and relieve all air pressure
from the system before performing any service on the air
compressor.
Regular maintenance will ensure trouble-free operation.
Your electric powered air compressor represents high-quality
engineering and construction; however, even high-quality
machinery requires periodic maintenance. The items listed below
should be inspected on a regular basis
DRAINING THE TANK
Drain the moisture from the tank (for instructions, see
"Shutdown" in the operating instructions section).
__Condensation will accumulate in
the tank. To prevent corrosion of the tank from the
inside, this moisture must be drained at the end of
every workday. Wear protective eyewear.
CHECKING THE OIL
To check the oil level in the pump, unscrew the dipstick (D)
and wipe off oil. Screw the dipstick all the way in and then
unscrew. The pump oil level should be between between add
(see C) and full (see B). Replace the dipstick. Do not overfill
or under fill.
guard removed. Serious injury could occur from
contact with moving parts.
Proper belt tension and pulley alignment must be maintained
for maximum drive efficiency and belt life. The correct tension
exists if a deflection (see A) of 1/2" (13 mm) occurs by placing 10
lbs. (4.6 kg) of force (see B) midway between the motor pulley
and the pump flywheel (See Fig. 8). This deflection can be
adjusted by the following procedure. The pulley should be
carefully aligned with the flywheel, and all setscrews should be
kept tight.
1. Remove the front of the beltguard by removing the 5 screws
using a Phillips head screwdriver.
2. Loosen the motor mounting bolts.
3. Shift the motor to the point where the correct deflection exists
(A & B).
4. Retighten the motor mounting bolts to 130-180 in.-lbs.
5. Check to ensure that the tension remained correct.
6. Reinstall the belt guard. All moving parts must be guarded.
Fig. 8
Motor
NOTE: Use synthetic, non-detergent air compressor oil.
CHANGING THE OIL
Remove the oil plug (see A) and drain the oil until it slows to
a drip, then close. Add compressor oil (approx. 18 oz.) until it is
between full (see B) and add (see C) when the dipstick (see D) is
screwed completely into the hole. Never overfill or underfitl the
pump.
NOTE: The compressor is pre-fitled with synthetic oil. Use
synthetic, non-detergent air compressor oil.
B = Full
C = Add
Fig. 7
DRIVE BELT TENSION ADJUSTMENT
NOTE: Drive belt tensioning and pulley alignment are done
at the same time. They are discussed separately for clarity.
__ This unit starts automatically.
ALWAYS shut off the main power disconnect, and
bleed all pressure from the system before servicing
the compressor, and when the compressor is not in
Motor
Motor
bolts
Pump
Flywheel
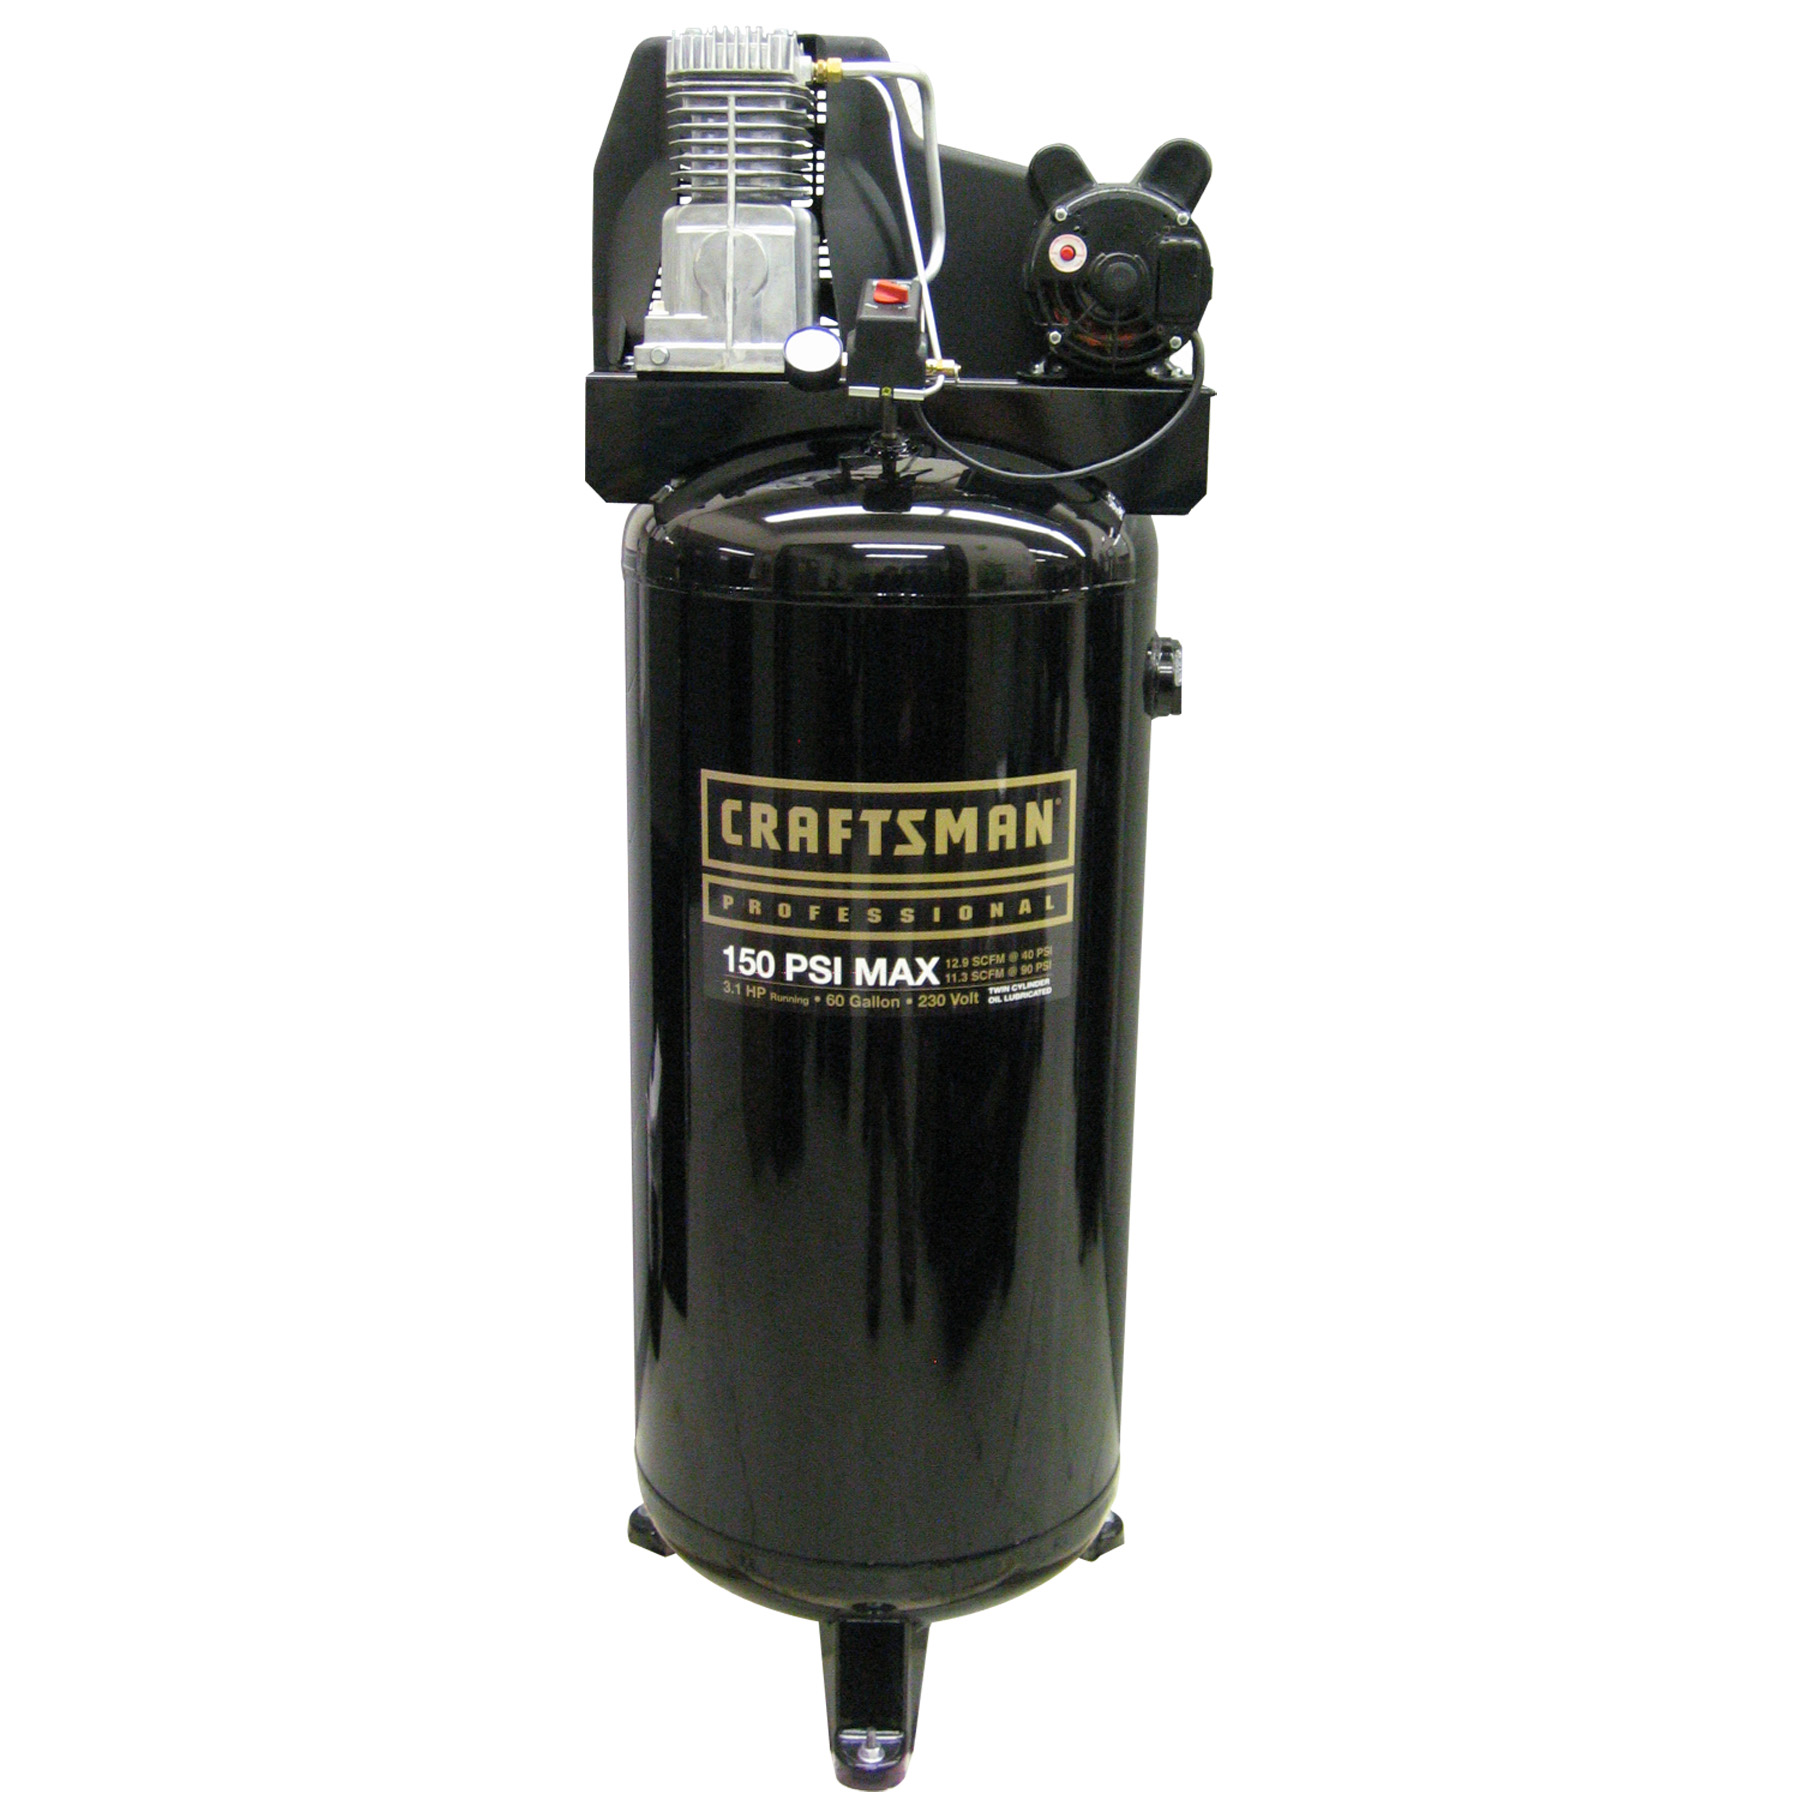
Compressor moy very #ore one shown
PULLEY ALIGNMENT
NOTE: Drive belt tensioning and pulley alignment are done at
the same time. They are discussed separately for clarity.
__This unit starts automatically.
ALWAYS shut off the main power disconnect, and
bleed all pressure from the system before servicing
the compressor, and when the compressor is not in
use. Do not use the unit with the shrouds or belt
guard removed. Serious injury could occur from
contact with moving parts.
200-2794 9
Loading ...
Loading ...
Loading ...