1
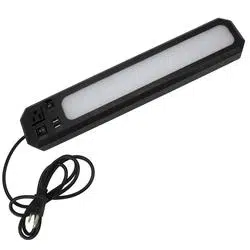
18IN LED WORK BENCH
LIGHT
SKU Number: 346-0644
Model Number: 0005-0221
Patriot Lighting® is a registered trademark
of Menard, Inc. All Rights Reserved.
Patriot Lighting® is a registered trademark
of Menard, Inc. All Rights Reserved.
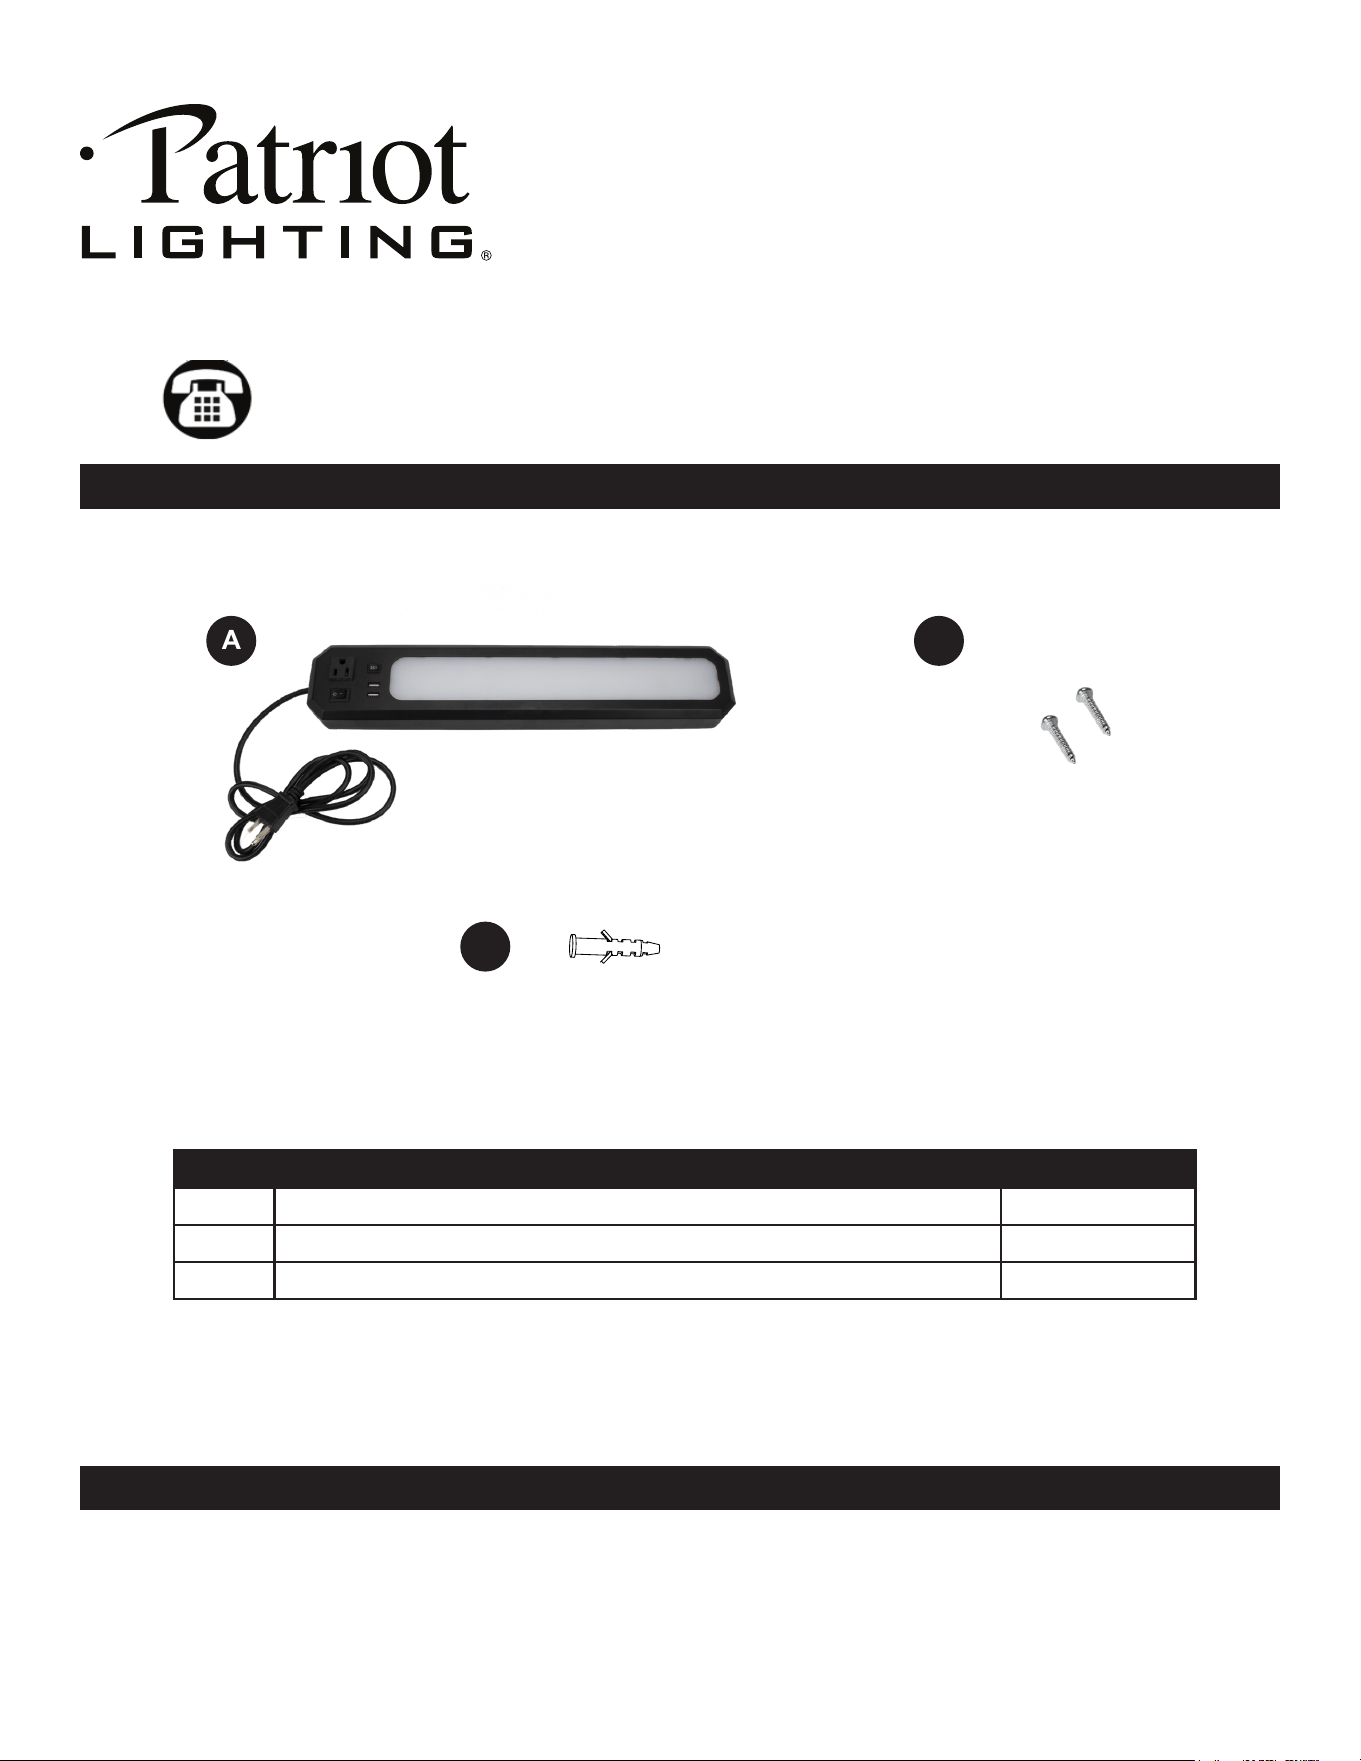
PACKAGE CONTENTS
Note: Hardware not shown to actual size.
Questions, problems, missing parts?
Before returning to your retailer, call our customer service at
1-844-255-9692 Monday – Friday 8:00 a.m. – 5:00 p.m. CST
PART DESCRIPTION QUANTITY
A 18 Inch LED Work Bench Light w/attached 5ft Power Cord 1
B Mounting Screw 2
C Drywall Anchors 2
• Do not use if there is any damage to the light or power cord insulation. Inspect periodically.
• Wash hands after use.
• Do not use chemical solvents or harsh abrasives to clean xture. Use a dry soft cloth to clean if needed.
CARE AND MAINTENANCE
1) The light does not come on at all:
a) Make sure xture is plugged in.
b) Make sure the wall switch and circuit breaker are on.
If unable to x any of the above issues, please consult a certied electrician.
TROUBLESHOOTING
A
B
Questions, problems, missing parts?
Before returning to your retailer, call our customer service at
1-844-255-9692 Monday – Friday 8:00 a.m. – 5:00 p.m. CST
4
REV2032
This PATRIOT LIGHTING® brand light xture carries a ve (5) Year Limited Warranty to the original
purchaser. If, during normal use, this PATRIOT LIGHTING® light xture fails due to a defect in material
and workmanship within ve (5) years from the date of purchase, simply bring this light xture with your
original sales receipt back to your nearest MENARDS® retail store. At its discretion, PATRIOT LIGHTING®
agrees to have the lighting xture replaced with the same or similar PATRIOT LIGHTING® product free of
charge, within the stated warranty period, when returned by the original purchaser with original sales receipt.
Notwithstanding the foregoing, this limited warranty does not cover damage or failure caused by misuse
or abuse including but not limited to improper installation, accident, unauthorized repair, maintenance, or
modications of the merchandise. This warranty: (1) excludes expendable parts including but not limited
to light bulbs, batteries; (2) carries a 2-year nish warranty protecting nish against tarnishing, aking, and
discoloration; (3) shall be void if this lighting xture is not installed in the U.S.A; (4) does not cover products
installed within three miles of saltwater coastline or any area prone to salt spray; and (5) does not cover any
losses, labor, injuries to persons/property or costs. This warranty does give you specic legal rights and
you may have other rights, which vary from state to state. Be careful, it is recommended that installation be
done by a qualied professional; the purchaser has sole responsibility for proper installation in compliance
with all state and local code requirements. Seller’s employees are not qualied to advise you on the
use of this Merchandise. Any oral representation(s) made will not be binding on seller or its employees.
The rights under this limited warranty are to the original purchaser of the Merchandise and may not be
transferred to any subsequent owner. This limited warranty is in lieu of all warranties, expressed or implied
including warranties or merchantability and tness for a particular purpose. Seller shall not be liable for any
special, incidental, or consequential damages. The sole exclusive remedy against the seller will be for the
replacement of any defects as provided herein, as long as the seller is willing or able to replace this product
or is willing to refund the purchase price as provided above.
SAVE YOUR RECEIPTS. THIS WARRANTY IS VOID WITHOUT THEM.
WARRANTY
C

32
Please read and understand this entire manual before attempting to assemble, operate or install the product.
READ AND FOLLOW ALL SAFETY INSTRUCTIONS
WARNING: These products may represent a possible shock or re hazard if improperly installed or at-
tached in any way. Products should be installed in accordance with these instructions, current electrical
codes, and/or the current National Electric Code (NEC). Disconnect power to the unit prior to installation.
WARNING: To reduce risk of re, electric shock, or injury to persons, be sure that power supply is
turned o at fuse box or circuit breaker before attempting installation or servicing of the xture.
WARNING:
Injury to persons and damage to the xture and/or mounting surface may result if the xture is pulled
from the surface. To reduce the likelihood of such injury or damage, mount to a surface that is mechanically sound.
SAVE THESE INSTRUCTIONS.
For safest operation, read and become familiar with complete installation
instructions prior to use. Pay close attention to this manual and stay within its guidelines when using this product.
ADDITIONAL SAFETY MEASURES
• To avoid electrical shock, do not turn on xture with missing or damaged lens.
• There are no serviceable parts inside LED module.
• LEDs emit bright light. Avoid looking directly at the light source.
• If power cord is used, do not alter it in any way.
• Do not install the strip lighting near ammable liquids.
• Do not use with any other cord, cable or connector other than those provided with the xture or
recommended in this instruction manual.
• Keep xtures away from curtains and other combustible materials.
• This portable luminaire has a polarized plug (one blade is wider than the other) to reduce the risk of electric
shock. This plug will t in a polarized outlet one way. If the plug does not t fully in the outlet, reverse the
plug. If it still does not t, contact a qualied electrician. Never use with an extension cord unless plug can
be fully inserted. Do not alter plug.
• Suitable for indoor dry locations only.
SAVE THESE INSTRUCTIONS
Before beginning assembly, installation, or operation of product, make sure all parts are present. Compare
parts with package and hardware contents lists on page 1. If any part is missing or damaged, do not attempt
to assemble, install or operate the product. Contact customer service for replacement parts.
Tools Required for Assembly (not included): Pencil, Phillips Screwdriver or Electric Drill, Safety Glasses
Estimated assembly time: 20 minutes
SAFETY INFORMATION
PREPARATION
INSTALLATION INSTRUCTIONS
5. Subsequent xtures can be installed so they are
powered from an adjacent xture by using the 120V
receptacle on the face of the xture. Plug the power
cable from additional xtures into the 120V receptacle,
being sure the connection is secure.
NOTE: Maximum number of adjacent units that can be
inter-connected is 10.
6. For Fixture operation:
ON/OFF: Use the ON/OFF switch on the xture face.
Brightness: There are two brightness settings. Use the
brightness toggle switch to adjust brightness settings.
USB Charging Ports: There are 2 USB charging ports
on the xture face. Use these ports to charge other
electronics that utilize USB charging.
1. Determine the desired location of the light xture (A).
Using a pencil, mark the locations of the mounting
holes onto the mounting surface. Ensure the power
input side of the xture (A) is no more than 5 feet
from a 120V power receptacle.
2. Use an electric drill (or start holes with an awl) and
screw in the mounting screws (B) into the mounting
surface at the locations marked during Step 1. Be sure
to leave approximately 1/4” of the screw exposed to t
in the xture’s mounting hole slots.
3. Using the heads of the two screws (B) installed
during Step 2 as a guide, bring the light xture (A)
to the surface so that the keyholes slip over the
screws (B), then slide the light xture so the screw
heads rest over the narrow part of the keyhole slot.
4. Insert the attached power cord into an appropriate
120V AC receptacle.
A
A
A
Fig. 1
Fig. 2
Fig. 3
Fig. 5
Fig. 6
Fig. 4
B
120V Receptacle
120V Receptacle
Brightness
Switch
ON/OFF SwitchUSB Port

1
18IN LED WORK BENCH
LIGHT
SKU Number: 346-0644
Model Number: 0005-0221
Patriot Lighting® is a registered trademark
of Menard, Inc. All Rights Reserved.
Patriot Lighting® is a registered trademark
of Menard, Inc. All Rights Reserved.
PACKAGE CONTENTS
Note: Hardware not shown to actual size.
Questions, problems, missing parts?
Before returning to your retailer, call our customer service at
1-844-255-9692 Monday – Friday 8:00 a.m. – 5:00 p.m. CST
PART DESCRIPTION QUANTITY
A 18 Inch LED Work Bench Light w/attached 5ft Power Cord 1
B Mounting Screw 2
C Drywall Anchors 2
• Do not use if there is any damage to the light or power cord insulation. Inspect periodically.
• Wash hands after use.
• Do not use chemical solvents or harsh abrasives to clean xture. Use a dry soft cloth to clean if needed.
CARE AND MAINTENANCE
1) The light does not come on at all:
a) Make sure xture is plugged in.
b) Make sure the wall switch and circuit breaker are on.
If unable to x any of the above issues, please consult a certied electrician.
TROUBLESHOOTING
A
B
Questions, problems, missing parts?
Before returning to your retailer, call our customer service at
1-844-255-9692 Monday – Friday 8:00 a.m. – 5:00 p.m. CST
4
REV2032
This PATRIOT LIGHTING® brand light xture carries a ve (5) Year Limited Warranty to the original
purchaser. If, during normal use, this PATRIOT LIGHTING® light xture fails due to a defect in material
and workmanship within ve (5) years from the date of purchase, simply bring this light xture with your
original sales receipt back to your nearest MENARDS® retail store. At its discretion, PATRIOT LIGHTING®
agrees to have the lighting xture replaced with the same or similar PATRIOT LIGHTING® product free of
charge, within the stated warranty period, when returned by the original purchaser with original sales receipt.
Notwithstanding the foregoing, this limited warranty does not cover damage or failure caused by misuse
or abuse including but not limited to improper installation, accident, unauthorized repair, maintenance, or
modications of the merchandise. This warranty: (1) excludes expendable parts including but not limited
to light bulbs, batteries; (2) carries a 2-year nish warranty protecting nish against tarnishing, aking, and
discoloration; (3) shall be void if this lighting xture is not installed in the U.S.A; (4) does not cover products
installed within three miles of saltwater coastline or any area prone to salt spray; and (5) does not cover any
losses, labor, injuries to persons/property or costs. This warranty does give you specic legal rights and
you may have other rights, which vary from state to state. Be careful, it is recommended that installation be
done by a qualied professional; the purchaser has sole responsibility for proper installation in compliance
with all state and local code requirements. Seller’s employees are not qualied to advise you on the
use of this Merchandise. Any oral representation(s) made will not be binding on seller or its employees.
The rights under this limited warranty are to the original purchaser of the Merchandise and may not be
transferred to any subsequent owner. This limited warranty is in lieu of all warranties, expressed or implied
including warranties or merchantability and tness for a particular purpose. Seller shall not be liable for any
special, incidental, or consequential damages. The sole exclusive remedy against the seller will be for the
replacement of any defects as provided herein, as long as the seller is willing or able to replace this product
or is willing to refund the purchase price as provided above.
SAVE YOUR RECEIPTS. THIS WARRANTY IS VOID WITHOUT THEM.
WARRANTY
C