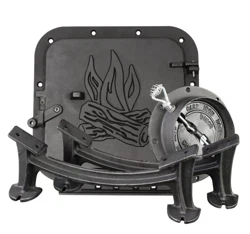
CAMP STOVE KIT
WARNING
1. This unit must not be used in Mobile Homes.
2. Theunitmustbeconnectedtoaueoutlet.
3. Because of high temperatures in use, the unit should be located away from any
combustiblematerialandclearofhumantrafc.
4.
This unit has high surface temperatures during use and people must keep away from the
unit to avoid burns or ignition of clothing. Young children must be carefully supervised
when within the vicinity of the heater and should never be left alone in that area.
5. Clothingorotherammablematerialmustnotbeplacedonorneartheheater.
6. The heater area must be kept clear and free from any combustible materials, gasoline
andotherammableliquids.
SAFETY PRECAUTIONS
1. Thisstovemustbeproperlyinstalled,ifnotaremayresult.Foryoursafety,contact
yourlocalreofcialsaboutrestrictionsandinstallationrequirementsinyourarea.
2. Always wear the proper safety glasses when assembling this unit.
3. Creosote may build up in the chimney connector and chimney. This build-up could
causeare.Inspectthechimneyconnectorandchimneyatleasttwicemonthly
during heating season and clean if necessary.
4. Do not overre. Overring the appliance may cause a re. If the unit or chimney
connectorglows,youareoverring.
5. Neverusegasolineorotherammableliquidstostartor“FreshenUp”are.
6. Dispose of ashes in a metal container.
MINIMUM WALL CLEARANCES
The stove must be 36” from combustible walls at rear or sides.
Forquestionsorcomments,pleasecall(800)750-2723
CAUTION:
Make sure barrels are thoroughly clean before applying camp stove
kit. NEVER USE AN ACETYLENE TORCH due to explosive gases that
may be trapped inside your barrel.
This product is not to be used in the construction of a residential wood heater.
U.S. Environmental Protection Agency
This unit is not a certied residential wood heater. For portable and temporary use only.
851459C-0201H
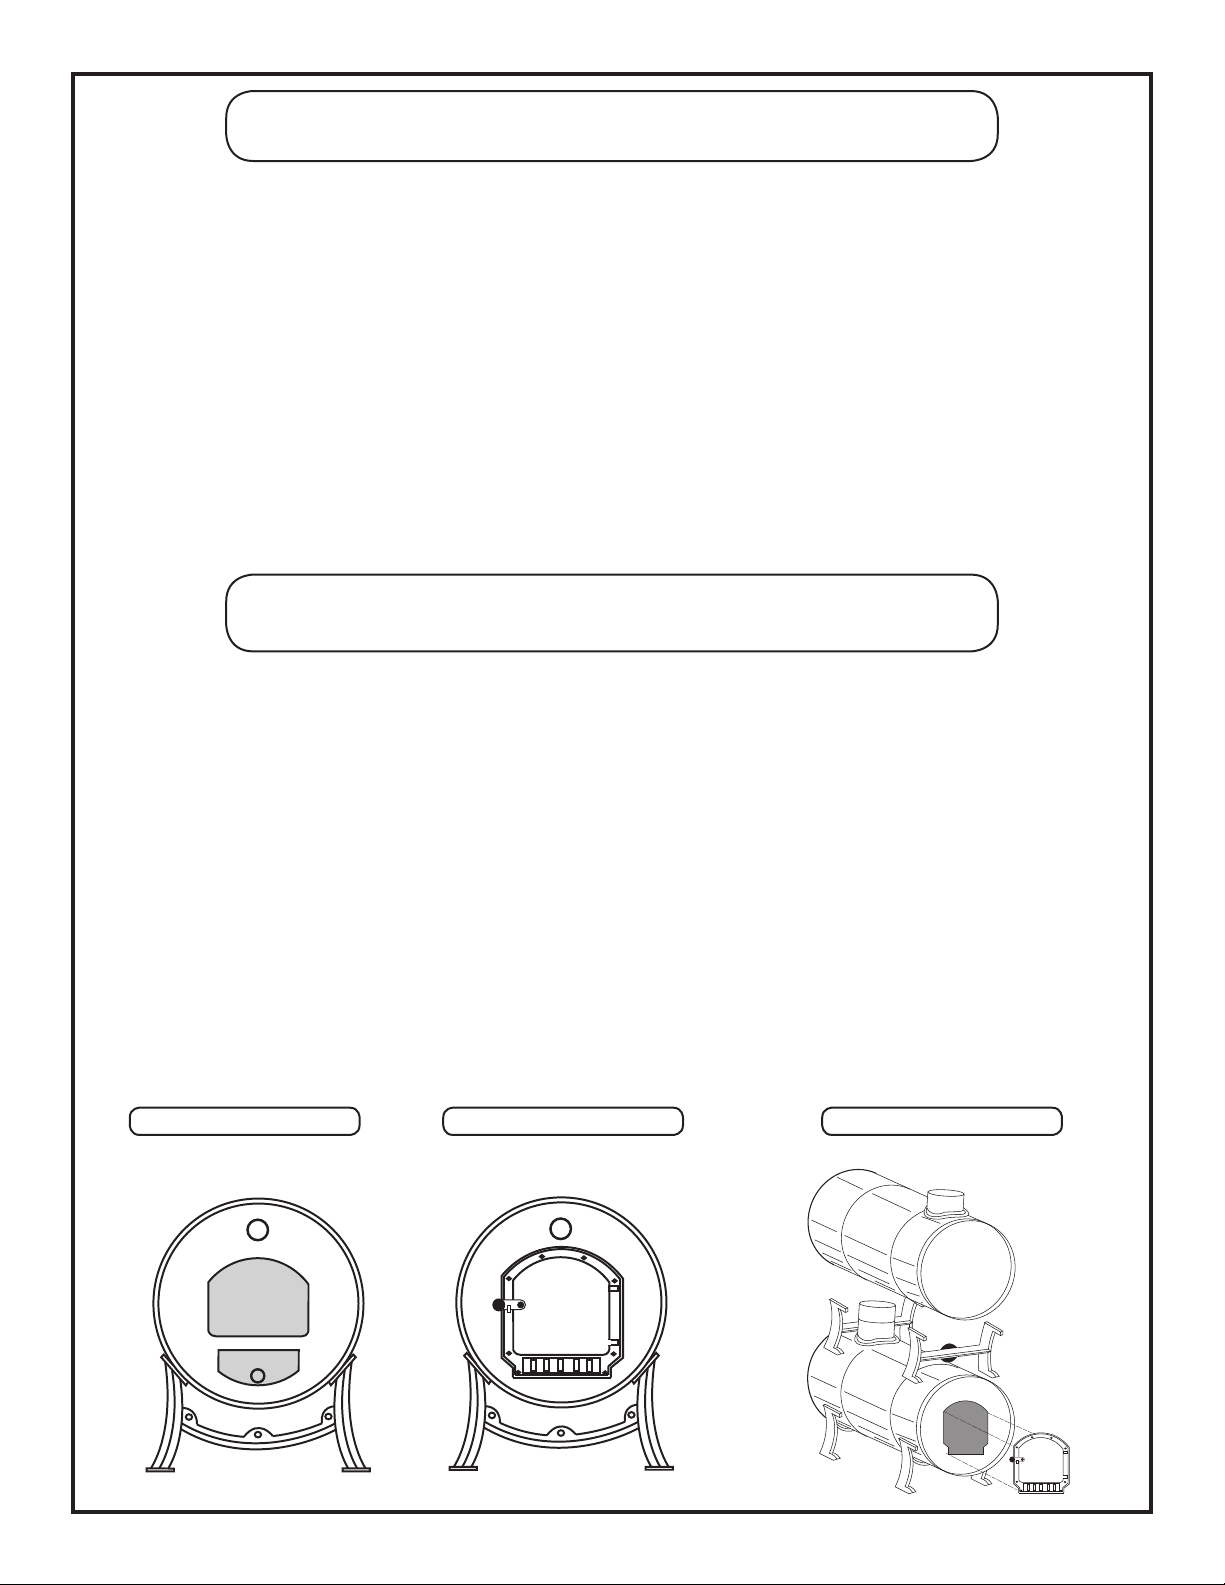
Step 1: Stand barrel on end with plugs facing up. Position door on barrel to cover up
smallplug(seeillustration#1).(Thelargeplugmayactasasecondarydraftinlet
whenadditionalairisneededtoassistcombustion).
Step2: Usingascribeormarkingpencil,tracetheareawheredooranddoorframeisto
be cut.
Step3: Cutopeningwitheitherahacksaworsabresawandtdoorframetobarrelusing
boltsprovidedwithkit.(Seeillustration#2)
Step 4: With door opening cut, you are now able to get at the inside of the barrel to
attach legs. Center legs so barrel is stabilized and secure legs to barrel.
Step5: Aligndamper/uecollartowardrearofbarrelandtracewhereopeningforue
collarandattachuetobarrel.
Step6: Secureallboltsandattach6”stovepipe.
Step7: Addsandtothebottomofthebarrelatapproximately2”height.
Step1: Placethe legs for the second barrel on top the rst, aligning the barrels front
to rear and right to left. With the damper removed from barrel kit on bottom,
markthelocationfortheucollaronthebottomofthesecondbarrel.Markthe
locationforthetopueonendofthesecondbarrel.
Step2: Removesecondbarrelandcutoutforbothueopeningsandinstalluecollars.
Step3: Placethesecondbarrelbackonthelegsandaligntheueopeningbetween
bottombarrelandtopbarrel.Cuttheshortpieceof6”blackpipewhichjoins
the two barrels together.
Step 4: Now mark the holes to mount the legs to the bottom of the top barrel, also mark
the leg holes for the bottom of legs to the top of the bottom barrel.
Step 5: Remove top barrel and legs, drill all holes, mount the legs to the bottom of the
top barrel, and align the ue. Install short piece of precut 6” black pipe and
attach the bottom of the legs to the top for the bottom barrel.
Step6: Replacetheuedamperinthetopofthetopbarrel.
ILLUSTRATION #1 ILLUSTRATION #2 ILLUSTRATION #3
ASSEMBLY INSTRUCTIONS FOR CAMP STOVE KIT
ASSEMBLY INSTRUCTIONS FOR CAMP STOVE KIT
(For double stacked camp stove kit)

