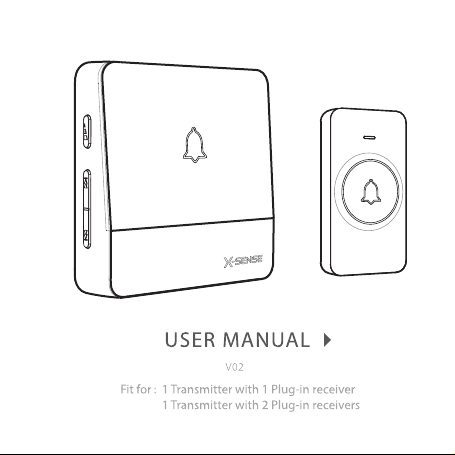
Thank you for purchasing this product. To ensure proper use and
trouble-free operation, please read this manual carefully and store it
in a safe place for future reference.
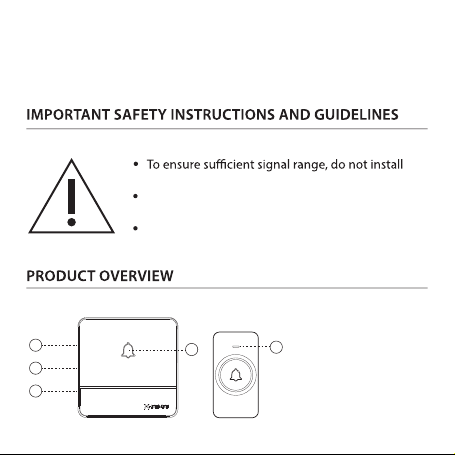
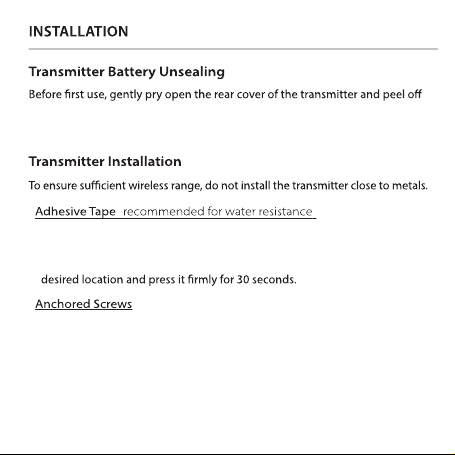
the transmitter close to metals.
The signal range varies depending on obstacles in
the line of sight between receiver and transmitter.
Never attempt to repair any parts of the device.
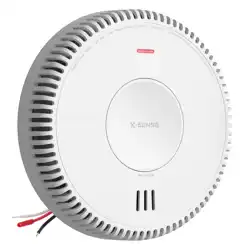
① Doorbell Indicator
② Volume Button
③ Previous Button
④ Next Button
⑤ Button Indicator
2
3
4
1
5
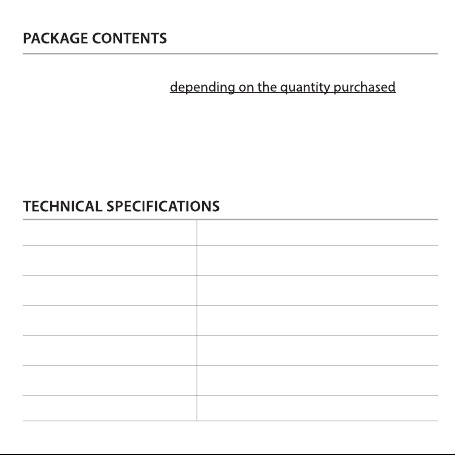
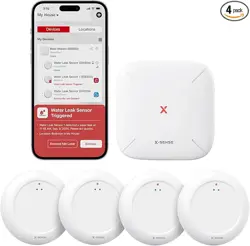
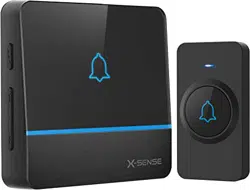
1 × Transmitter (battery included)
1 or 2 × Plug-in receiver (
)
1 × Adhesive patch
1 × Key
2 × Screw
2 × Anchor
1 × User Manual
Receiver input voltage
Chime loudness
Receiver AC power
Transmission frequency
Transmitter battery type
Operating temperature
Battery lifetime
AC 110-260 V
≤115 dB
<0.25 W (standby mode)
433.92 MHz
CR2032 3 V Button Lithium Battery
-20 to 60 °C
Up to 3 years
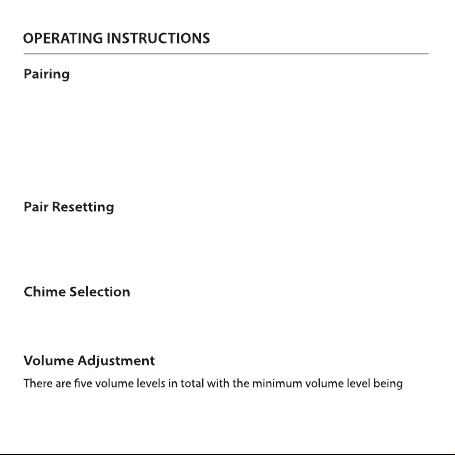
1. Plug the receiver(s) into the power socket.
2. Press and hold the volume button on the receiver for 3 seconds and
the indicator will blink (press any button on the receiver or wait for 60
seconds to exit pairing).
3. Press the transmitter and the receiver will chime "ding" indicates a
successful pairing.
Hold the previous and next buttons for 5 seconds to clear the pairing between
the receiver and all the pre-paired push buttons (transmitters). "Ding" sounds
on the receiver to signal that set pairs have been cleared.
There are 56 chimes to choose from with this doorbell kit. Simply press the
previous or next button repeatedly to select one you prefer.
silent. Press the volume button repeatedly to cycle through the volume levels
and set one to suit your needs.
the seal on the button cell. Ensure correct polarity of the battery and close the
battery compartment cover.
·
( )
1. Clean all surfaces to be used for adhesion with rubbing alcohol.
2. Apply the double-sided adhesive patch to the back of the transmitter.
3. Remove the outer side of the patch, attach the transmitter to the
·
1. Gently pry open the rear cover of the transmitter and drill out the
marked screw holes.
2. Drill holes for the screws at the desired location and insert the anchors.
3. Attach the rear cover to the wall by tightening it with the screws.
4. To ensure resistance against water, seal the screw holes with silicone.
5. Attach the transmitter onto the screwed-on back cover.

Problem
The indicator on the
transmitter does
not light up.
Possible Cause
Solution
Replace with the new
battery.
Take out the battery and
install again. Make sure
the contacts are good.
The receiver does
not respond to the
transmitter.
Pair the transmitter and
receiver again.
Place the transmitter in
areas closer to the
receiver or where there
are fewer obstacles.
The seal on the button
cell.
The battery power is low.
The battery is not
properly installed.
Pairing failed.
The transmitter is placed
too far from the receiver
or there are obstacles
between them.
The transmitter is close to
metals and signal
interference has occurred.
Place the transmitter in
areas away from
metals.
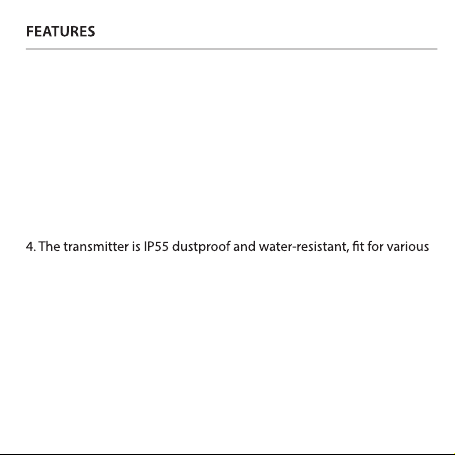
1. Extremely low power consumption and a 3-year super long battery
life (10-15 times uses a day).
2. 56 optional melodies that can be easily chosen using the previous
and next buttons. The built-in 40 mm stereo speaker delivers rich and
crisp sound.
3. 600 m wireless range (depending on the operating environment).
outdoor environments.
5. The previously set melody and volume level will be remembered
every time when you power on the device.

Email: support@x-sense.com
2018 S
henzhen Xiaojun Technology Co., Ltd. All Rights Reserved.
X
-SENSE® is a registered trademark of Shenzhen Xiaojun Technology Co.,
Ltd.