Loading ...
Loading ...
Loading ...
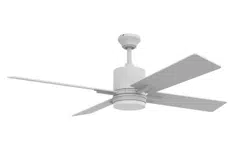
page 9
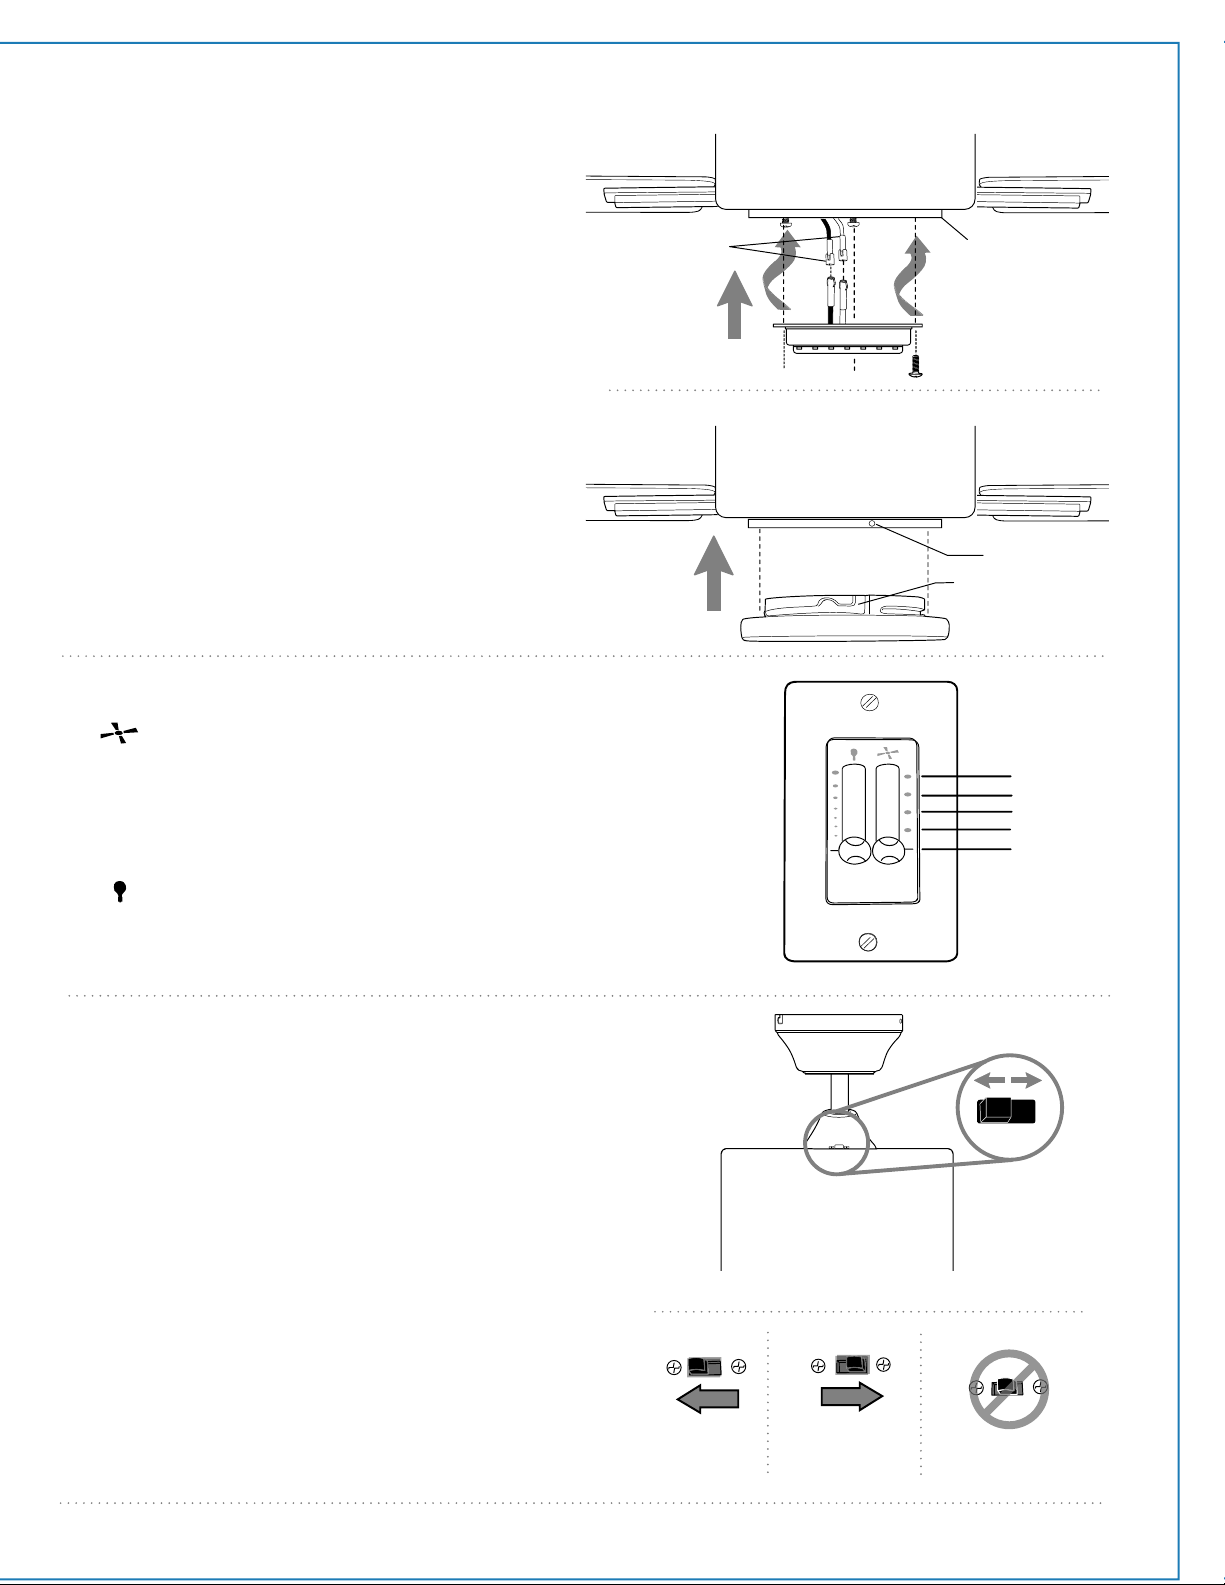
11. Light Kit Assembly. (cont.)
fitter plate
LED light kit
molex
connections
13. Wall Control Operation.
slide switch for fan
O - fan is OFF
H - turns fan to HIGH speed
M - turns fan to MEDIUM speed
L2 - turns fan to MEDIUM-LOW speed
L1 - turns fan to LOW speed
slide switch for light
controls dimming capability for light
[Move slide switch up or down to control
light brightness.]
14. Testing Your Fan.
slide switch
for FAN
(right side)
slide switch
for LIGHT
(left side)
motor housing
reverse
switch
glass shade
groove
nodule
OFF (O)
HIGH (H)
MEDIUM (M)
LOW 2 (L2)
LOW 1 (L1)
FAN SPEEDS:
Remove 3 screws from under fitter plate.
Connect WHITE wire from motor housing to
WHITE wire from the LED light kit and BLUE
(or BLACK) wire from motor housing to
BLACK wire from LED light kit. Make sure
molex connections snap together completely.
Carefully arrange wiring within the back of
LED light kit. Align holes in LED light kit
with holes in fitter plate. Re-insert screws
that were previously removed and securely
tighten all 3 screws with a Phillips
screwdriver.
Locate slots on glass shade and align with
nodules on inside of fitter plate. Gently push
up on glass shade and turn to the RIGHT
(clockwise) until it slides completely into place.
It is recommended that you test fan before finalizing
installation. Slide the knobs to “O” (OFF) position in wall
control. Restore power from circuit box. Test light and
dimmer function and then test fan speeds. If fan and/or
light do (does) not function, please refer to
"Troubleshooting" section to solve any issues before
contacting Customer Service.
Turn fan completely off before moving the reverse switch.
Set reverse switch to recirculate air depending on the
season:
- LEFT position in summer (diagram 1)
- RIGHT position in winter (diagram 2)
A ceiling fan will allow you to raise your thermostat
setting in summer and lower your thermostat setting in
winter without feeling a difference in your comfort.
Important: Reverse switch must be set either completely
LEFT or completely RIGHT for fan to function. If the reverse
switch is set in the middle position (diagram 3), fan will
not operate.
motor
housing
diagram 1
diagram 2
diagram 3
motor
housing
Loading ...
Loading ...
Loading ...