Loading ...
Loading ...
Loading ...
10 11
PRE-INSTALLATION REQUIREMENTS
•
Please read the instructions carefully. Unpack the Range Hood and check that all
functions are working before installing.
•
Ensure that the voltage (V) and the frequency (Hz) indicated on the sticker match
the voltage and frequency at the installation site.
•
Check that the area behind the installation surface to be drilled is clear of any
electrical cables or pipes, etc.
•
The stainless steel surfaces of the Range Hood are very easily damaged during
installation if scratched or bumped by tools. Please take care to protect the
surfaces during installation.
•
•
•
•
Protect the cooktop surface below with cardboard, or the like, to prevent
damage occurring during installation.
The manufacturer shall not be held liable for consumer’s failure to observe and
follow all pre-installation procedures and safety regulations.
The vertical distance from the cooking surface to the bottom of the range hood
should be at least 24 in. to 36 in. for best performance.
Determine if your installation will be top venting or back venting, and ensure
that the openings in the cabinet or wall are in the appropriate locations and
appropriate size.
If this is a new installation, choose the venting method that suits your needs. Cut
out openings for the damper and for power access in the cabinet bottom or
exterior wall, depending on the installation method chosen.
•
DUCTWORK PLANNING
These vent hoods are equipped for 8" round ductwork. This hood may be vented
vertically through upper cabinet or ceiling. A duct transition piece is supplied for
vertical exhaust. You may use elbows (sold separately) to vent horizontally
through the rear wall.
Determine the exact location of the vent hood.
Plan the route for venting exhaust to the outdoors.
Use the shortest and straightest duct route possible. For satisfactory
performance,duct run should not exceed 12.5 feet. equivalent length for any duct
configurations.
Use metal ductwork only.
•
•
•
•
•
WALL FRAMING FOR ADEQUATE SUPPORT
These vent hoods are heavy. Adequate structural support must be provided.
*
Actual length of straight duct plus duct fitting must equivalent. Equivalent
lengths of duct pieces are based on actual tests conducted by Evaluation
Engineering and reflect requirements for good venting performance with any
ventilation hood.
IMPORTANT:
Plug the Unit in and Test all Functions Before Installing.
INSTALLATION INSTRUCTIONS
CAUTION: HOOD MAY HAVE VERY SHARP EDGES; PLEASE WEAR
PROTECTIVE GLOVES WHENEVER IT IS NECESSARY TO REMOVE ANY
PARTS FOR INSTALLING, CLEANING OR SERVICING.
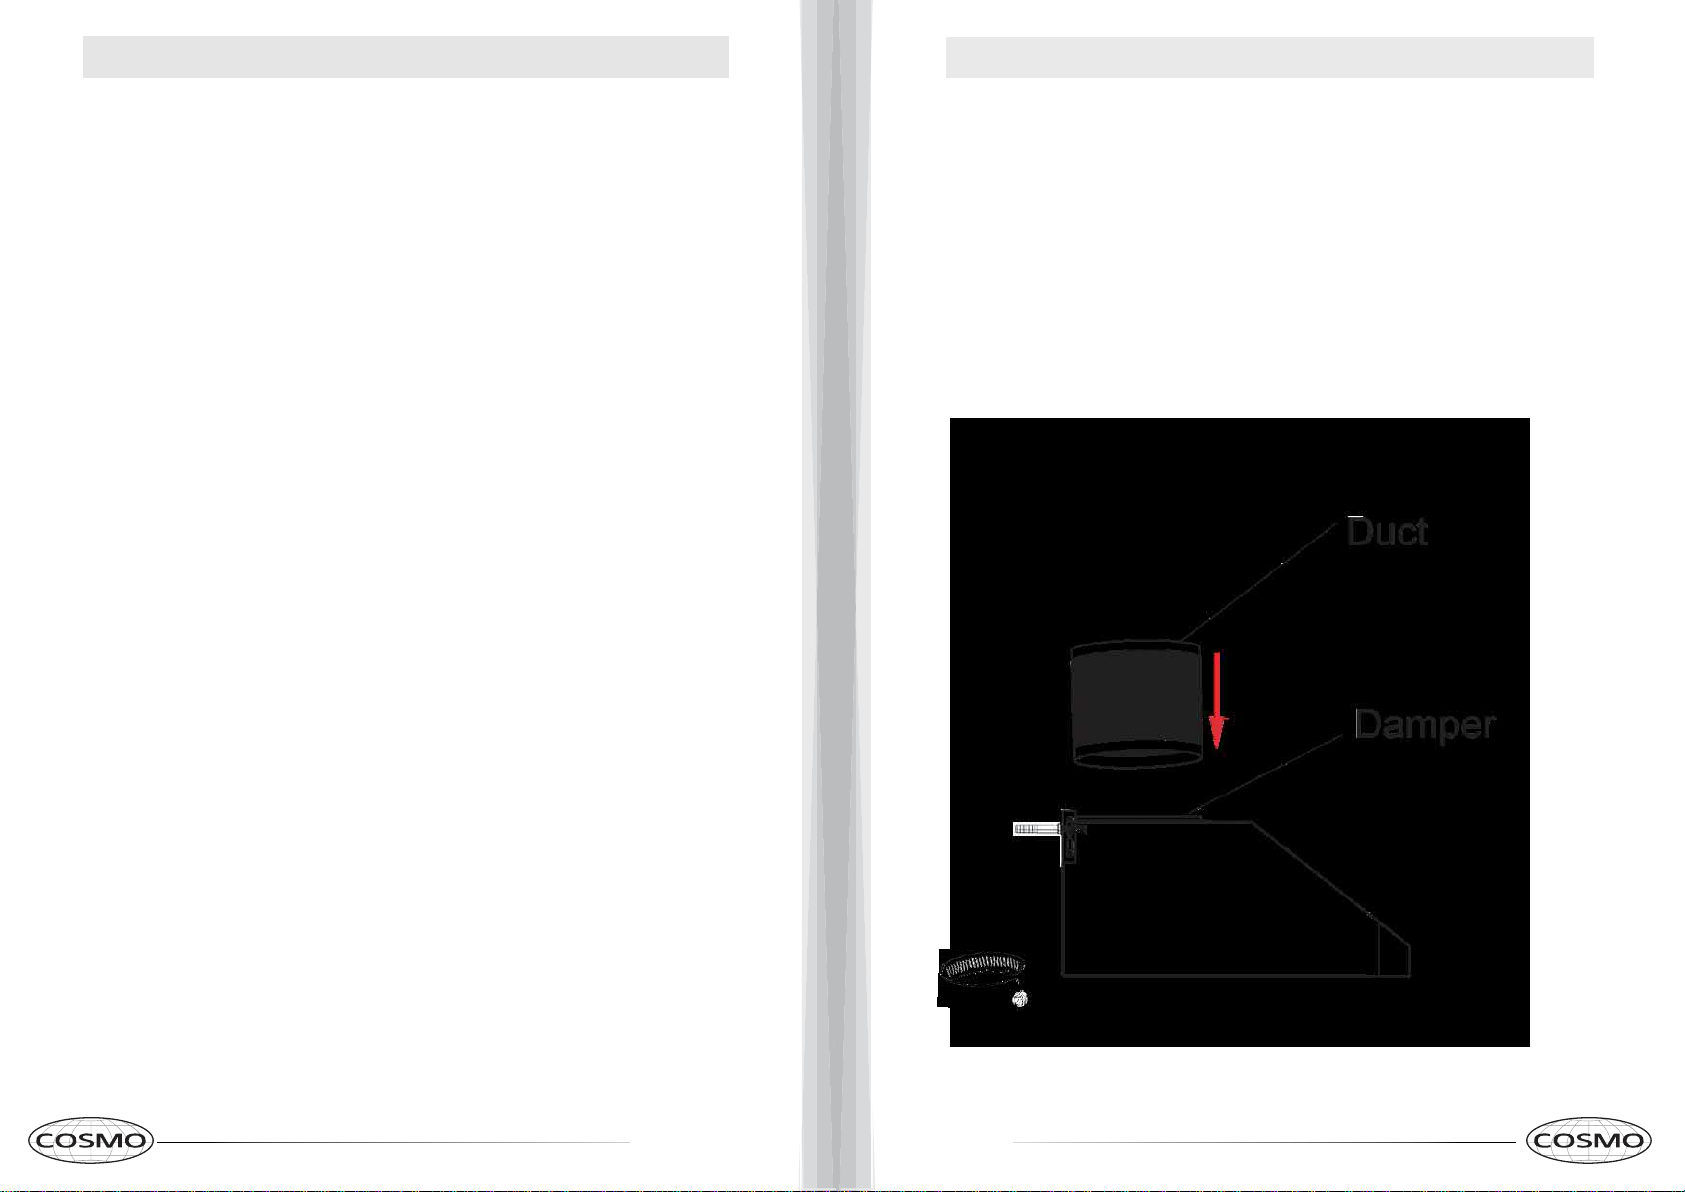
Step 1:
Connect the Duct into the Damper
Secure Duct around Damper with Duct Clamp (included)
Loading ...
Loading ...
Loading ...