Loading ...
Loading ...
Loading ...
To lengthenthelife ofthestringspool,
donotbumpfeedbytappingtheline
headon concreteorasphalt°
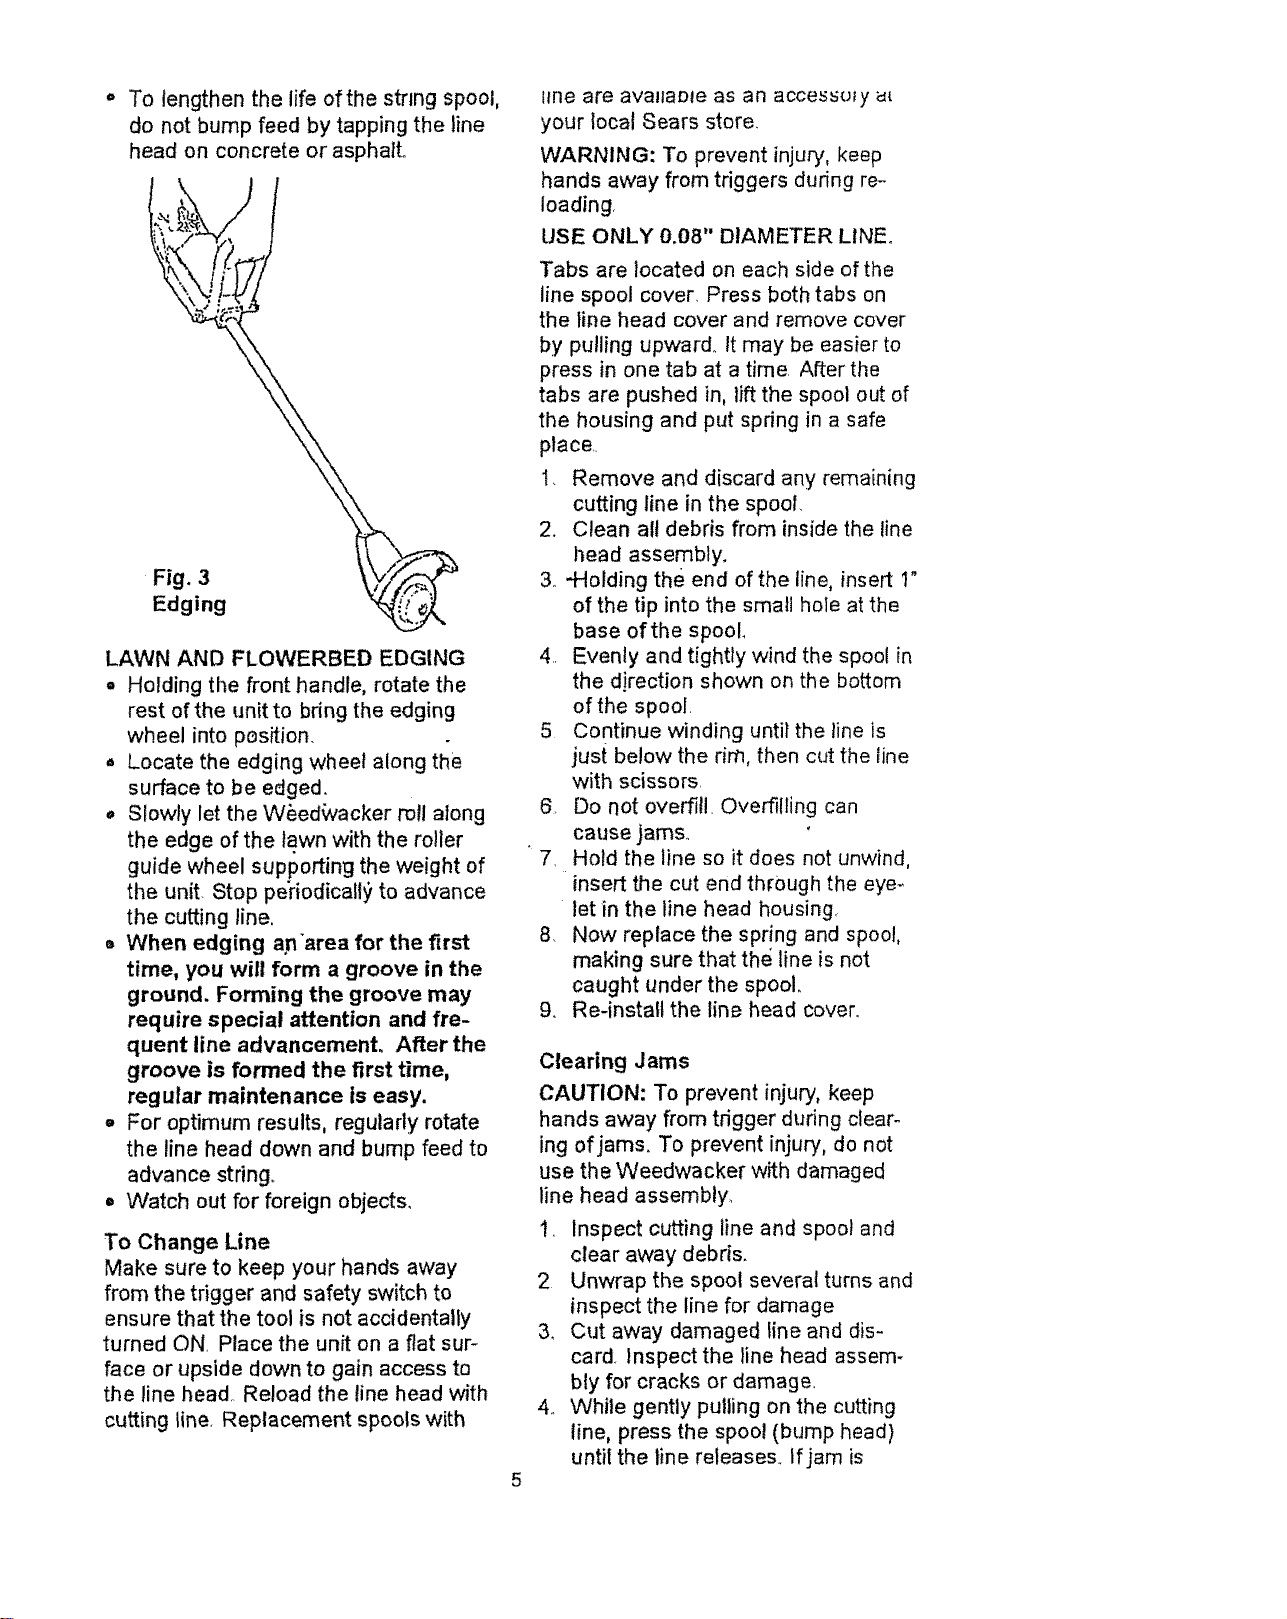
Fig. 3
Edging
LAWN AND FLOWERBED EDGING
. Holding the front handle, rotate the
rest of the unit to bring the edging
wheel into position.
. Locate the edging wheel along the
surface to be edged.
• Slowly let the W_edwacker roll along
the edge of the lawn with the roller
guide wheel supporting the weight of
the unit Stop pe'riodically to advance
the cutting line.
o When edging an'area for the first
time, you will form a groove in the
ground. Forming the groove may
require special attention and fre-
quent line advancement. After the
groove is formed the first time,
regular maintenance is easy.
,, For optimum results, regularly rotate
the line head down and bump feed to
advance string°
• Watch out for foreign objects,
To Change Line
Make sure to keep your hands away
from the trigger and safety switch to
ensure that the too! is not accidentally
turned ON. Place the unit on a flat sur-
face or upside down to gain access to
the line head Reload the line head with
cutting line. Replacement spools with
line are avalsaD_e as an accessu_y _t
your local Sears store.
WARNING: To prevent injury', keep
hands away from tdggers during re-
loading,
USE ONLY O.08" DIAMETER LINEo
Tabs are located on each side of the
line spool cover_ Press both tabs on
the line head cover and remove cover
by pulling upward. It may be easier to
press in one tab at a time. After the
tabs are pushed in, lift the spool out of
the housing and put spdng in a safe
place..
I. Remove and discard any remaining
cutting line in the spool
2. Clean all debris from inside the line
head assembly.
3. -Holding the end of the line, insert 1"
of the tip into the small hole at the
base of the spool
4.. Evenly and tightly wind the spool in
the direction shown on the bottom
of the spool.
5 Continue winding until the line is
just below the rim, then cut the fine
with scissors.
Do not overfill. Overfilling can
cause jams,,
Hold the line so it does not unwind,
insert the cut end thf0ugh the eye-
" let in the line head housing.
8. Now replace the spring and spool,
making sure that the line is not
caught under the spool.
9. Re-install the line head cover.
Clearing Jams
CAUTION: To prevent injury, keep
hands away from trigger during clear-
ing of jams. To prevent injury', do not
use the Weedwacker with damaged
line head assembly.
t, Inspect cutting line and spool and
clear away debris.
2 Unwrap the spool several turns and
inspect the line for damage
3, Cut away damaged line and dis-
card. Inspect the line head assem-
bly for cracks or damage.
4. While gently pulling on the cutting
line, press the spool (bump head)
until the line releases. If jam is
Loading ...
Loading ...
Loading ...