INSTALLATION:
LT-2
08/17
1
TOOLS AND MATERIALS REQUIRED:
Phillips
Screwdriver
Pliers
!
INSTRUCTIONS PERTAINING TO RISK OF FIRE OR INJURY TO PERSONS
READ ALL INSTRUCTIONS
IMPORTANT SAFETY
INSTRUCTIONS
SAVE THESE INSTRUCTIONS
QUESTIONS OR CONCERNS CONTACT AT:
1-800-265-1833 (English) / 1-800-567-2513 (French)
Monday through Friday 8:00 AM to 5:00 PM E.S.T.
Wiring supplies
as required by
local electrical
code
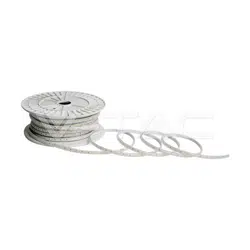
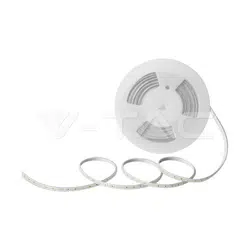
LED STRIP LIGHT
SAFETY PRECAUTIONS:
1. THIS FIXTURE IS DESIGNED FOR 120 VOLT CIRCUIT. IF UNSURE ABOUT WIRING, CONSULT AN
ELECTRICIAN.
2. TURN OFF ELECTRICAL POWER BEFORE STARTING INSTALLATION OF LIGHT FIXTURE.
3. THIS PRODUCT MUST BE INSTALLED IN ACCORDANCE WITH THE APPLICABLE INSTALLATION CODE
BY A PERSON FAMILIAR WITH THE CONSTRUCTION AND OPERATION OF THE PRODUCT AND THE
HAZARDS INVOLVED.
4. THE TERMINAL OF THE LAST FIXTURE NEEDS TO BE CLOSED BY THE END CAP (PROVIED). LIVE PARTS
CANNOT BE TOUCHED BY HANDS.
5. MAXIMUM LINKING WATTAGE: 360 LAMP WATTS ON ONE OUTLET. ONLY USE ACCESSORIES CERTIFIED
UNDER CSA FILE 157644.
WARNING
WARNING
NOTE: To clean the fixture, turn off the power, wait for it to cool, and wipe the fixture with a clean,
soft cloth.
Hammer
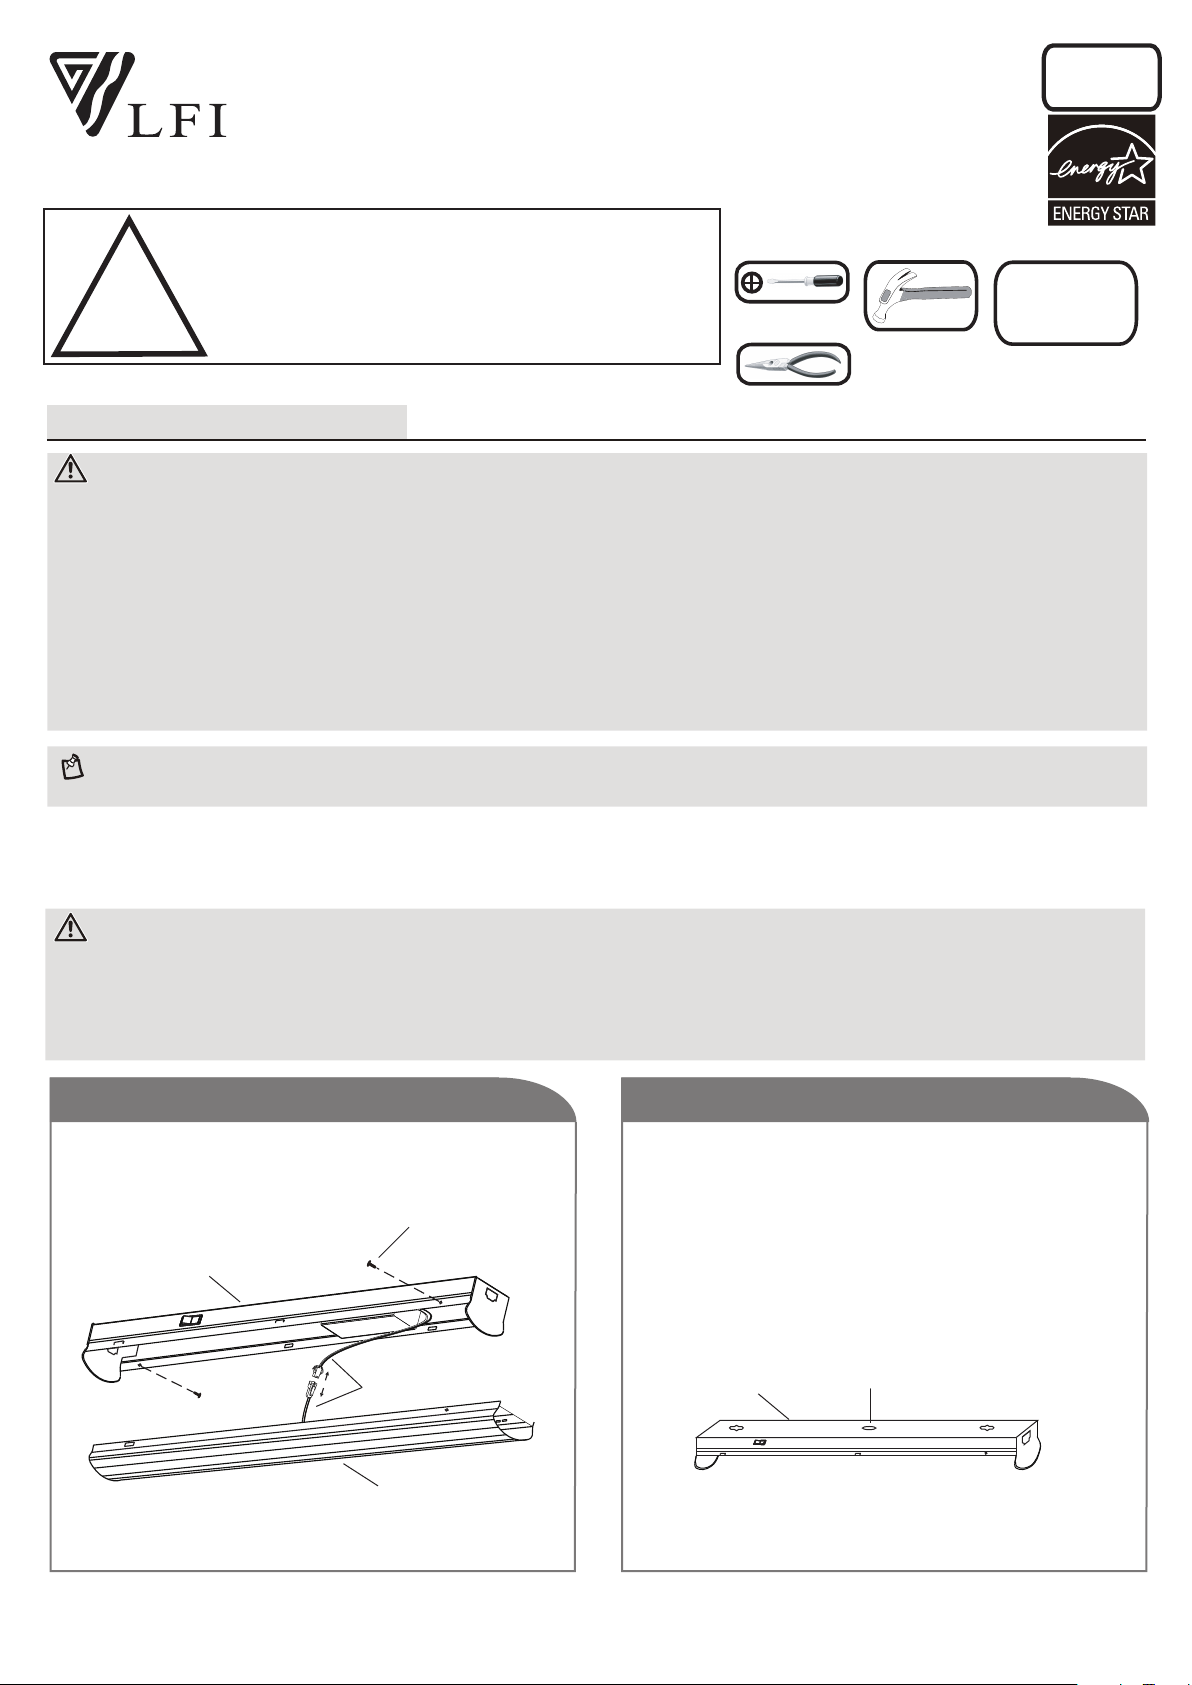
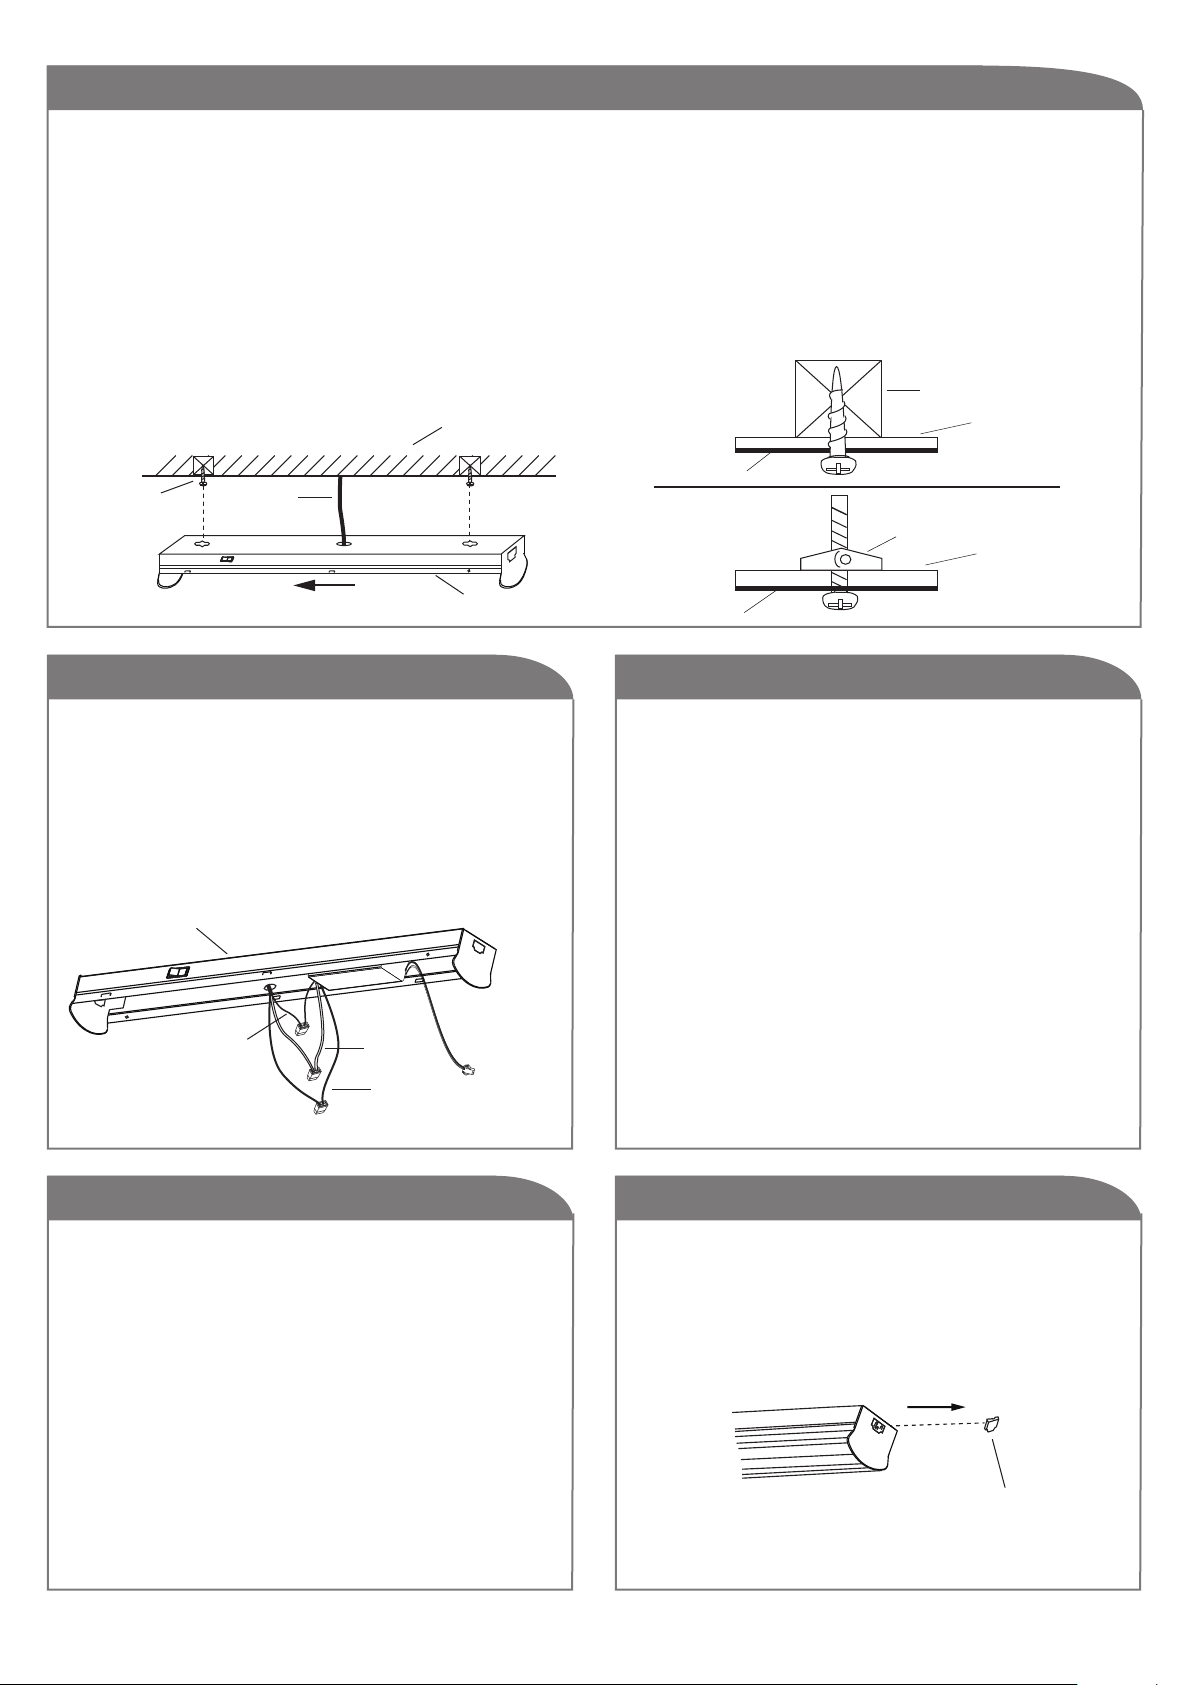
Step 1 Step 2
Center
knockout
Turn the fixture over and locate the center knockout.
Make sure the fixture is supported on the underside
and break part of the knockout away using a hammer
and screw driver. Twist out the center knockout using
pliers.
Remove the front cover by loosening the screws.
Disconnect the male and female wires from front
cover and housing.
Screw
Wires
Housing
Front cover
Housing
A. Direct-Wire Method
THIS FIXTURE MUST BE GROUNDED PROPERLY. CONNECT THE GROUND WIRE (BARE COPPER OR
GREEN) TO THE AC SUPPLY GROUND WIRE (BARE COPPER OR GREEN) OR GROUND SCREW IN THE
ELECTRICAL OUTLET BOX. IF GROUND WIRE IS NOT AVAILABLE IN YOUR AC SUPPLY WIRE SYSTEM,
PLEASE CONSULT A QUALIFIED ELECTRICIAN BEFORE PROCEEDING THE ELECTRICAL CONNECTION.
2
Step 4
Step 6
Step 5
Housing
Housing
Housing
Joist
Toggle bolt
Wood Screw
Toggle Bolt
Position the housing on the ceiling with the center knockout over the electrical box. Mark the ceiling for
the pilot hole locations through the small holes on either end. Drill 1/8” pilot holes at each location.
Determine the appropriate way of fastening the fixture to the ceiling (wood screws or toggle bolts, not included).
Note: Toggle bolts will require a larger pilot hole. Secure the fixture to the ceiling using the appropriate fasteners.
Ceiling
Ceiling
Ceiling
Mounting
Screw
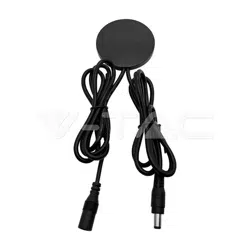
Power
supply cable
Once connections of wires are completed, carefully
tuck wires and inserts into the housing making
sure no bare wire (on the black and white) is visible
at the inserts.
Ensure no wires are pinched between the channel
and front cover.
ATTENTION: Branch circuit conductors must be
rated 194°F (90°C). Consult a qualified electrician
before installing.
Connect supply wires to fixture wires - Connect (push)
electrical wires (house wiring) into correct inserts: white
to white, black to black, and green to green.
Housing
Ground
wire
White
Black
Step 3
Step 7
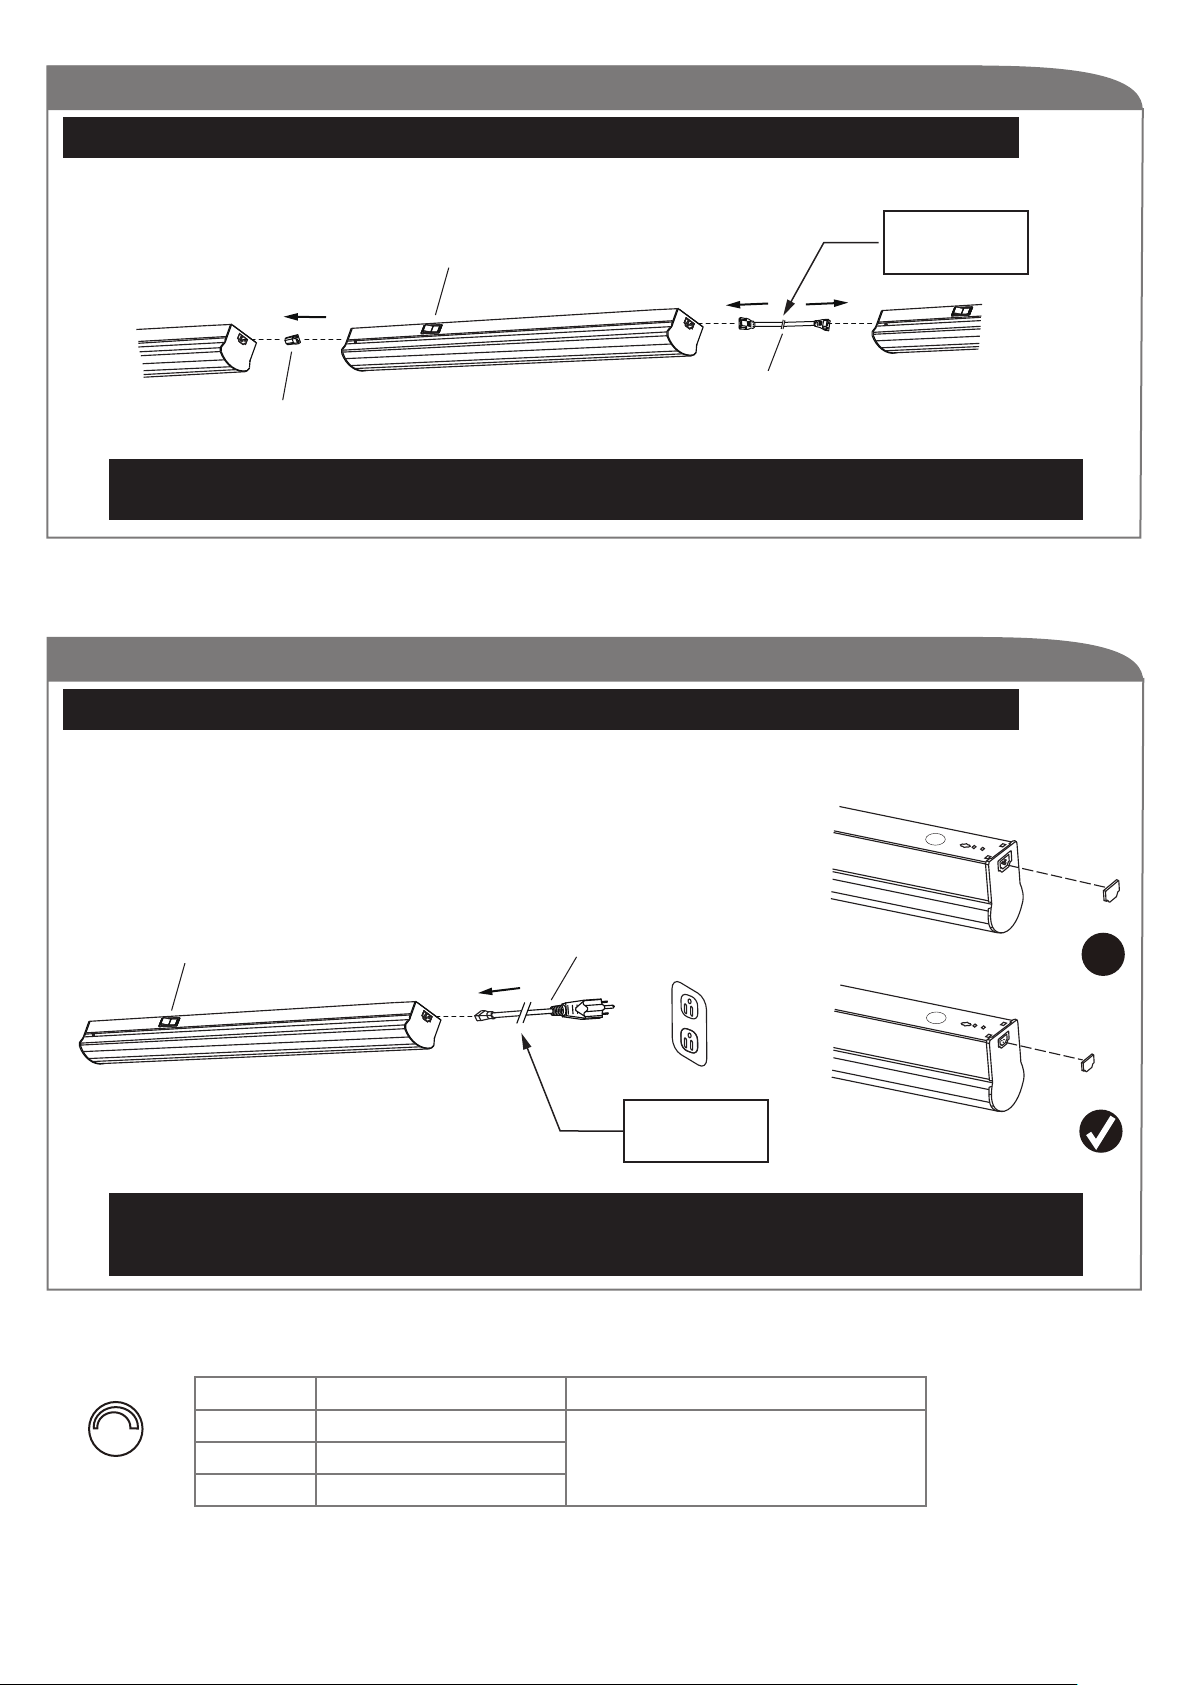
Once the first fixture is mounted, you can install the
next fixture in the chain. One the end(s) of fixture to
be connected- remove end cap.
End cap
Re-attach the cover by reversing the process of
Step #1.
If there are other fixtures to be installed on this
chain- proceed with Step 7.
Alternatively, if an outlet (electrical) box is not available, if the fixture doesn’t cover the outlet (electrical) box
entirely, please consult a qualified electrician for Armour Cable or Conduit Electrical Feed type of installation.
3
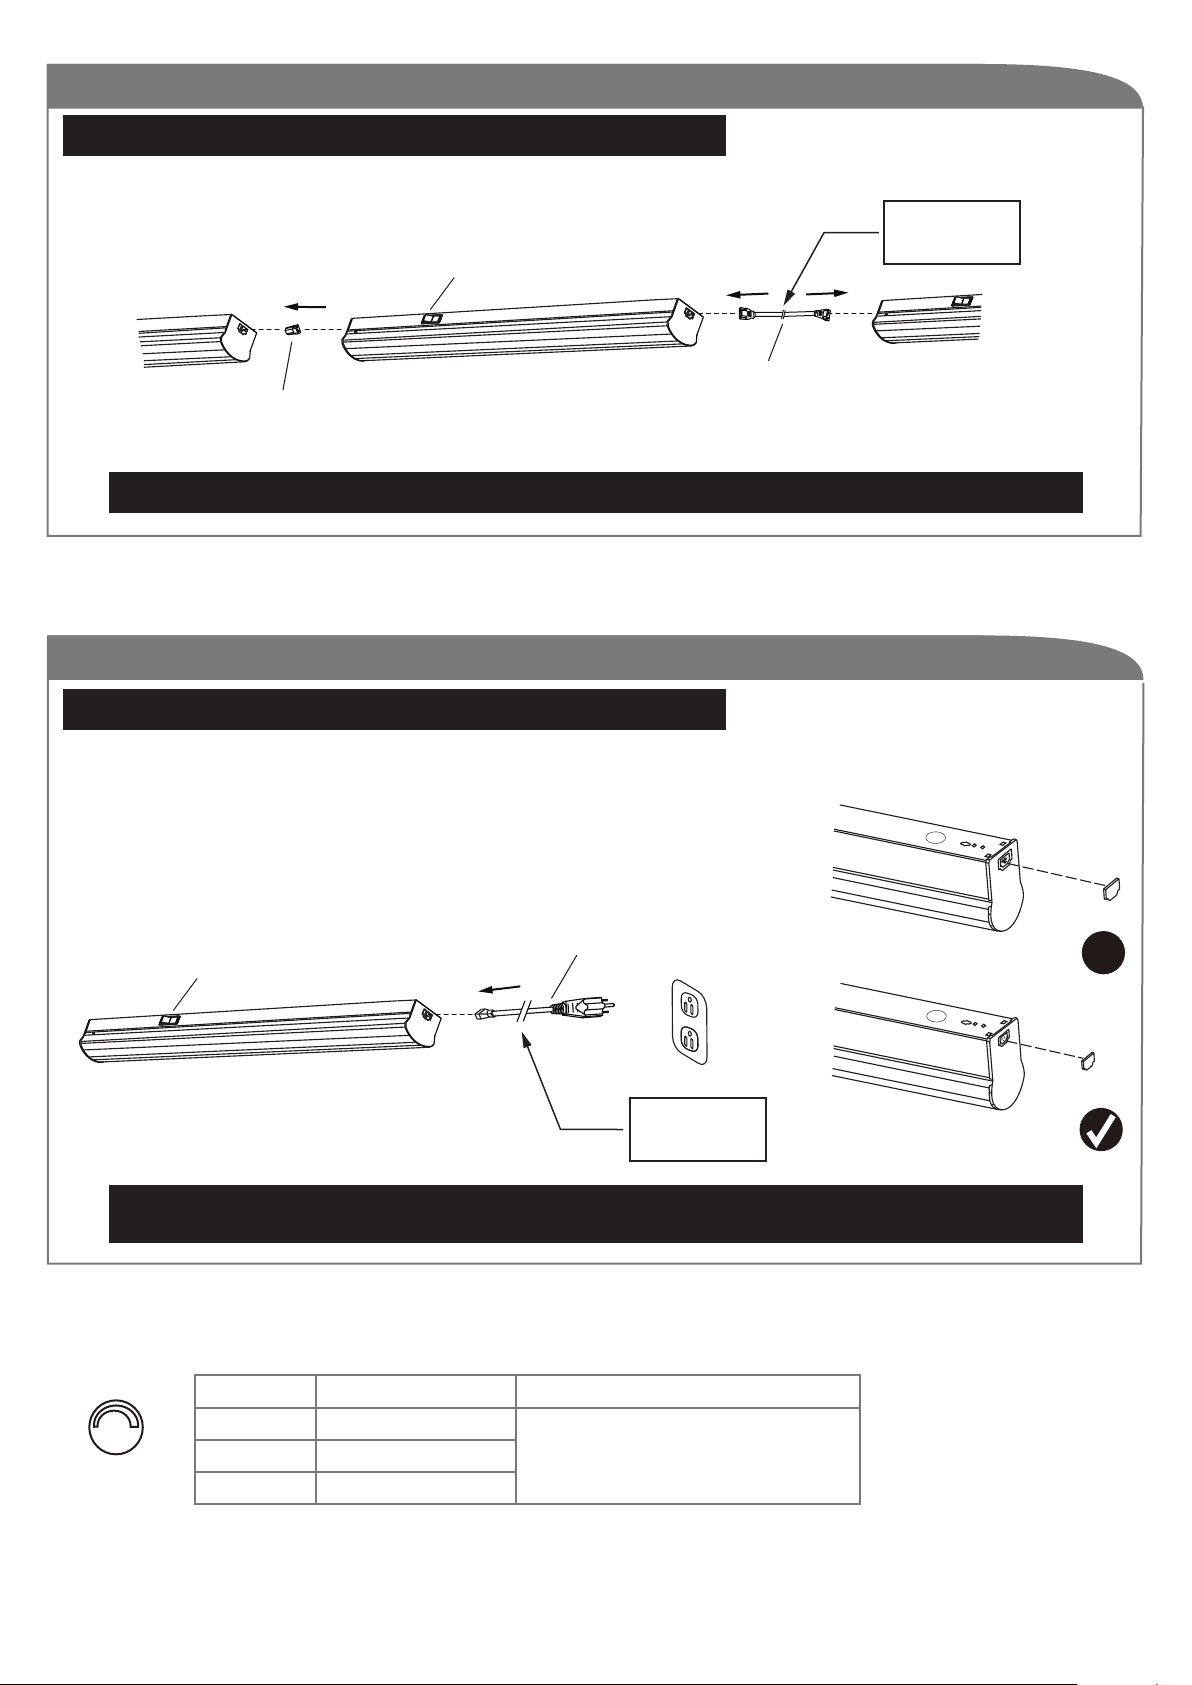
Step 8
Use link connector or flexible connector to connect two LED strip lights together.
Flexible
connector
(not included)
Link
connector
(provided)
FOR USE ACCESSORIES SUPPLIED BY CSA FILE NO. 157644 ONLY.
FOR USE ACCESSORIES SUPPLIED BY CSA FILE NO. 157644 ONLY.
ONCE ALL FIXTURES HAVE BEEN INSTALLED-REATTACH END CAP ON ANY OPEN FIXTURE PORT.
MAXIMUM LINKING WATTAGE: 360 LAMP WATTS ON ONE OUTLET.
ONCE ALL FIXTURES HAVE BEEN INSTALLED-REATTACH END CAP ON ANY OPEN FIXTURE PORT.
B. Power-cord Method
Skip step 4 and step 5.
Attach the power supply cable to the port.
Remove the end cap with smaller size for the insert of power supply cable.
5’ Power cable
(not included)
dimmable
Model# MAX rated wattage Suitable dimmer
LT14A37
LT12A20
LT11A12
40.5
20
12.5
LEVITON# 742-6672-HLW ,
722-6674-PDW MAX 150 W,
Lutron # SCL-153PH-WH MAX 150 W
These three LED lights are dimmable:
Accessory item
available for
separate sale
X
Bigger
Smaller
Accessory item
available for
separate sale
Step 9
ON/OFF
rocker switch
ON/OFF
rocker switch
INSTALLATION:
1
ATTENTION
Étape 1 Étape 2
Trou de la
languette
Retournez la fixture et localisez la languette retirable
au centre. Assurez-vous que la fixture repose sur une
surface plane et brisez cette languette a l'aide d'un
marteau et d'un tournevis. Dévissez la pièce centrale à
l'aide d'une pince.
Retirez le couvercle avant en desserrant les vis.
Débranchez les fils mâle et femelle du couvercle
avant et du boîtier.
Vis
Fils
Fixture
Fixture
Couvercle avant
A. Méthode d’installation de fil directe
CE LUMINAIRE DOIT ÊTRE MISE À TERRE CORRECTEMENT. BRANCHEZ LE FIL DE LA MISE À TERRE
(CUIVRE OU VERT) AU FIL DE LA MISE À TERRE DU COURANT (CUIVRE OU VERT) OU VIS DE MISE À TERRE
DANS LA BOÎTE ÉLECTRIQUE. SI UNE MISE À TERRE N’EST PAS DISPONIBLE DANS VOTRE SYSTÈME DE
FILAGE, VEUILLEZ CONSULTER UN ÉLECTRICIEN QUALIFIÉ AVANT DE PROCÉDER AUX RACCORDEMENTS.
Phillips
Screwdriver
Pliers
QUESTIONS OU INFORMATION COMMUNIQUE AVE AU:
1-800-265-1833 (Anglais) / 1-800-567-2513 (Français)
Du lundi au vendredi entre 8:00H et 17:00H H.N.E.
!
INSTRUCTIONS CONCERNANT LE RISQUE
D’INCENDIES OU LES DOMMAGES CORPORELS
LISEZ TOUTES LES INSTRUCTIONS
INSTRUCTIONS DE SÛRETÉ
IMPORTANTES
GARDEZ CES INSTRUCTIONS
OUTILS ET MATERIAUX REQUIS:
Fournitures
électriques telles
que prescrites par
les normes
locales
LT-2
08/17
Marteau
1. CE LUMINAIRE EST A UTILISER SUR UN CIRCUIT DE 120 VOLTS. SI VOUS NE CONNAISSEZ PAS LE
TENSION DE VOTRE CIRCUIT, VEUILLEZ CONSULTER UN ELECTRICIAN QUALIFIE.
2. FERMEZ LE COURANT AU DISJONCTEUR AVANT DE DEBUTER L’INSTALLATION DE LA FIXTURE.
3. CE PRODUIT DOIT ÊTRE INSTALLÉ SELON LE CODE D’INSTALLATION PERTINENT, PAR UNE PERSONNE
QUI CONNAIT BIEN LE PRODUIT ET SON FONCTIONNEMENT AINSI QUE LES RISQUES INHÉRENTS.
4. LA TERMINAISON DE LA DERNIÈRE FIXTURE DOIT ÊTRE FERMÉE À L’AIDE DE L’EMBOUT FOURNIT.
LES PIÈCES QUI SONT ALIMENTÉES NE DOIVENT PAS ÊTRE TOUCHÉS AVEC LES MAINS.
5. PUISSANCE MAXIMALE : AMPOULE 360 WATTS SUR UNE PRISE. N’UTILISEZ QUE DES ACCESSOIRES
CERTIFIÉS SELON LE DOSSIER CSA 157644.
ATTENTION
MISE EN GARDE:
N.B.: Pour nettoyer le luminaire, éteignez-le, attendez qu’il soit froid, puis nettoyez-le avec linge
propre et doux.
BARRE D’ECLAIRAGE
DEL
Fixture
Fixture
Fixture
2
Étape 4
Étape 6
Étape 5
Housing
Vis De Bois
Boulon
Placez le boitier au plafond avec le trou de la languette du centre place sur la boite electrique. Marquez le plafond
a cet endroit pour determiner la position du trou pilote ainsi que celle des petits trous a chaque bout. Percez des
trous de 1/8" a ces endroits. Determinez le moyen le plus propice de fixer votre fixture au plafond (vis a bois ou
boulons (en sus)).
N.B. des boulons exigent un trou plus grand au centre. Placez le boîtier sur le plafond avec la languette place sur la
boite electrique. Fixez la fixture au plafond en utilisant la quincaillerie appropriee.
Plafond
Plafond
Plafond
Une fois les connexions de fils sont terminés, rangez
avec précaution les fils et les insères dans le boîtier
en vérifiant qu'aucun fil nu (sur le noir et blanc) est
visible au niveau des insères.
Assurerz qu’aucun fil n'est pincé entre le canal et le
couvercle avant.
MISE EN GARDE: Les conducteurs de circuit doivent
être pour résister à 194 °F (90 °C). Consultez un
électricien qualifié avant de procéder à l'installation.
Branchez les fils d'alimentation au fils de luminaire –
Connectez les câbles électriques (câblage interne) dans
les inserts correspondants: blanc à blanc, noir à noir et
vert au vert.
Fil de mise
à terre
Étape 3
Étape 7
Une fois que le luminaire est monté, vous pouvez
installer le luminaire suivant de la chaîne. Au bout de
la fixture qui sera connectée à la suivante, enlevez le
capuchon d'extrémité.
Embout
Refixez le couvercle en inversant le processus de
l'étape # 1.
S'il y a d'autres luminaires à être installés sur cette
chaîne- procéder à l'étape 7.
Vis de
montage
Solive
Boulon
Blanc
Noir
Par ailleurs, si une prise de courant (électrique) n'est pas disponible, si le luminaire ne couvre pas la sortie
(électrique) entièrement, veuillez consulter un électricien qualifié pour une d'installation de type câble
d’armure ou câble électrique de conduit.
Câble
d'alimentation
3
Étape 8
Utilisez le connecteur de liaison ou connecteur flexible pour connecter deux lumières d’éclairage DEL ensemble.
Connecteur flexible
(en sus)
Connecteur d’union
(fournies)
POUR L’UTILISATION D’ACCESSOIRES FOURNIS SELON LE DOSSIER CSA #157644 SEULEMENT.
POUR L’UTILISATION D’ACCESSOIRES FOURNIS SELON LE DOSSIER CSA #157644 SEULEMENT.
LORSQUE TOUTES LES FIXTURES SONT INSTALLÉES, RÉATTACHEZ LES EMBOUT SUR LES
FIXTURES PRÉSENTANT UNE OUVERTURE.
MAXIMUM LINKING WATTAGE: 360 LAMP WATTS ON ONE OUTLET.
LORSQUE TOUTES LES FIXTURES SONT INSTALLÉES, RÉATTACHEZ LES EMBOUT SUR LES
FIXTURES PRÉSENTANT UNE OUVERTURE.
B. Power-cord Method
Passez l'étape 4 et étape 5.
Fixer le câble d'alimentation au port.
Retirez l’embout d'extrémité de la plus petite taille pour l'insert du
câble alimentation.
Câble d’alimentation 5’
(en sus)
variable
Modèle Puissance watt maximale Gradateur adapté
LT14A37
LT12A20
LT11A12
40.5
20
12.5
LEVITON# 742-6672-HLW ,
722-6674-PDW MAX 150 W,
Lutron # SCL-153PH-WH MAX 150 W
Ces trois lumières DEL sont réglables:
Pièce d’accessoire
disponible pour
vente séparée.
X
Plus grand
Plus petit
Pièce d’accessoire
disponible pour
vente séparée.
Étape 9
Interrupteur ON/OF
Interrupteur ON/OF