Loading ...
Loading ...
Loading ...
GROUNDING INSTRUCTIONS
This appliance must be grounded. In the event of an
electrical short circuit, grounding reduces the risk of
electric shock by providing an escape wire for the
electric current. This appliance is equipped with a
power cord having a grounding wire with a grounding
plug. The plug must be plugged into an outlet that is
properly installed and grounded. (Fig. 1)
_!_xI'K_[N IINI _J--Improper use of the grounding
plug can result in a risk of electric shock.
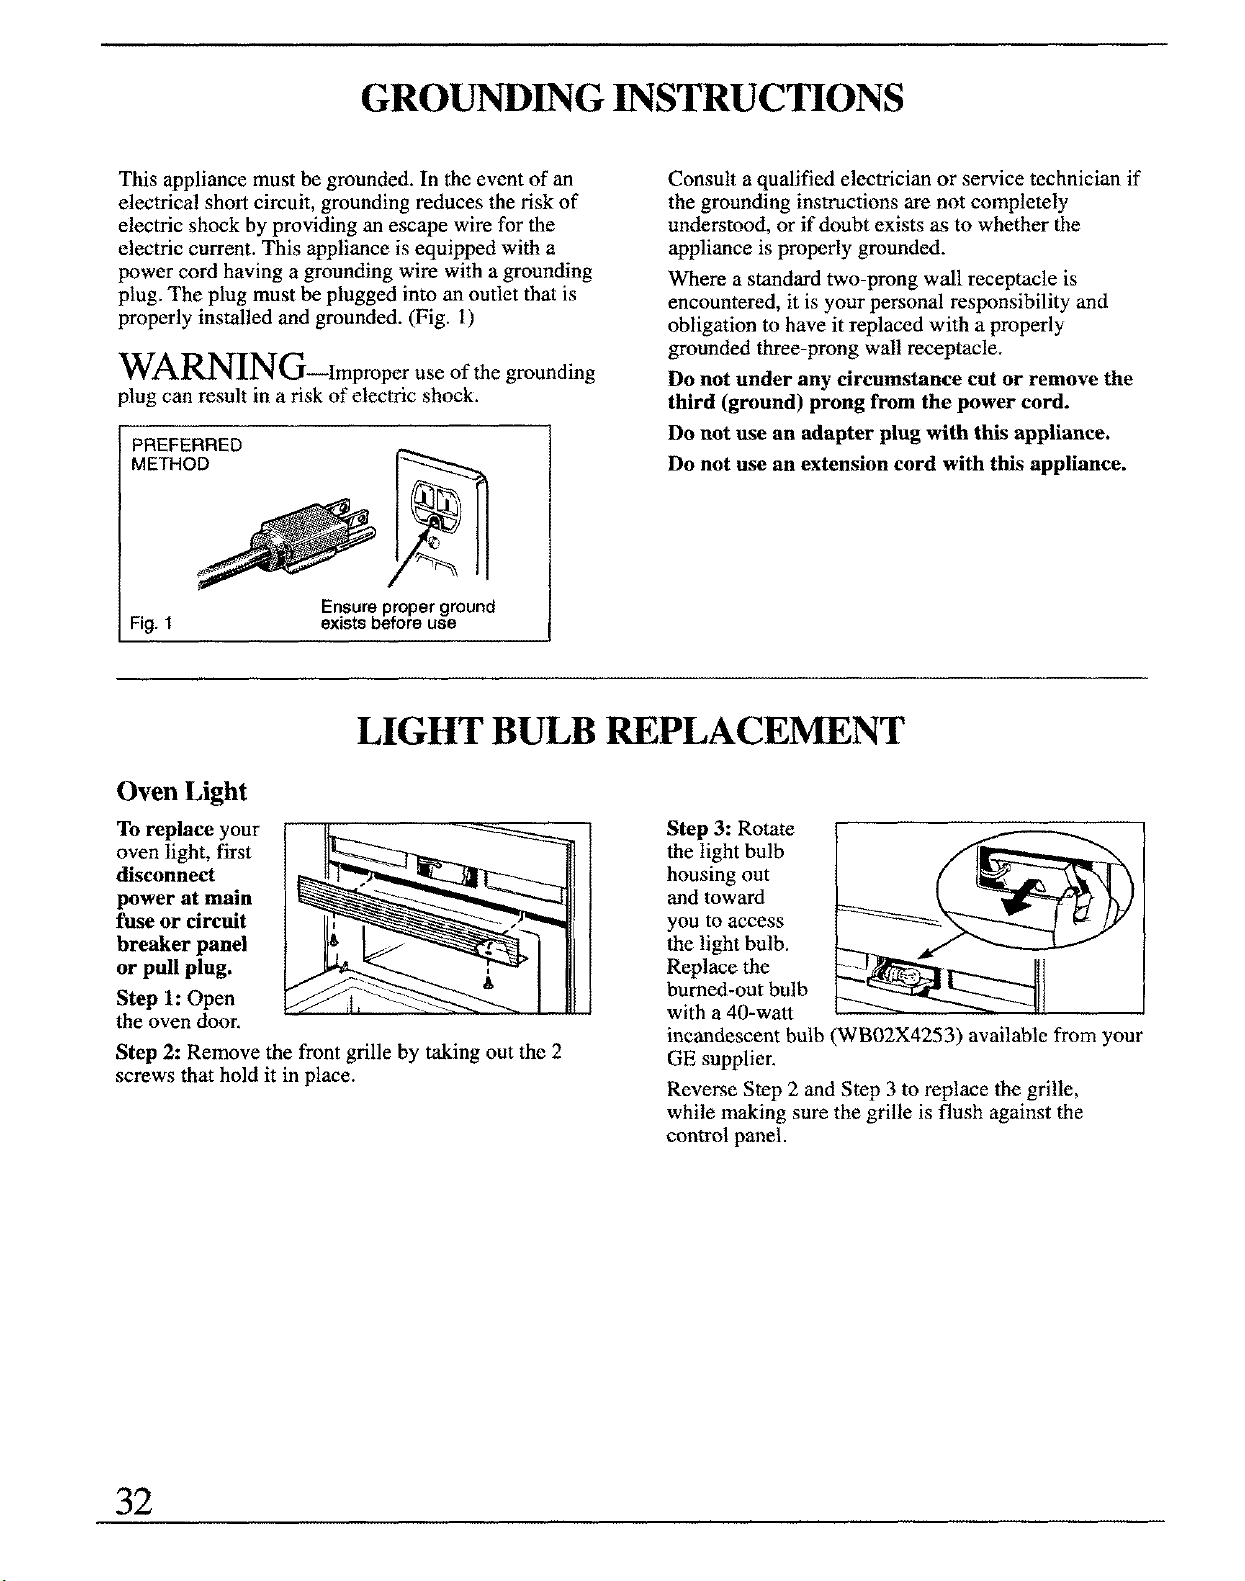
PREFERRED
METHOD
Fig. 1
Ensure proper ground
exists before use
Consult a qualified electrician or service technician if
the grounding instructions are not completely
understood, or if doubt exists as to whether the
appliance is properly grounded.
Where a standard two-prong wall receptacle is
encountered, it is your personal responsibility and
obligation to have it replaced with a properly
grounded three-prong wall receptacle.
Do not under any circumstance cut or remove the
third (ground) prong from the power cord.
Do not use an adapter plug with this appliance.
Do not use an extension cord with this appliance.
LIGHT BULB REPLACEMENT
Oven Light
To replace your
oven light, first
disconnect
power at main
fuse or circuit
breaker panel
or pull plug.
Step 1: Open
the oven door.
Step 2: Remove the front grille by taking out the 2
screws that hold it in place.
Step 3: Rotate
the light bulb
housing out
and toward
you to access
the light bulb.
Replace the
burned-out bulb
with a 40-watt
incandescent bulb (WB02X4253) available from your
GE supplier.
Reverse Step 2 and Step 3 to replace the grille,
while making sure the grille is flush against the
control panel.
32
Loading ...
Loading ...
Loading ...