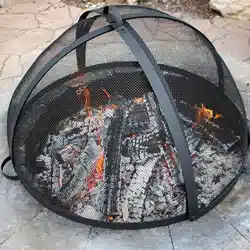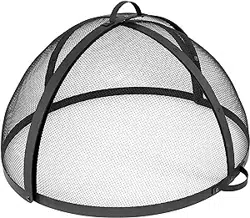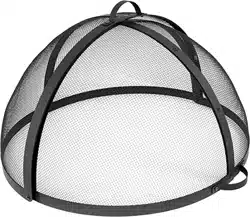
EASY ACCESS FIRE PIT SPARK SCREEN
KF-EOS
Read the assembly instructions carefully and follow the care instructions. Save these instructions for future reference.
Thank you for choosing Sunnydaze Decor. We stand behind our brand and the quality of the items we sell.
Replacement parts or products will be sent at our discretion within the 1-year warranty period. Proof of purchase, with
the date of purchase as well as photos of the merchandise defect, must be provided. Photos are used to determine
the cause of defects and for future quality control. Register your warranty at https://tiny.cc/SunnydazeWarranty
If you have any questions, comments or concerns, feel free to contact us by phone at 833-982-1977, by email:
customerservice@sunnydazedecor.com, or via our contact us page at https://tiny.cc/SunnydazeContact
Purchase Date: / / Order/Customer Reference Number:
Inspect packaging to ensure all
parts are accounted for before
disposing of packing materials.
EOS Page 1 / 3 05/2022
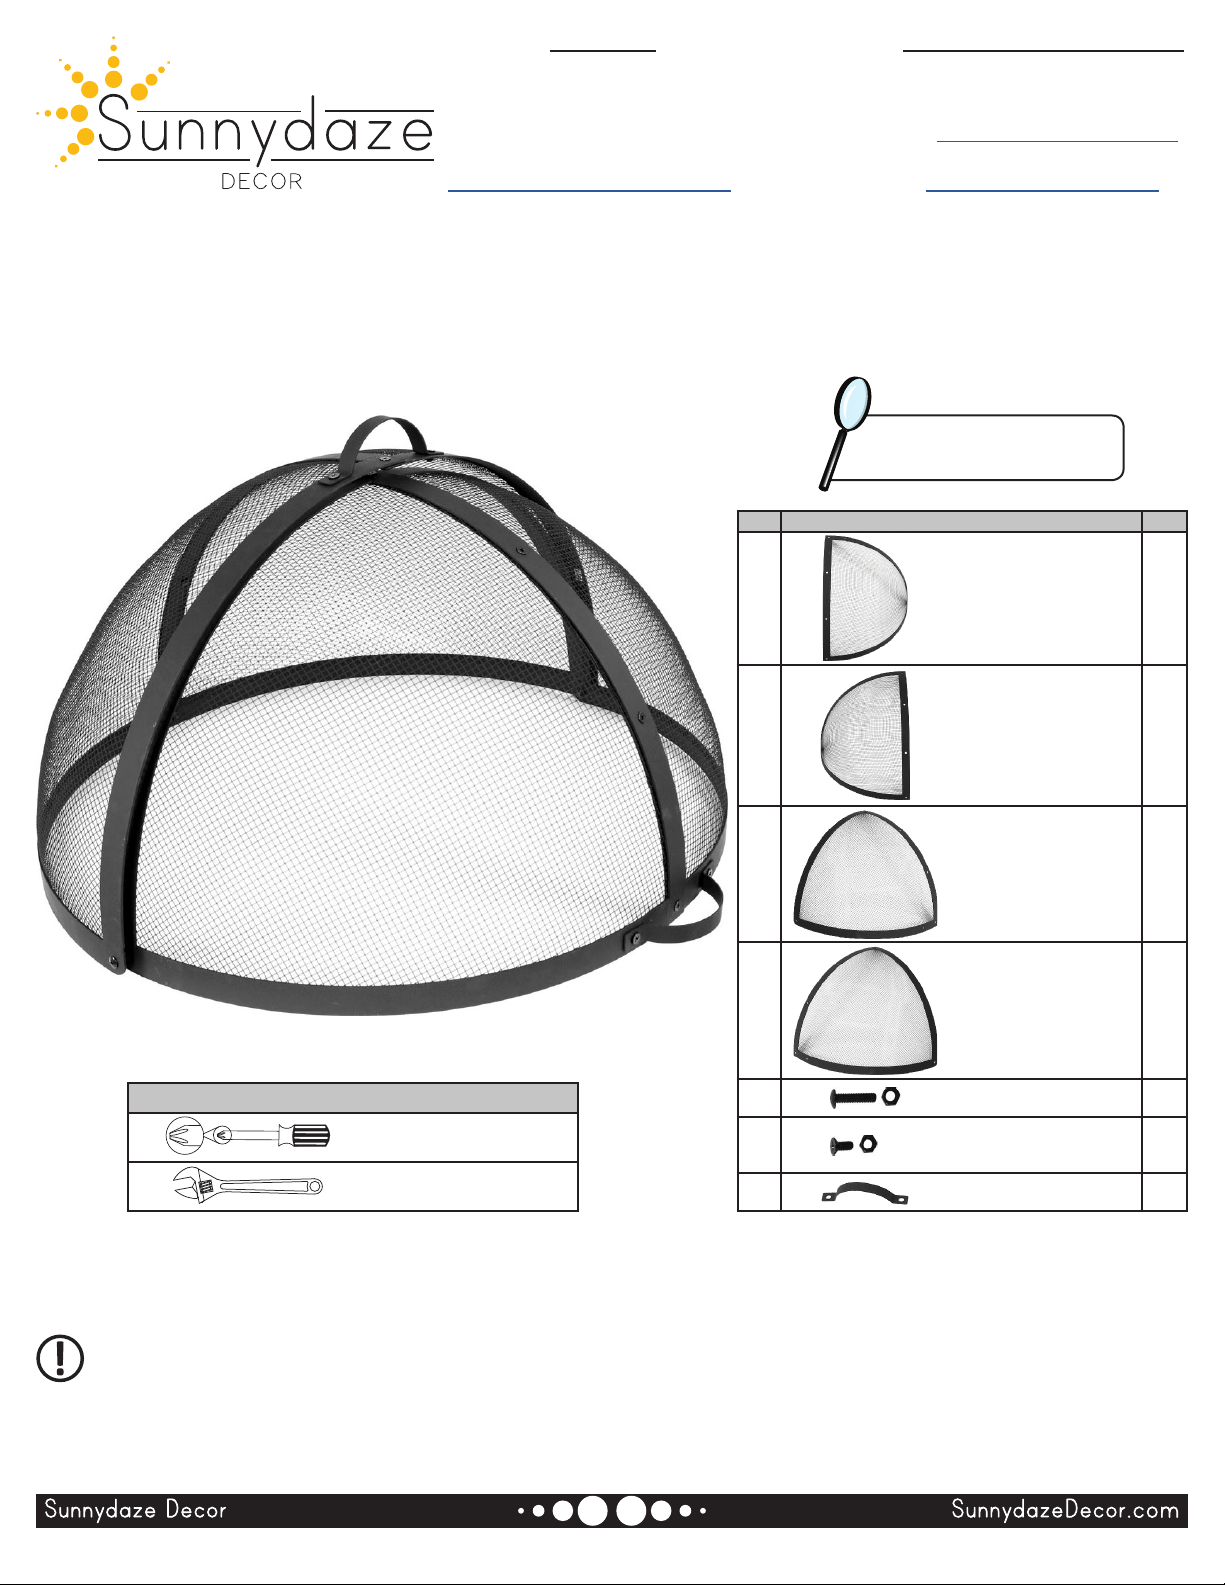
A1 Inside Screen (left) 1
A2 Inside Screen (right) 1
B1
Outside Screen (left) 1
B2 Outside Screen (right) 1
C M6x25mm Bolt Set 2
D M6x12mm Bolt Set
10*
14
E Handle 2
* Bolt quantity varies by model, smaller size screens
only require 10 bolt sets
(not included)
Phillips Screwdriver
Adjustable Wrench
HELPFUL HINTS
Sunnydaze Decor advises reading this manual fully, and assembling the item soon after purchase. Check that
all parts are accounted for and familiarize yourself with the assembly before beginning.
Carefully read all care, maintenance, and safety information before using this product.

EOS Page 2 / 3 05/2022
ASSEMBLY
Ensuring the spacers face inward, [Figure 1] align the bolt holes
of Outside Screens (B2) over Outside Screen (B1). [Figure 2]
Loosely secure the screens by hand-tightening M6x12mm Bolt
Sets (D). [Figure 3]
IMPORTANT: HAND-TIGHTEN ONLY as over-tightening will
NOTE: If mounting holes are not aligning, try switching which
screen is on top to see if holes align better. Light force may be
required to align holes.
STEP 1
Figure 5
Spacer
Figure 1 Figure 2
Figure 3
Figure 7Figure 6
Align the bolt holes of Inside Screens (A2) over Inside Screen
(A1).
Loosely secure the screens by hand-tightening M6x12mm Bolt
Sets (D).
IMPORTANT: HAND-TIGHTEN ONLY as over-tightening will
STEP 2
NOTE: If mounting holes are not aligning, try switching which
screen is on top to see if holes align better. Light force may be
required to align holes.
Install one Handle (E) onto each screen by hand-tightening
M6x12mm Bolt Sets (D). [Figure 4]
Fully tighten all bolts on both sets of screens, then fully tighten
the handle hardware. [Figure 5]
STEP 3
Figure 4
Double check that all bolts are securely fastened. [Figure 7]
The bolts used to secure the hinges should be loose enough to
allow the screen to open and close, but tight enough so the nut
STEP 5
With both handles facing upward, place outside screens (B)
over inside screens (A). Connect the screens by fastening
M6x25mm Bolt Sets (C). [Figure 6]
STEP 4
NOTE: There will be a space between the two screen halves
to provide adequate opening/closing clearance.
Completed Screen
IMPORTANT:
Read all use, care and safety information
before using this product.

EOS Page 3 / 3 05/2022
SAFETY STATEMENTS & WARNINGS
SAFE USE: The screen will become extremely hot while in use. Always use a lifter tool or heat-resistant
gloves to open and close the screen; if using gloves, ensure they are designed for handling hot metal.
: Long-term exposure to high-intensity heat can cause the mesh screen to
rust. As with any outdoor steel product, periodic maintenance is required to maintain integrity and appearance.
Remove rust with sandpaper or a steel brush and repaint with a paint that is suitable for high-temperature
surfaces; follow the paint manufacturer's instructions and ensure the paint is completely dry before using the
screen again.
:
screen.
:
Always use the screen on a smooth, non-combustible surface. Take care never
to drop your spark screen, as any breakage could cause permanent damage.
be exposed to water. The manufacturer is not liable for damage resulting from use and/or environmental
conditions.
• Screen will become hot when in use. Failure to wear protective gloves when handling may lead to serious injury.
• Only use this screen on a level, non-combustible surface.
• Always follow local laws and regulations when burning.
• Exercise the same care and precautions as you would with an open fire.
• Do not use this item during rainy or windy conditions.
• Never use accelerants such as, but not limited to, gasoline, alcohol, paint thinners, kerosene, as this may cause serious injury
or product damage.
• Never leave the unit unattended while hot or in use.
• Keep out of reach of children.
• Always supervise children and pets when this item is in use.
• DO NOT USE CHEMICAL-BASED CLEANERS as this may damage the product and/or ignite a flame during the next use.
• Extinguish fires properly before leaving. Use a fire extinguisher or a bucket of sand to smother the fire if necessary. Do not
use water to extinguish hot fires or embers as this may cause serious injury and may damage the product. Never extinguish
a fire while the screen is closed, as doing so may damage the product.
• Ensure the screen is completely cool before moving, covering or storing.
CARE & MAINTENANCE
WARNING!
Manufacturer and seller expressly disclaim any and all liability from personal injury, property damage