Loading ...
Loading ...
Loading ...
953.160UK User Manual
Operation
When all connections to the amplifier are made, turn all rotary controls down and switch on the power (36)
and the power LED (17) will illuminate.
To check for correct operation of the system, select an input source and output zone for testing.
In the following example, Mic/Line 1 input and Zone 1 output have been selected.
• Turn up Zone 1 level control (6) part way for testing
• Make sure that the “Z1” assign button for Mic/Line channel 1 (21) is pressed in
• If a line input is connected to channel 1, make sure that the signal is playing from the audio source
• If a microphone is connected to channel 1, speak into the microphone
• Gradually turn up the Mic/Line 1 level control (2) whilst checking for output to Zone 1
• Increase the Zone 1 output level to the maximum required volume for that zone
• Reduce the Mic/Line level to compensate
If Zone 1 cannot be heard from the location of the RM406, use the monitoring feature as follows
• Turn down the Monitor level control (35) and connect headphones to the Monitor output (34)
• Make sure that the Monitor button for Mic/Line 1 is pressed in and listen through the headphones
• Gradually turn up the Monitor level control and check for the output to Zone 1
Each zone output has 2 LED indicators to show the signal status (8, 11, 14, 27, 30, 33)
The green LED follows the audio to show that the signal is present.
If the red LED lights for more than very short flashes, this indicates overload to that zone.
In this instance, the zone level control should be reduced until the red LED does not light.
The above process can be extended to check all zones and other input channels can be checked in the same
way as for Mic/Line 1 (note: in the case of Aux channel 4, this can only accept line level input)
If preferred, the system can be checked using the onboard multi-source audio player.
Full information on the operation of this feature is detailed below.
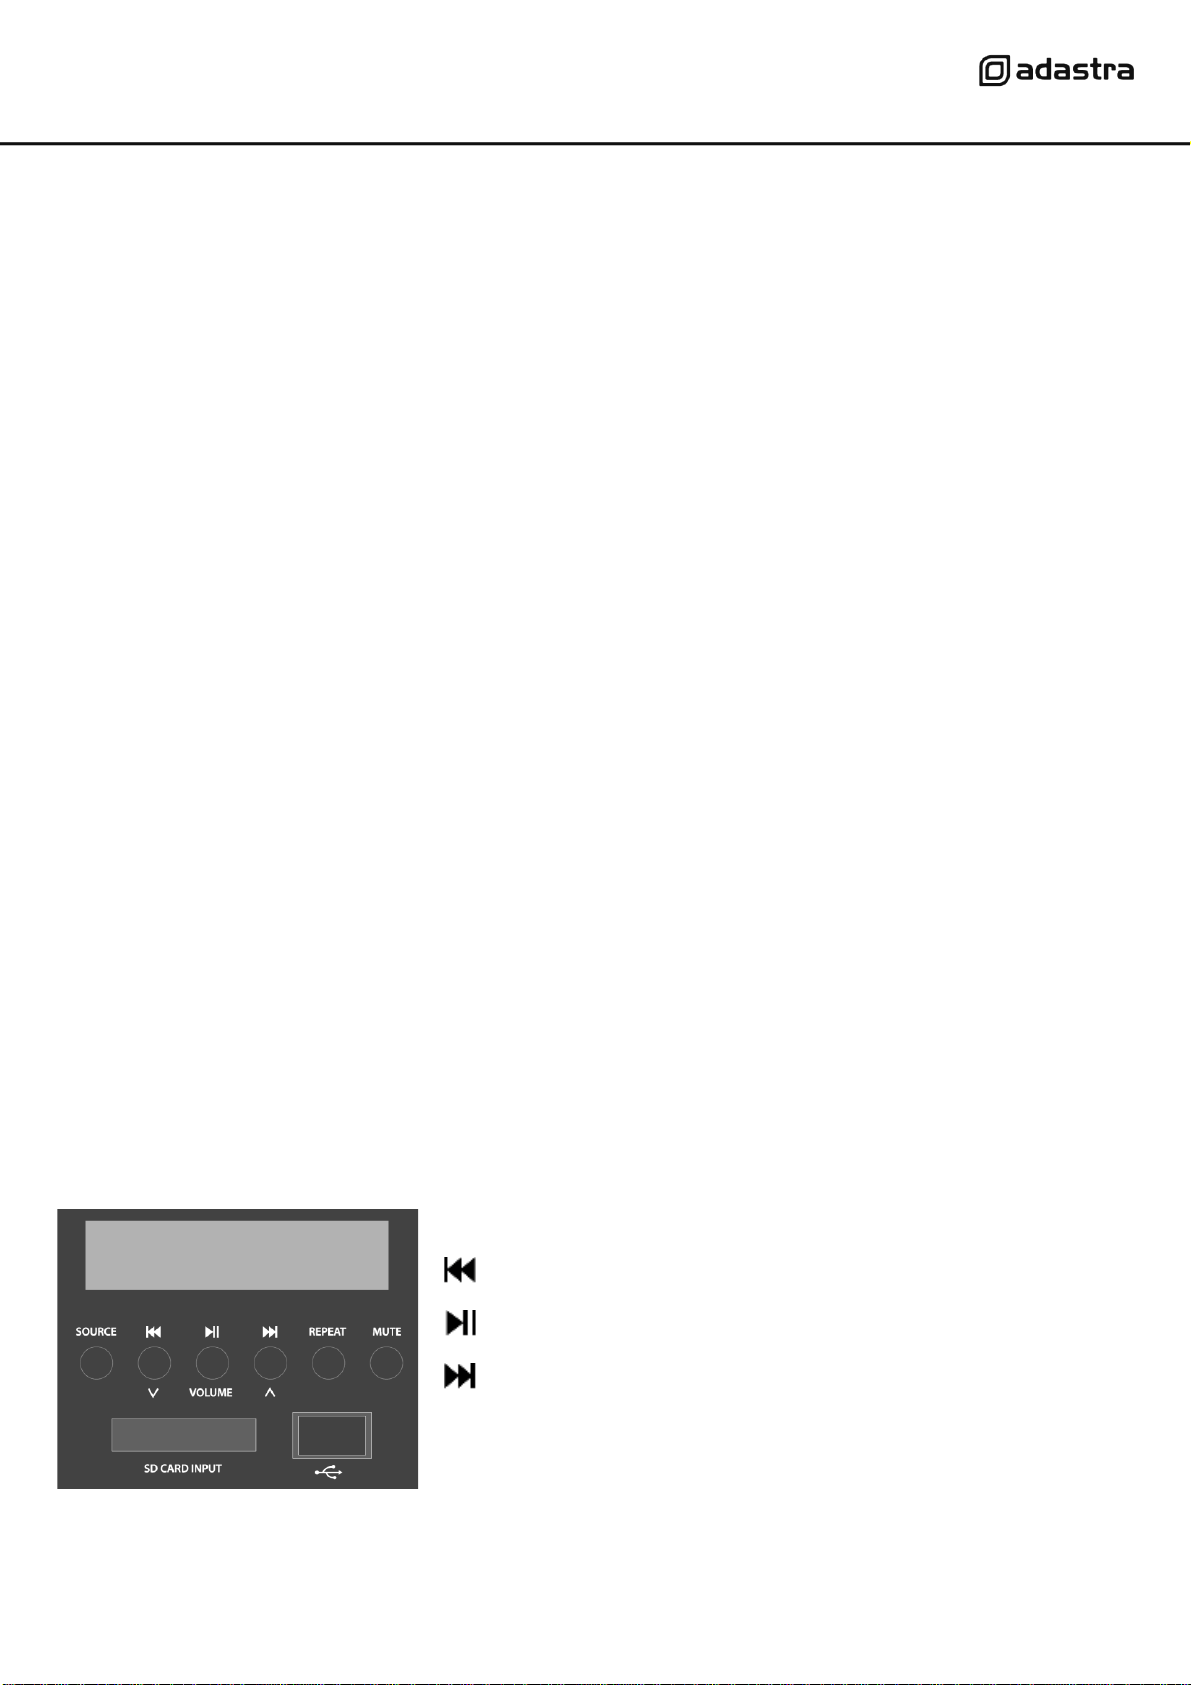
Onboard Multi-Source Audio Player
The RM406 is fitted with a built-in audio player, operated via a backlit LCD display and transport buttons.
This section provides access to a Bluetooth receiver, FM radio tuner and USB/SD audio player
In order to play audio to one of the zones, it is necessary to press in one of the “Playback” buttons (20).
When the RM406 is powered up, the media player display will illuminate with an initial greeting “Welcome”.
This message will then change to show the mode, output volume and media status.
If no USB or SD media are connected, the initial mode of the audio player will be Bluetooth.
SOURCE
Select between Bluetooth, FM tuning, USB or SD playback
Previous track or FM channel select
Play/Pause track or FM auto tuning
Next track or FM channel select
REPEAT
Select RT1 repeat single, RTA repeat all or RND random
MUTE
Mute playback (press and hold to switch the player on/off)
Loading ...
Loading ...