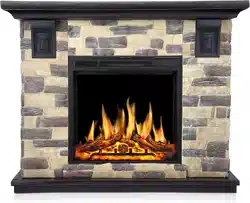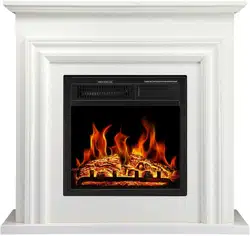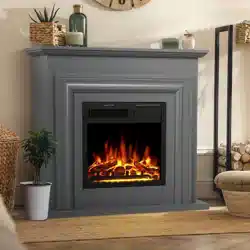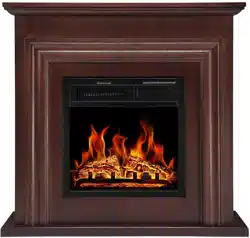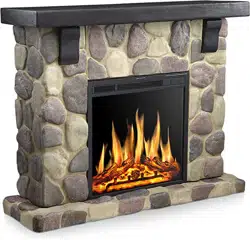
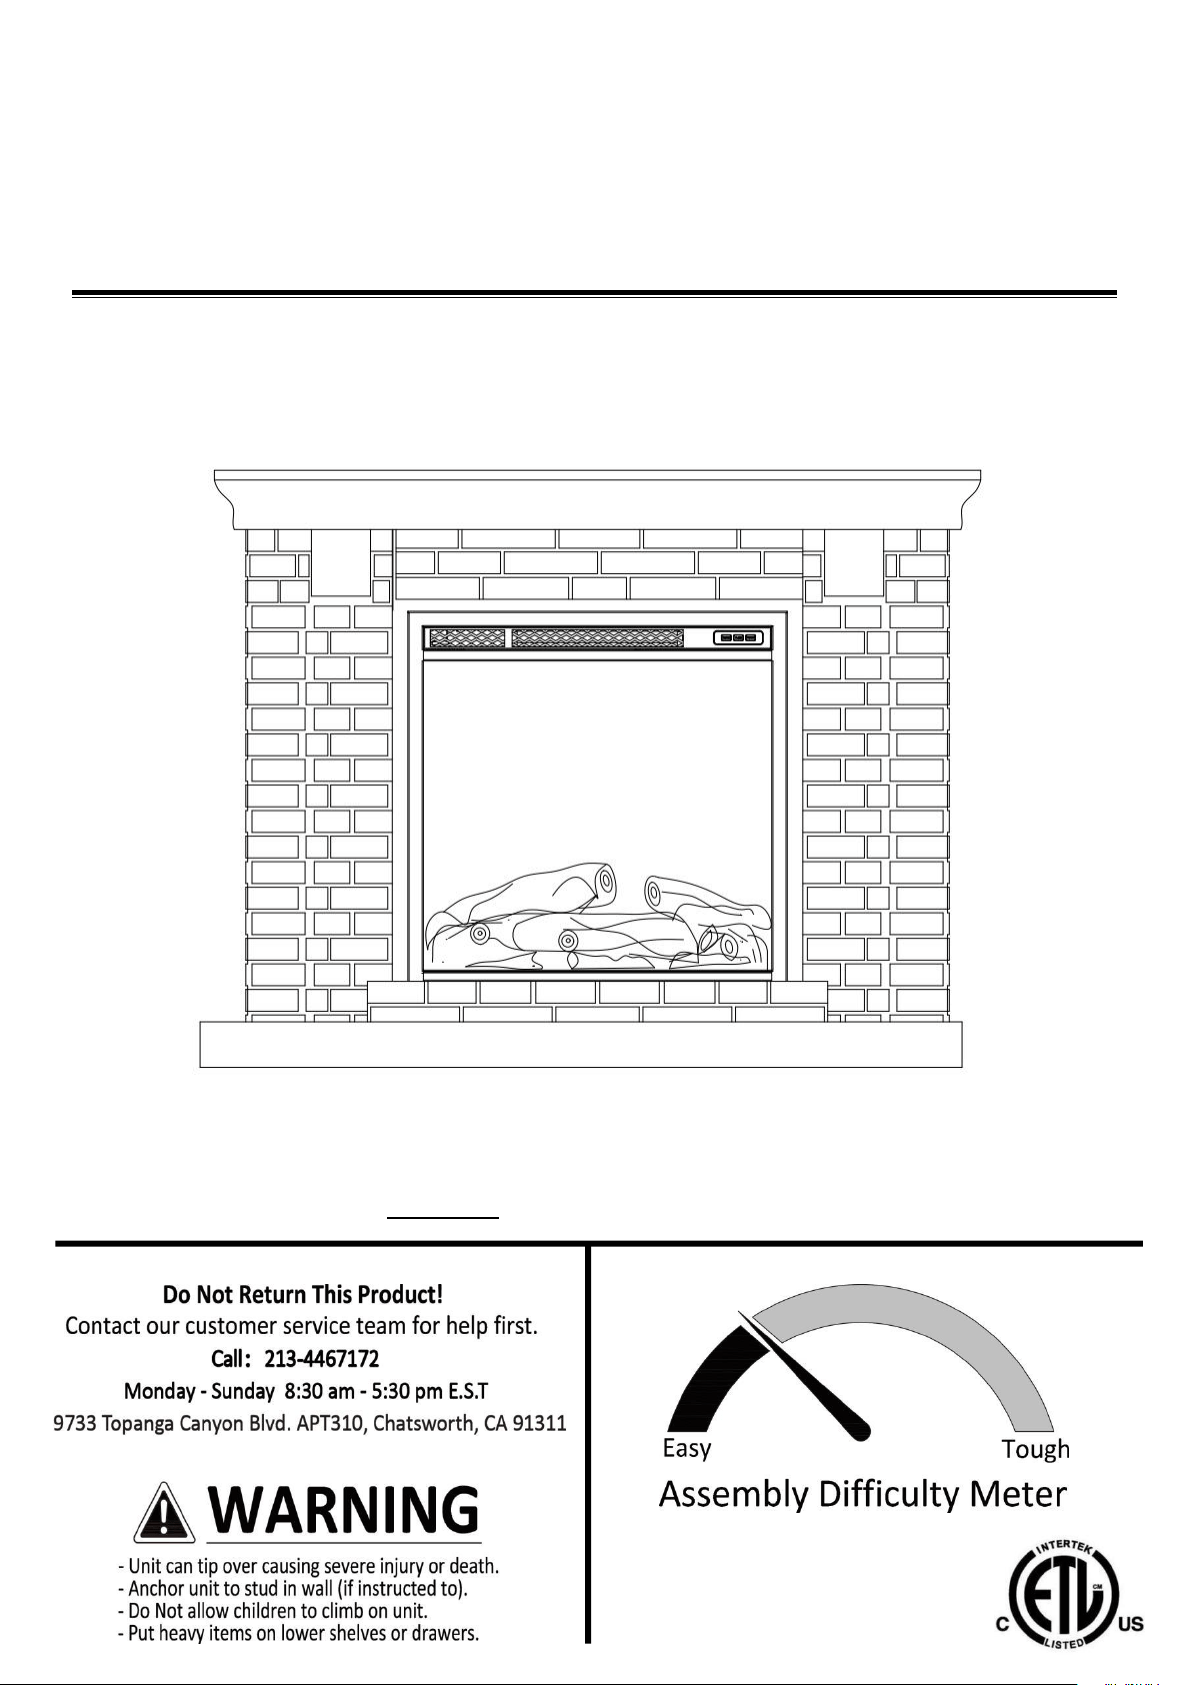
ELECTRIC FIREPLACE
Y4926
THIS INSTRUTION BOOKLET CONTAINS IMPORTANT SAFETY INFORMATION. PLEASE READ AND KEEP FOR FUTURE REFERENCE.
IMPORTANT INSTRUCTIONS
AND OPERATING MANUAL
CERTIFIED UNDER CANADIAN AND
AMERICAN NATIONAL STANDARDS: ETL

- 2 -
- 3 -
DO NOT RETURN THIS PRODUCT!
Contact our friendly customer service team first for help.
Call: 213-4467172
Or 661-4358826
( 8:30 am - 5:30 pm E.S.T )
DATED PROOF OF PURCHASE REQUIRED FOR WARRANTY SERVICE.
[ Helpful Hints ]s
PEOPLE NEEDED FOR ASSEMBLY: 1-2
ESTIMATED ASSEMBLY TIME: 1 HOUR
-Open your item in the area you plan to keep it to avoid excessive heavy lifting.
-Identify, sort and count the parts before attempting assembly.
-Make sure to always face the point on the top of the Cam Lock towards the outer edge.
-Use all the nails provided for the back panel and spread them out equally.
-Back panel must be used to make sure your unit is sturdy.
-Do NOT use harsh chemical or abrasive cleaner on this item.
-Never push, pull, or drag your furniture.
Contact Us !
- 4 -
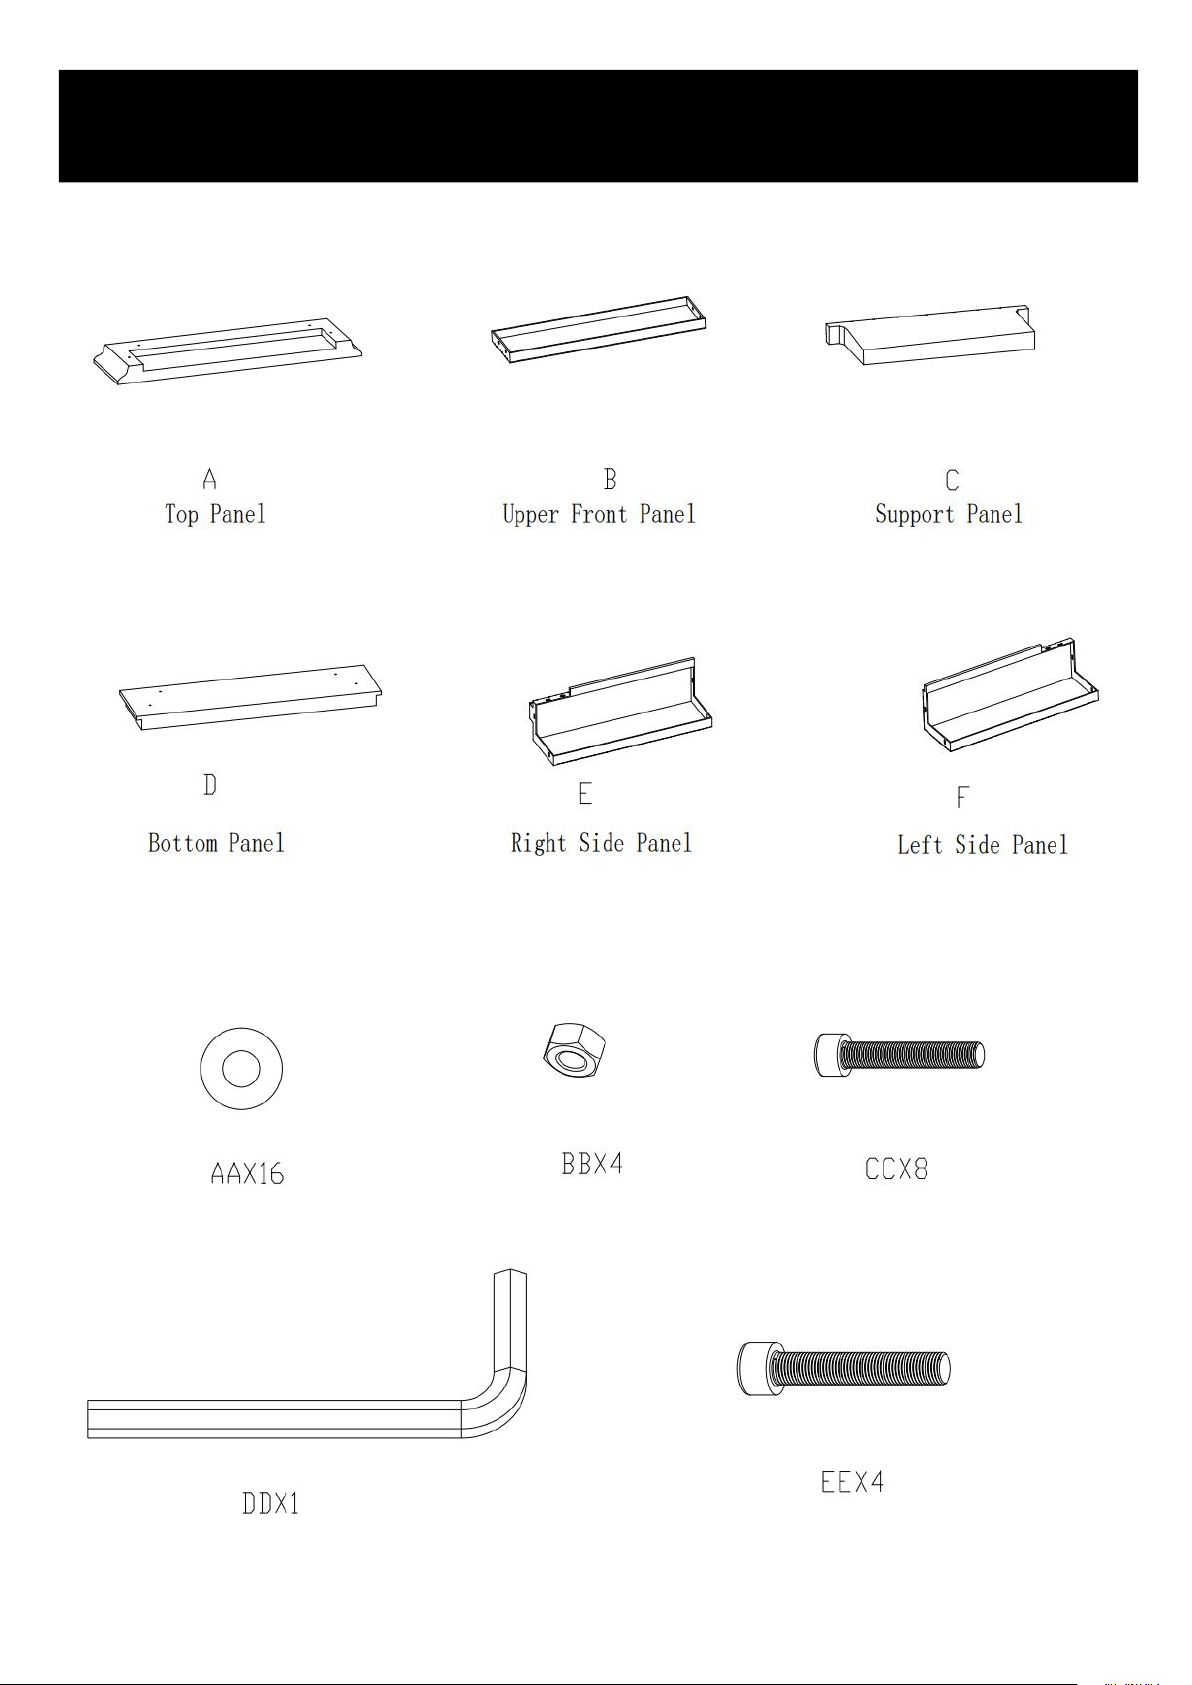
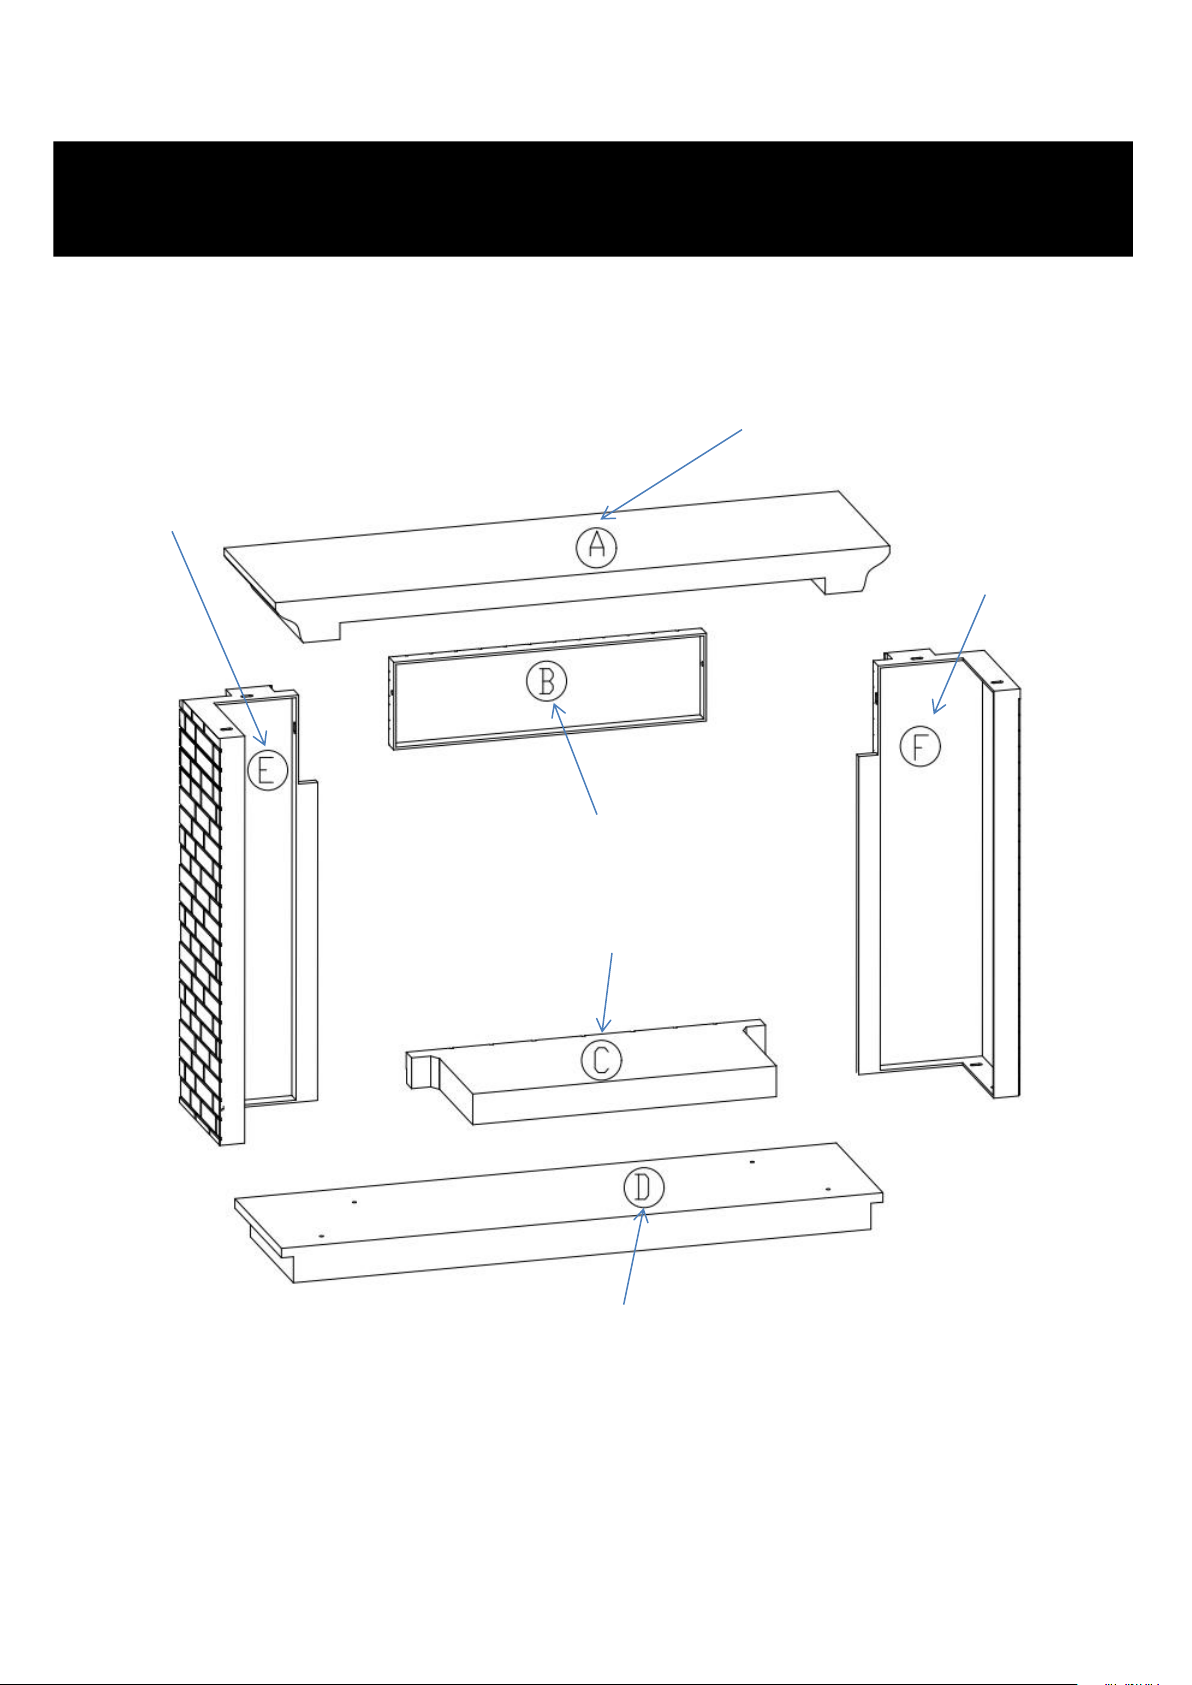
PACKING LIST
- 5 -
Before installing this fireplace, please read the following steps carefully.
ASSEMBLY
Top Panel
Upper Front Panel
Right Side Panel
Left Side Panel
Support Panel
Bottom Panel
- 6 -
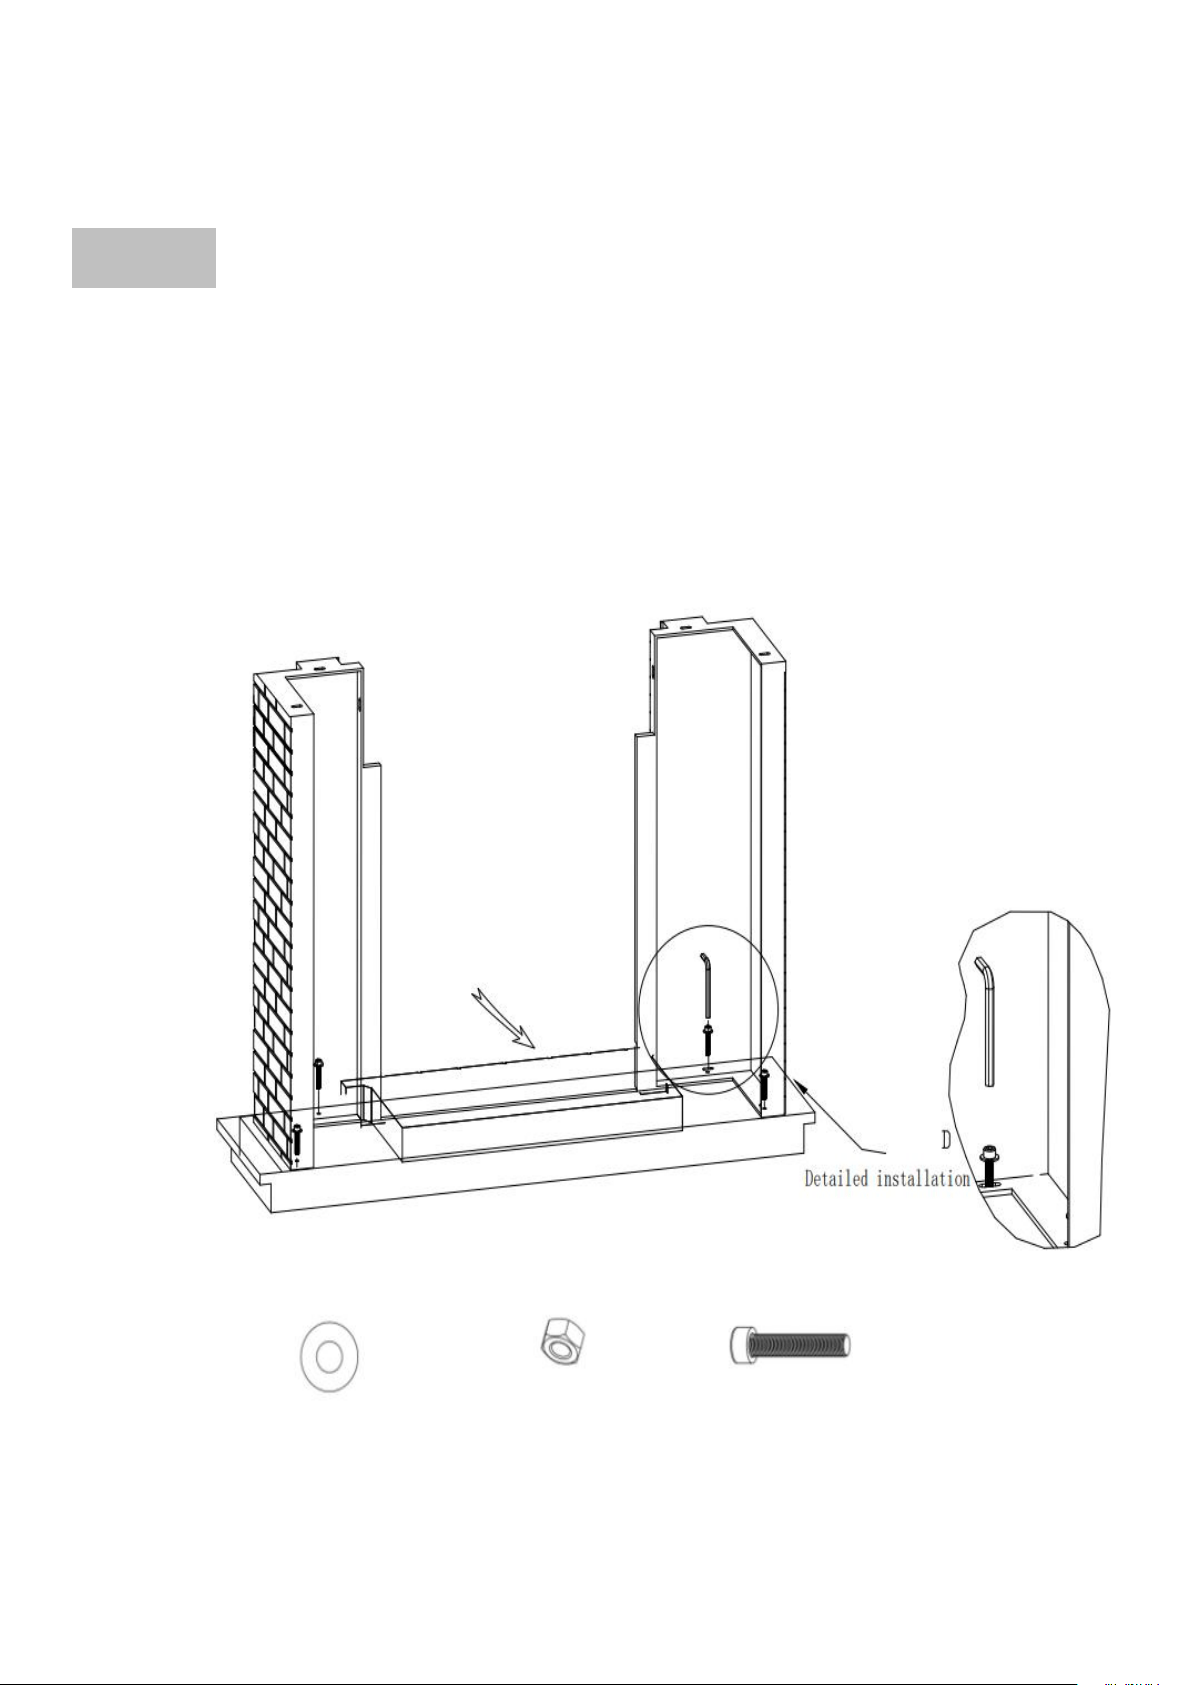
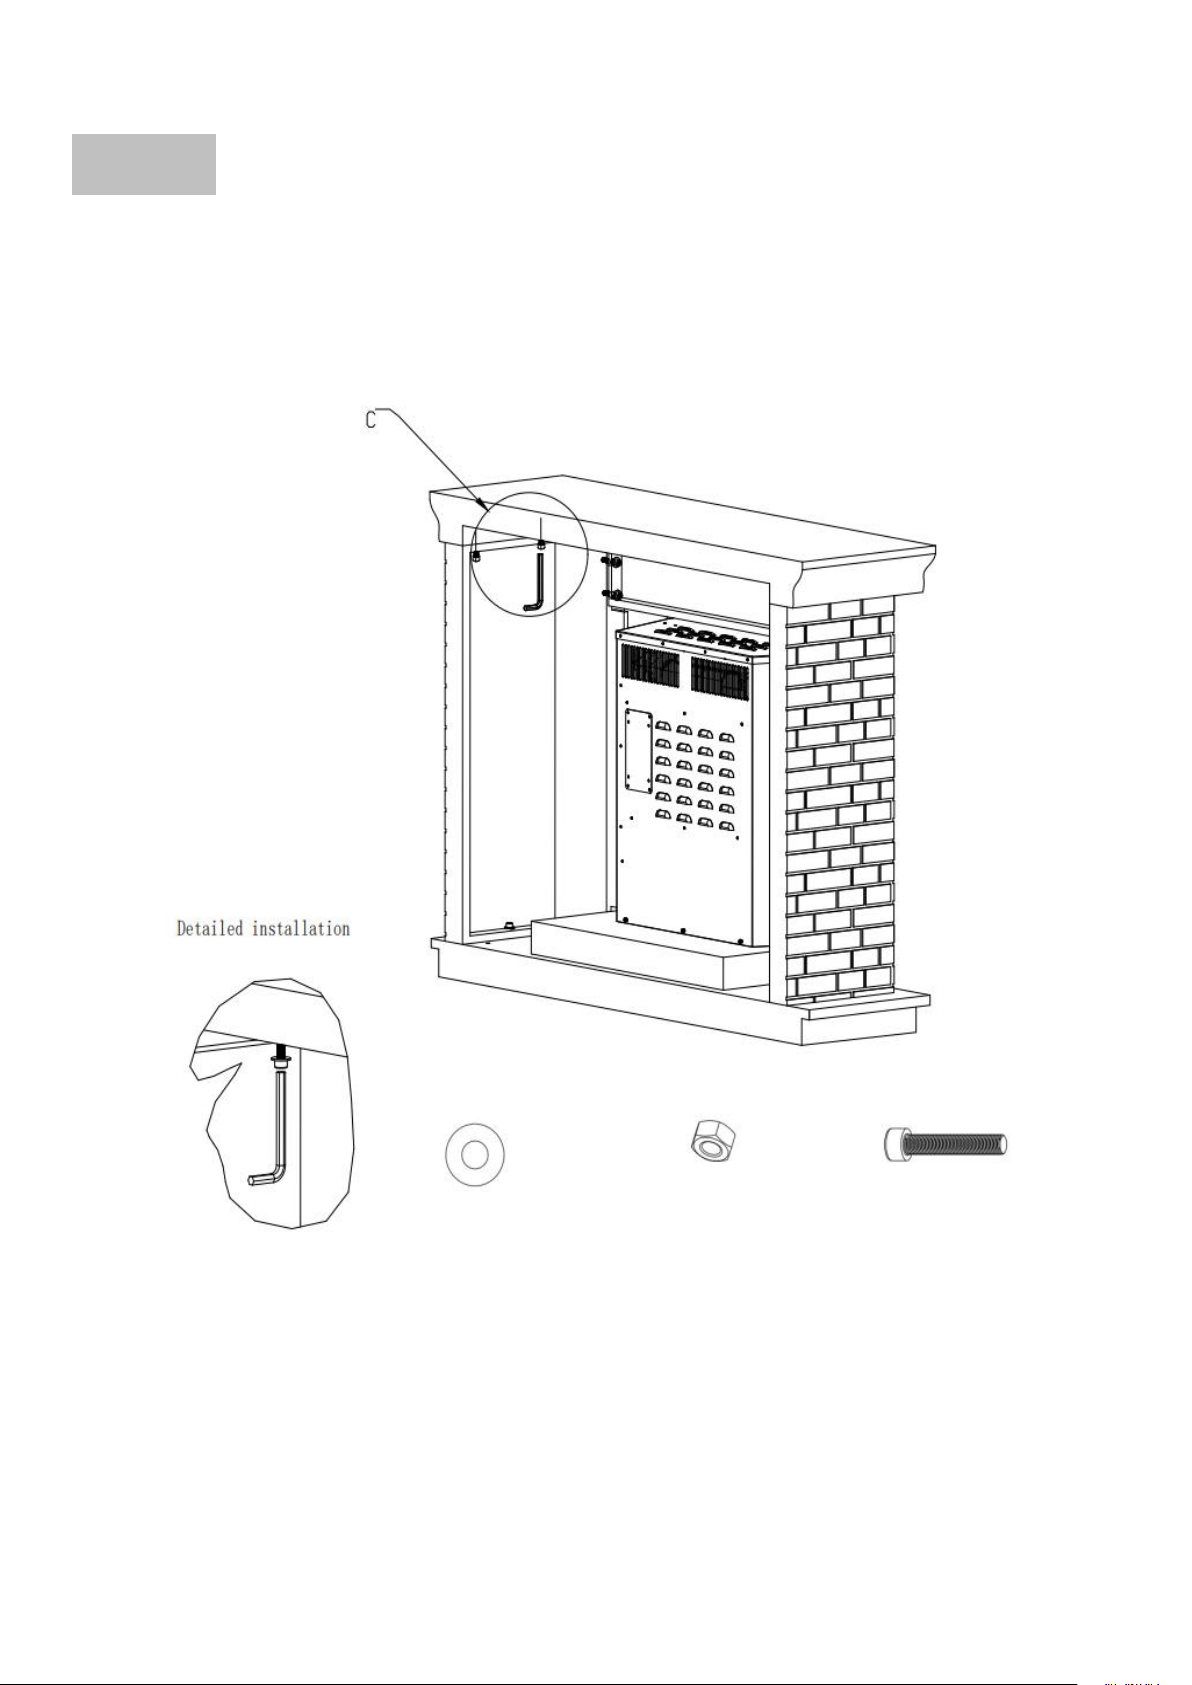
STEP 1:
Install the two side panels and bottom front panel onto the support panel with hexagon
wrench as shown in the picture.
Note:Do not tighten screws completely at this setp.
AAX4
BBX4
CCX4
- 7 -
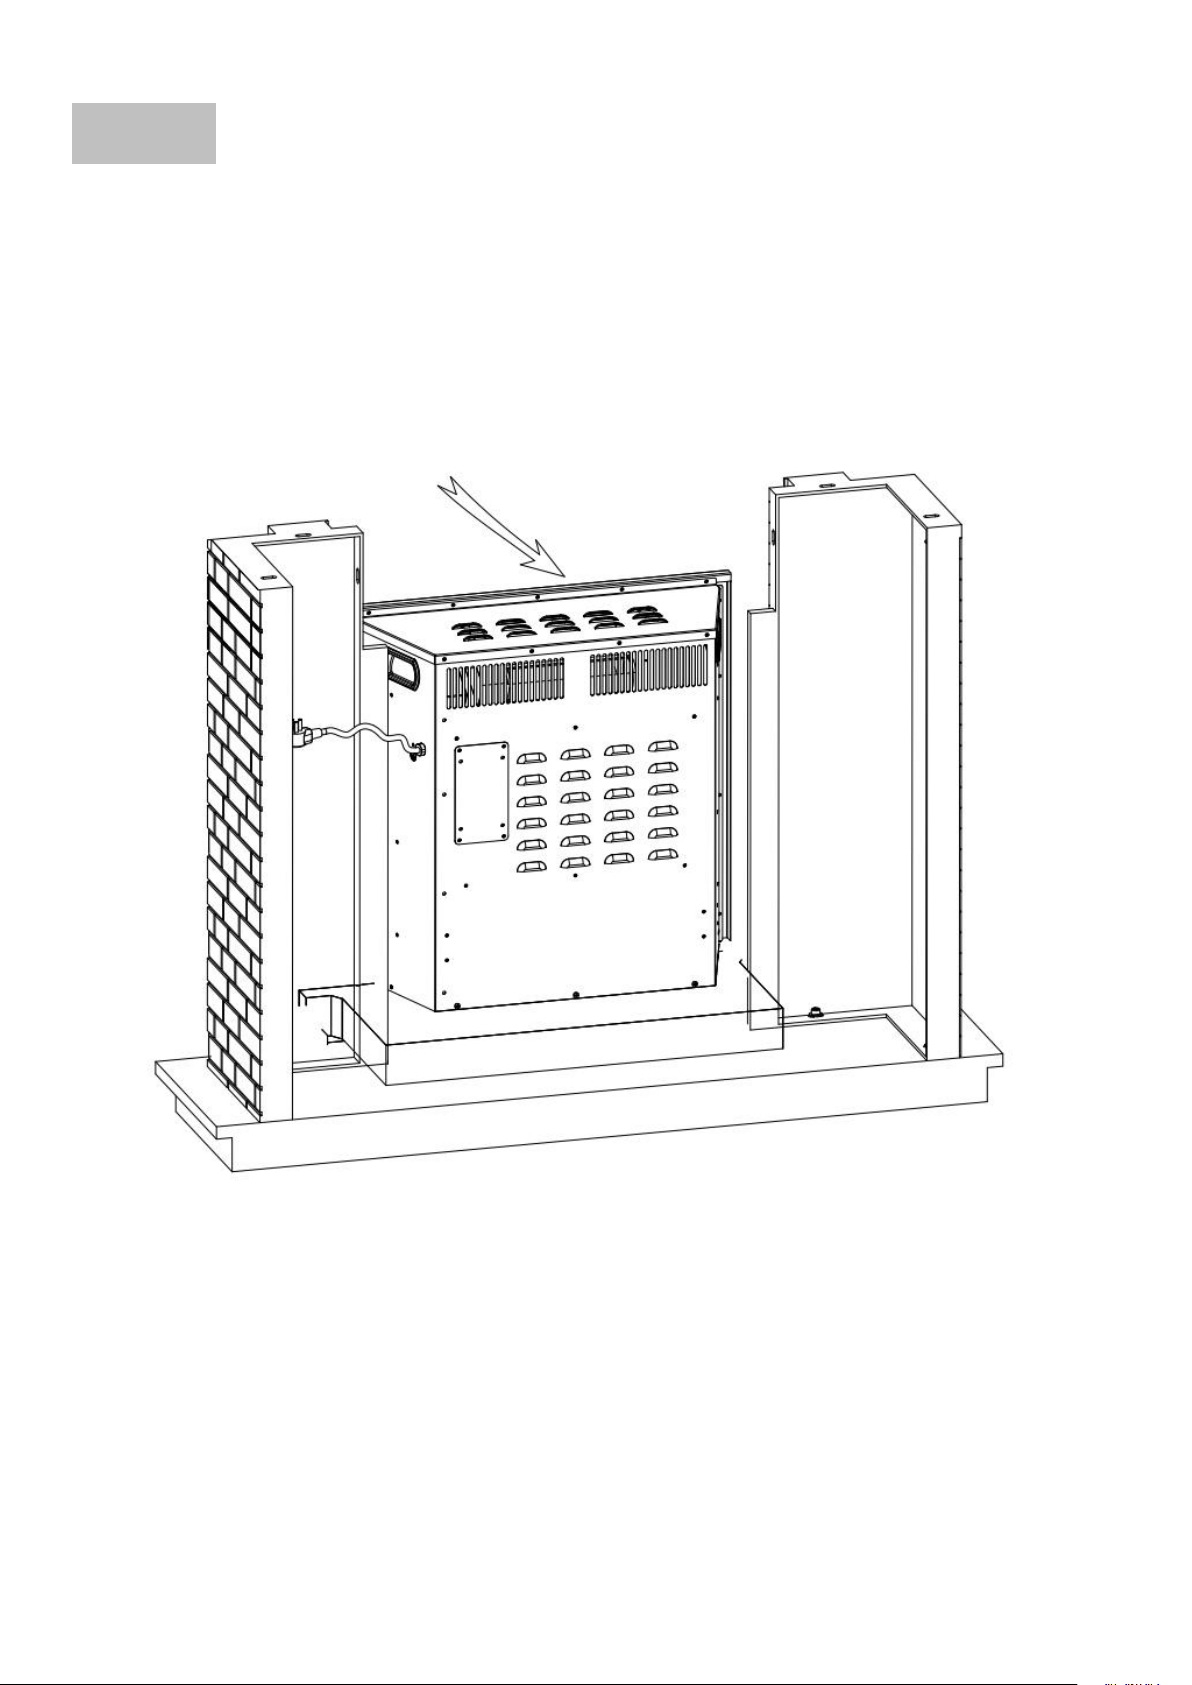
STEP 2:
Install the heater into the panels installed in the previous step with hexagon wrench as
shown in the picture.
- 8 -
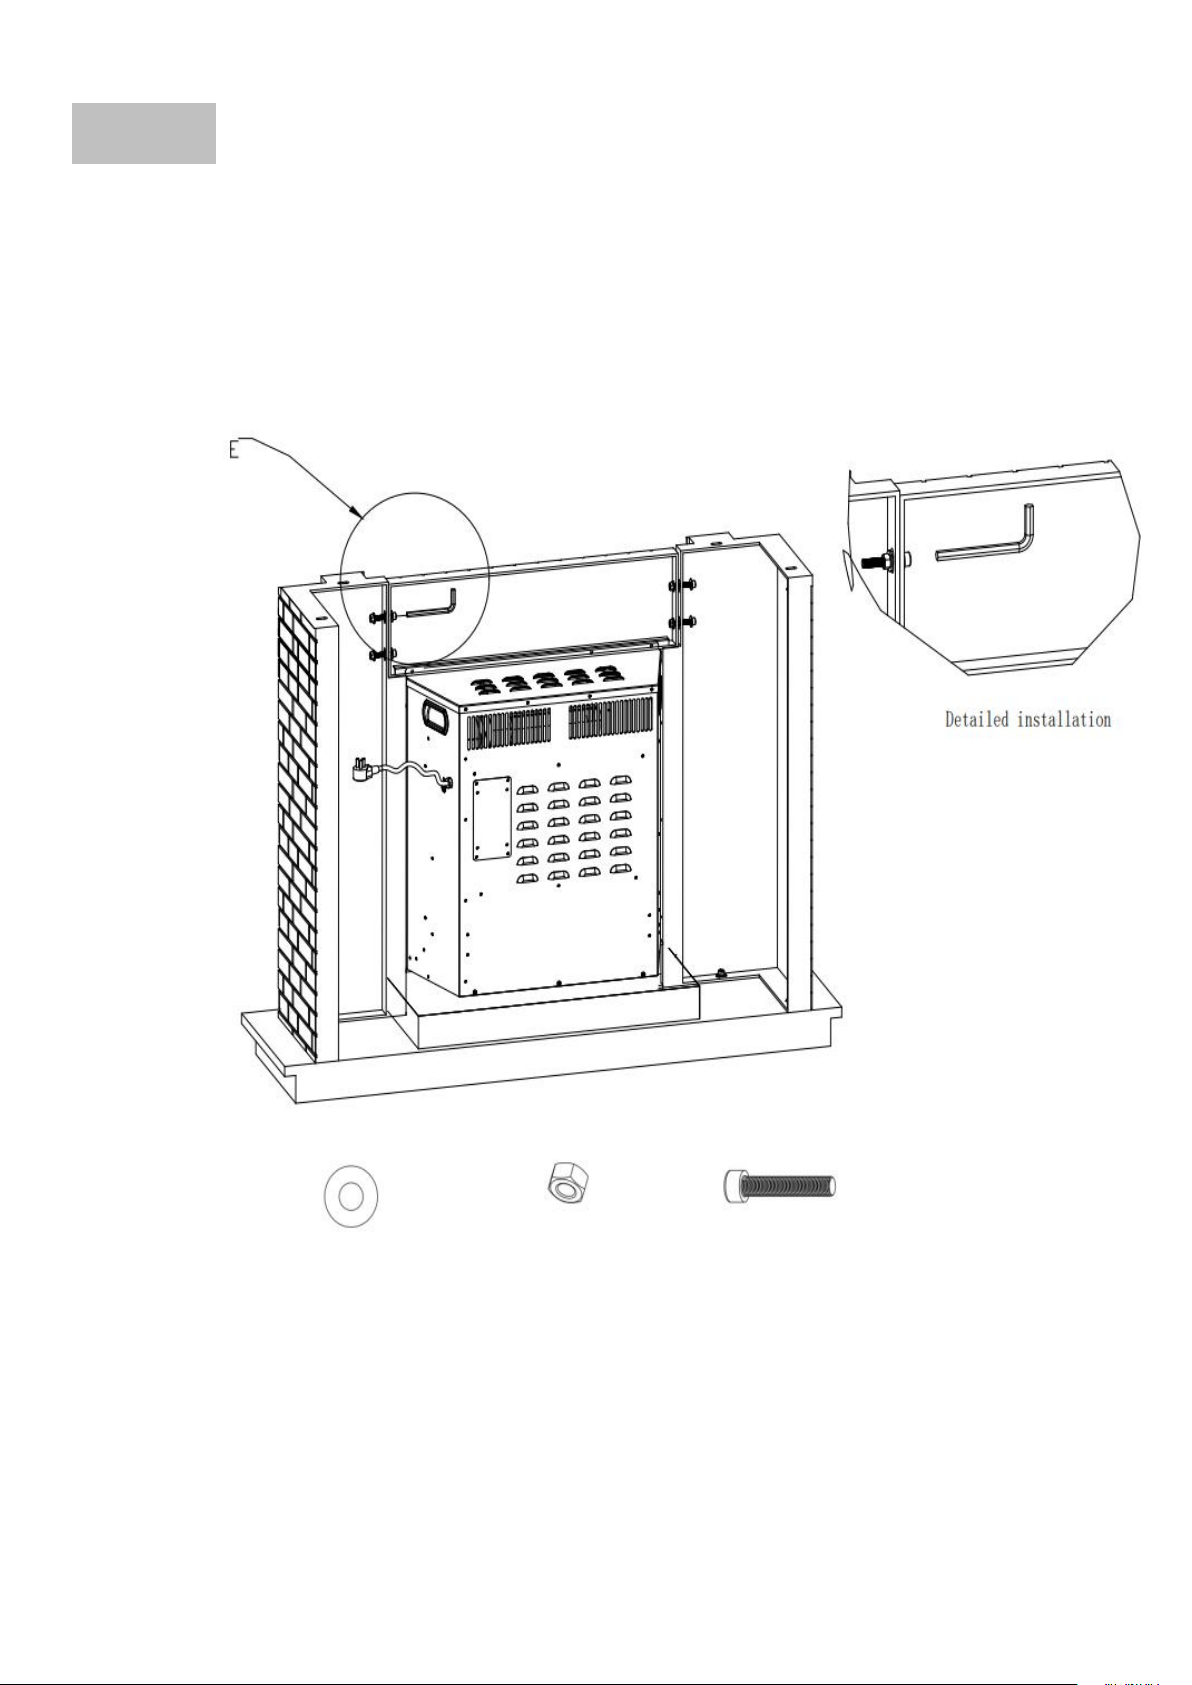
STEP 3:
Install the upper front panel onto the panels installed in the previous step with hexagon
wrench as shown in the picture.
Note:Do not tighten screws completely at this setp.
AAX8 BBX4 EEX4
- 9 -
STEP 4:
Install the top panel onto the panels installed in the previous step with hexagon wrench
as shown in the picture.
Note:Tighten all the screws completely after assembly.
AAX4 BBX4 CCX4
- 10 -
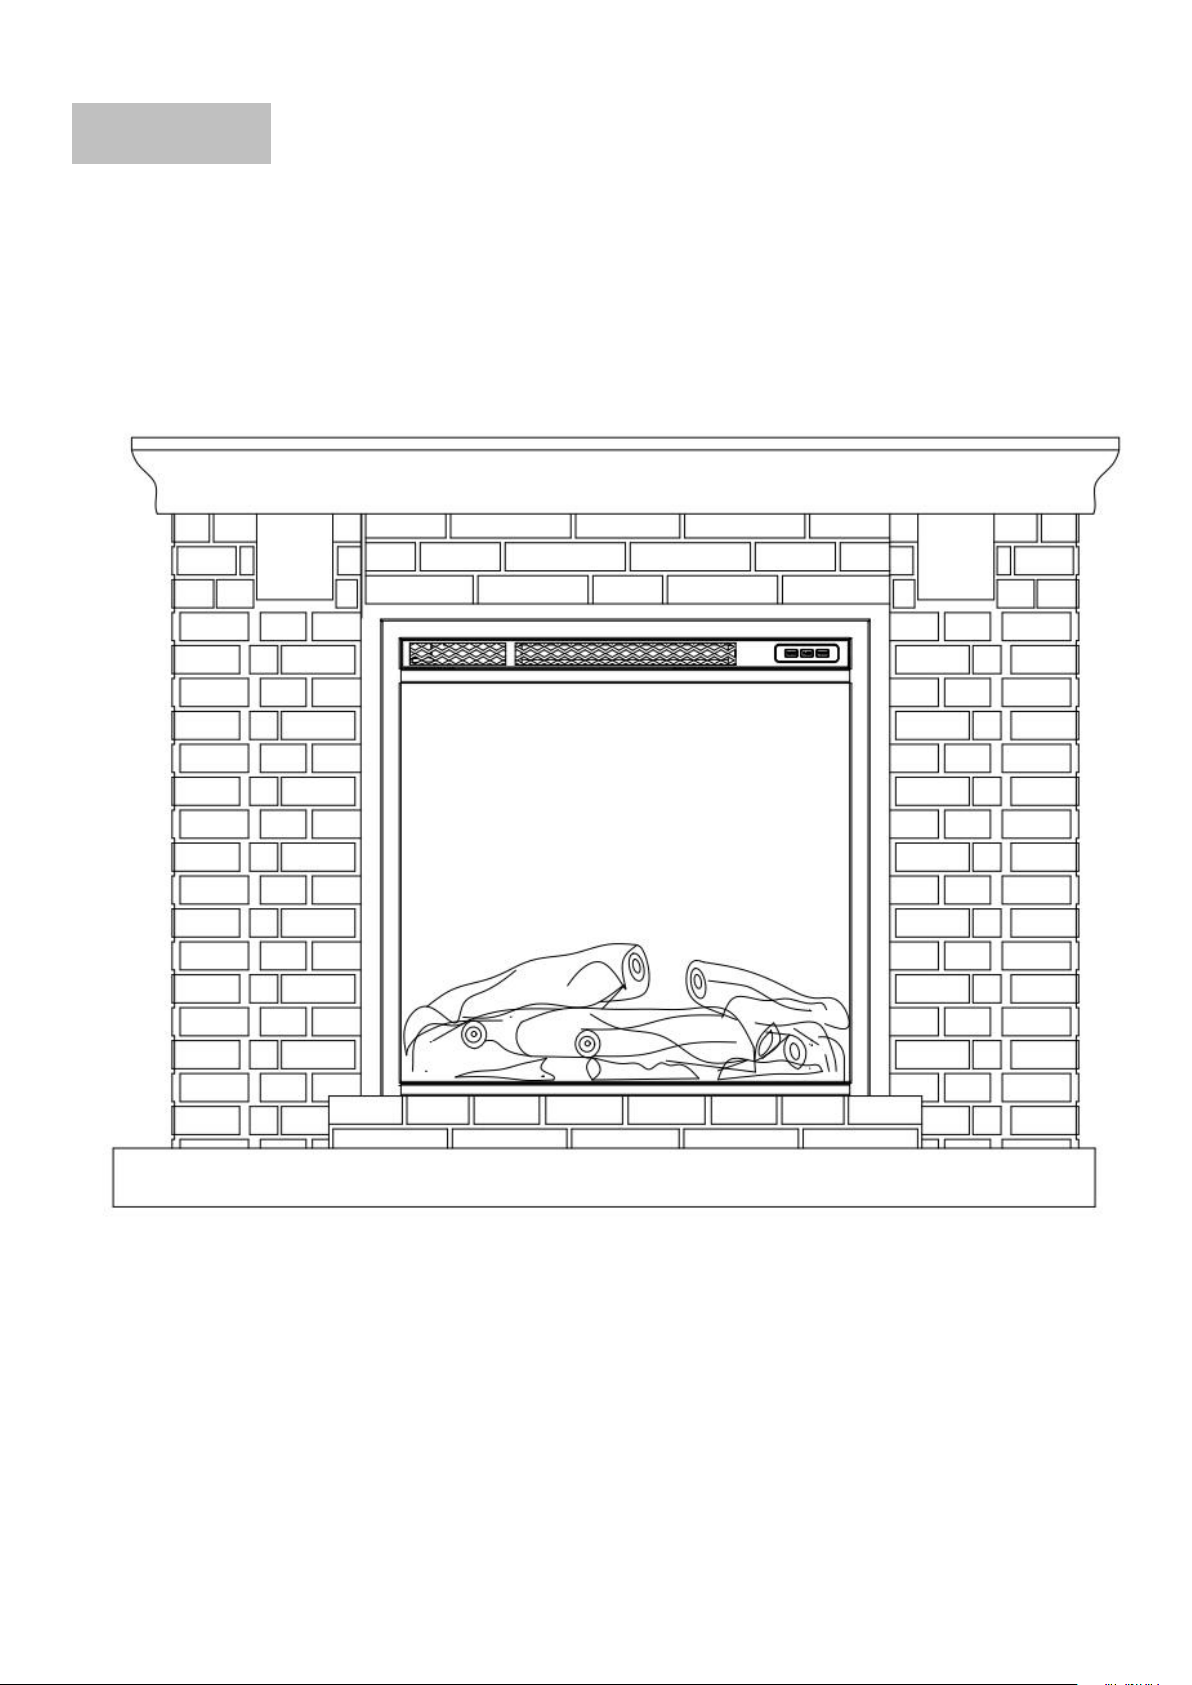
FINISHED: