Loading ...
Loading ...
Loading ...
Installation
Instructions
Refrigerator
Models 22 and 25
I ffyou have questions,call 1-800-GECARESorvisitour Websiteat: www.GEAppliances.com I
BEFORE YOU BEGIN
Read these instructions completely and carefully.
• IMPORTANT - Savethese
instructions for local inspector's use.
• IMPORTANT - Obsc, eall
governing codes and ordinances.
• Note to Installer - Besure to leavethese
instructions with the Consumer,
• Note to Consumer - Keep these instructions
for future reference.
• Skill level - Installation of this appliance requires
basic mechanical skills.
• Completion time - Refrigerator Installation
15 minutes
• Proper installation is the responsibilily of the
installer.
• Product failure due to improper installation is not
covered under the Warranty.
WATER SUPPLY TO THE ICEMAKER
(on some models)
If the refrigerator has an icemaker, it will have to be
connected to a cold water line. AGE waw.r supply kit
(containing tubing, shutoffvalve, fittings and
instructions) is available at extra cost from your dealer
or from Parts and Accessories, 800-626-2002.
REFRIGERATOR LOCATION
• Do not install the refi'igerator where the temperature
will go below 60°F (16°C) because it will not run of(en
enough to maintain proper temperalures.
• Install it on a floor s(rong enough to support it fully
loaded.
CLEARANCES
Allow the following clearances for ease of installation,
proper air circulation and plumbing and elecuical
connections.
• Sides 1/8" (4 mm)
• Top 1" (25 mm)
• Back 1" (25 mm)
A door cleaFance of 3/4" (19 mm) is needed for a 90 °
door opening which provides better access to the food
s(orage area.
ROLLERS
The rollers have 3 purposes:
O Rollei_ adjust so the door clo_s easily when opened
at×)ut halfway.
Rollers adjust so the refiigerator is fin'nly positioned
on the floor and does not wobble.
Rotlei_ allow you to move the refrigerator away-fl'om
the wall for cleaning.
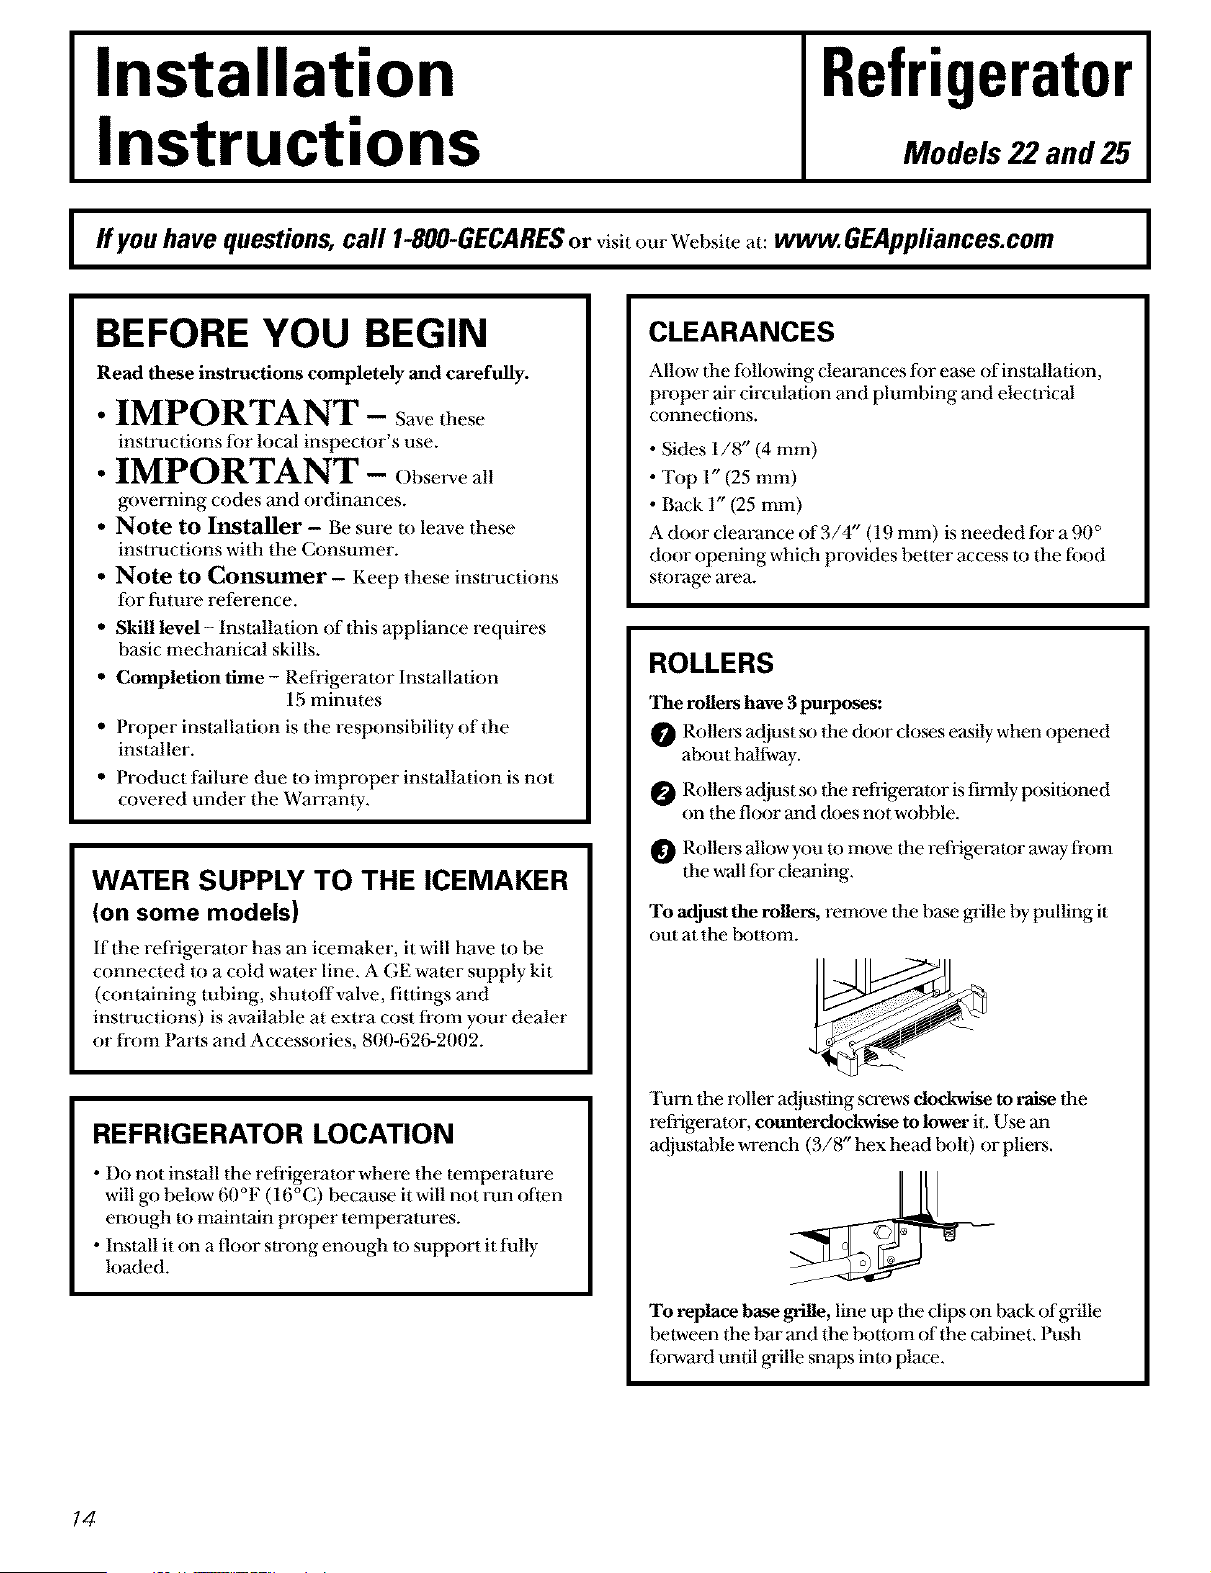
To adjust the rollers, remove the b_e g_Jlle by pulling it
out at the t×)ttom.
Turn the roller acljusfing scl*_.wsdockwise to raise the
refrigerator, cotmterdockwise to lower it. Use an
adjustable wrench (3/8" hex head t×)lt) or pliers.
To replace base _e, line up the clips on back of gaille
between the bar and the bottom of the cabinet. Pttsh
forwm'd until gIJlle snaps into place.
14
Loading ...
Loading ...
Loading ...