Installation Instructions for Round Cove Fire Pits
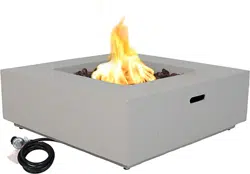
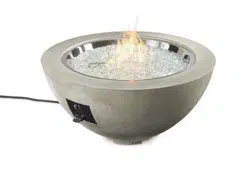
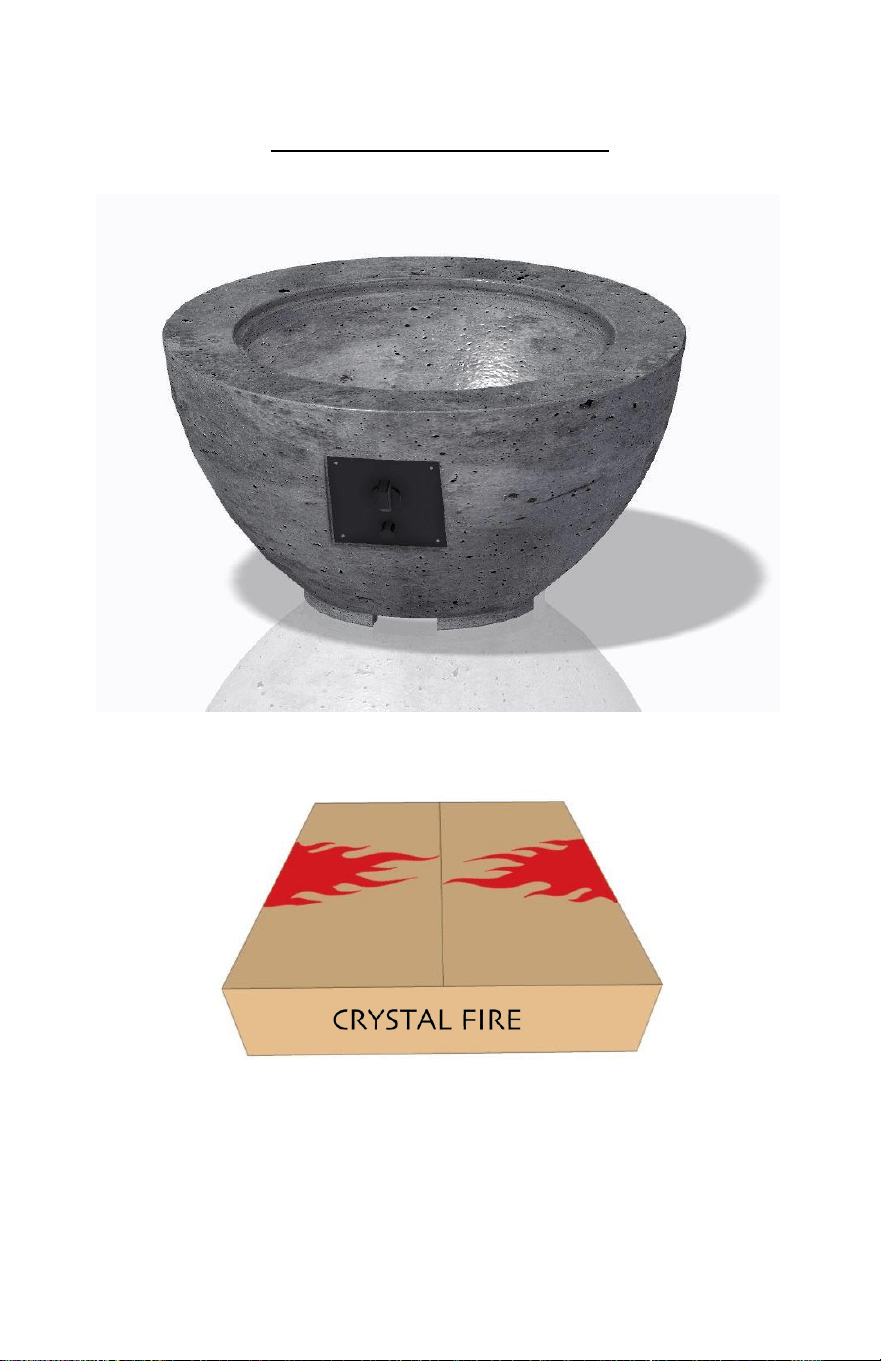
The Cove Fire Pit
To secure gas connections
• Leather Gloves
To protect hands from rough edges
found on fire pit table during
installation.
• One AAA battery (not Included)
Required for electric spark igniter
installation
•
Two people are required for this
installation
3
Contents
Required Tools… ................................. 2
Included with your Fire Pit… ............... 3
Assembly Instructions… .......................... 4
Gas Connections .................................. 6
Position Your Tank ........................ 7
42467 REV H 8-9-24
Contents
Required Tools… ......................................... 2
Included with your Fire Pit… ....................... 3
Assembly Instructions ................................. 4
CF-SPARKER Installation… ........................... 5
Gas Connections ......................................... 5
Thermocouple Installation… ....................... 6
Electrode Installation… ............................... 6
Glass Media and Cover Installation… ............ 7
CV-30-E Installation… .................................. 8
Operating Instructions and Warnings………………. 9
Frequently Asked Questions ............................ 11
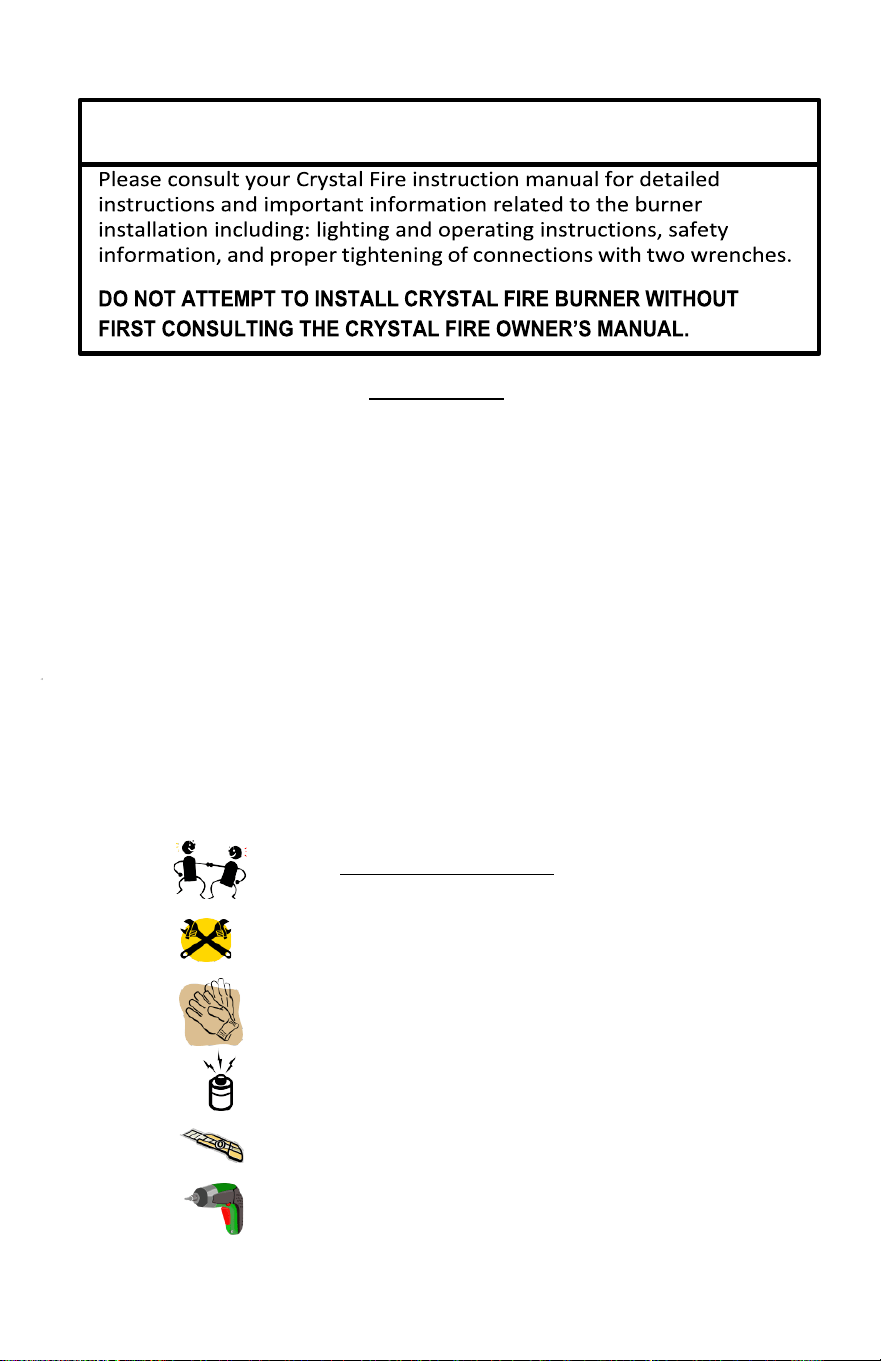
Required Tools
•
Two
people
are
required
for
this
installation.
•
2 Open Ended Wrenches
To secure gas connections.
•
Leather Gloves
To protect hands from rough edges found on fire pit
during installation.
•
One AAA Battery (not included)
Required for electric spark igniter installation.
•
Utility Knife
To cut and remove packaging.
•
Power Drill
To remove support board from crate.
IMPORTANT
2
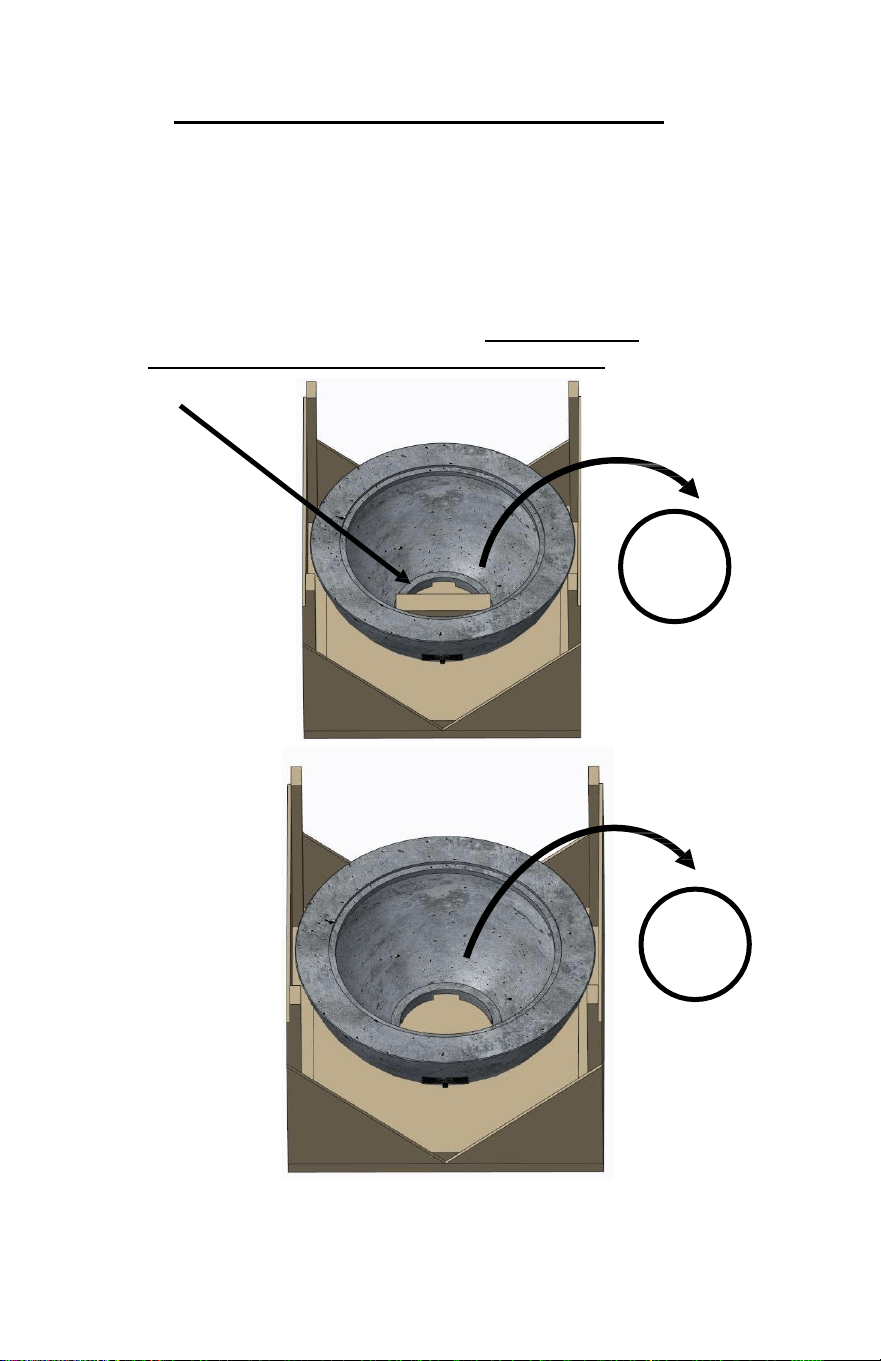
Assembly Instructions
1.
First, unscrew the shipping block with a power drill. Discard
board. It will not be needed for further assembly of this
product.
2.
Remove fire pit base from the crate you received it in. Place
the base in your desired location. Two people are
recommended for this step of the installation.
Shipping
Block
.
.
1
2
4
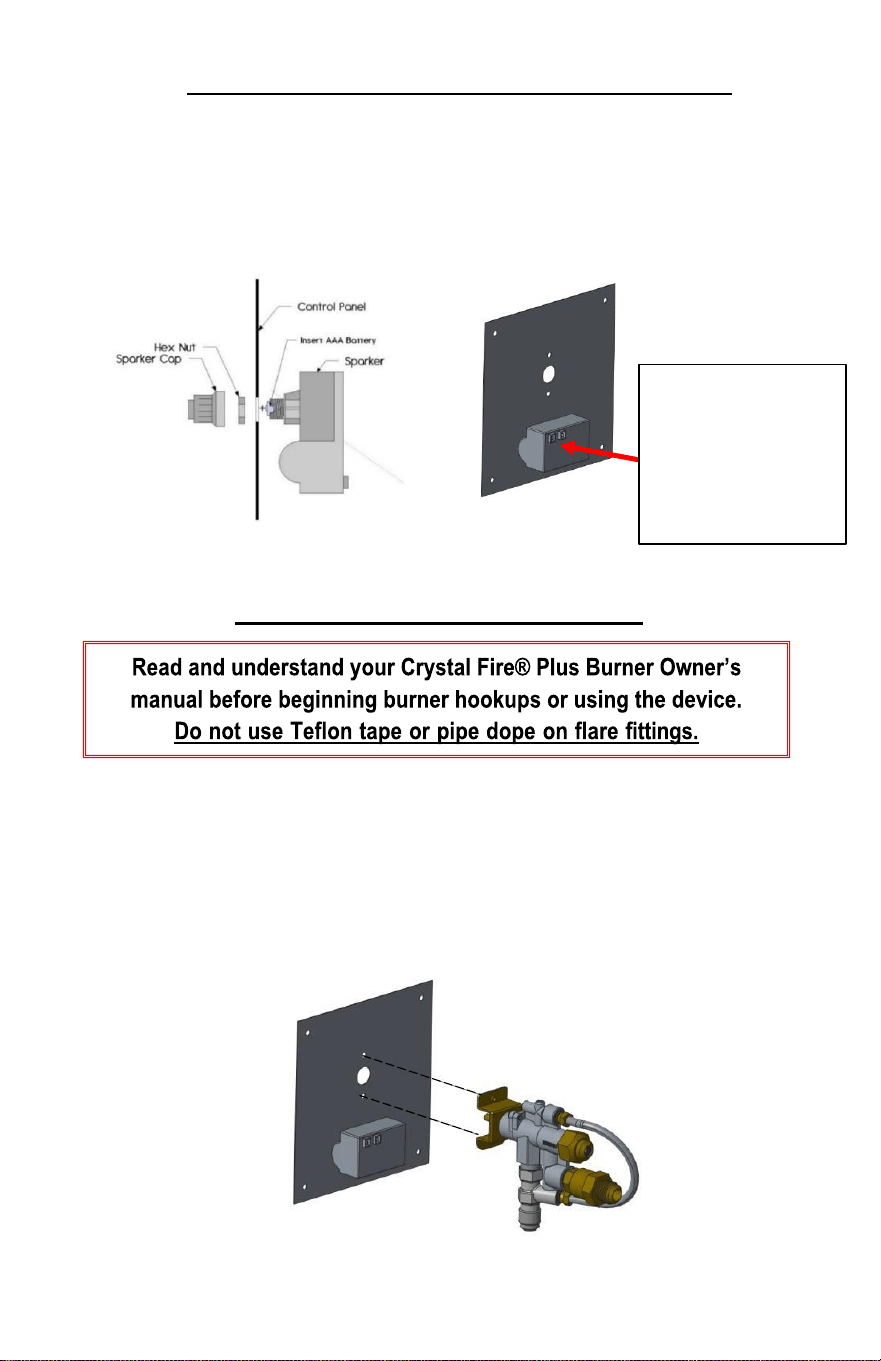
CF-SPARKER Installation
•
Locate CF-SPARKER inside of crystal fire burner box.
•
Remove CF-SPARKER cap and hex nut. Insert AAA battery
(not included) with + end out.
•
Install CF-SPARKER into control panel as shown below.
•
Depress CF-SPARKER button to test your sparker.
Gas Connections
•
See
Crystal
Fire®
Plus
instructions
for
burner
installation.
• All gas connections were completed at the factory.
•
Check all connections for leaks. If needed, tighten connection
with 2 wrenches and re-check for leaks.
•
Attach burner valve to control panel with provided screws as
shown below. Ensure sparker box is installed before this step.
Locate and orient
sparker box on
control panel as
shown. Sparker box
must be installed
before burner valve.
5
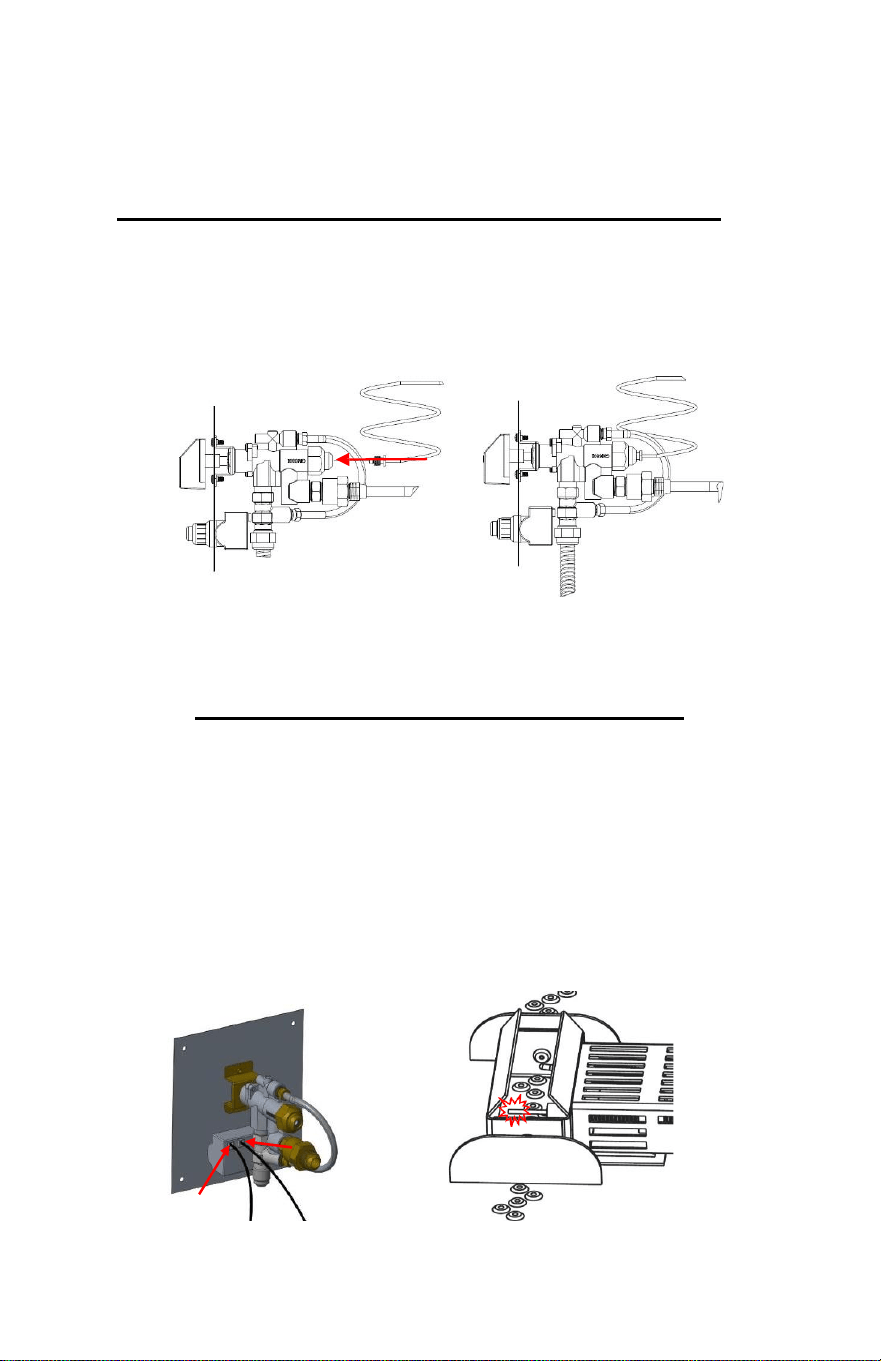
Thermocouple Installation
•
Refer to Crystal Fire® Plus instruction manual for
detailed attachment of thermocouple.
• Attach thermocouple to burner valve as shown below.
Electrode Installation
•
Connect igniter and ground wire to sparker box. Both wires
can connect to either connection point. The unit will operate
in either configuration.
•
Test system by pushing the button on the igniter. Consult the
troubleshooting section of the Crystal Fire® Plus Burner
Owner’s Manual, if the spark is weak, intermittent, or not
present.
6
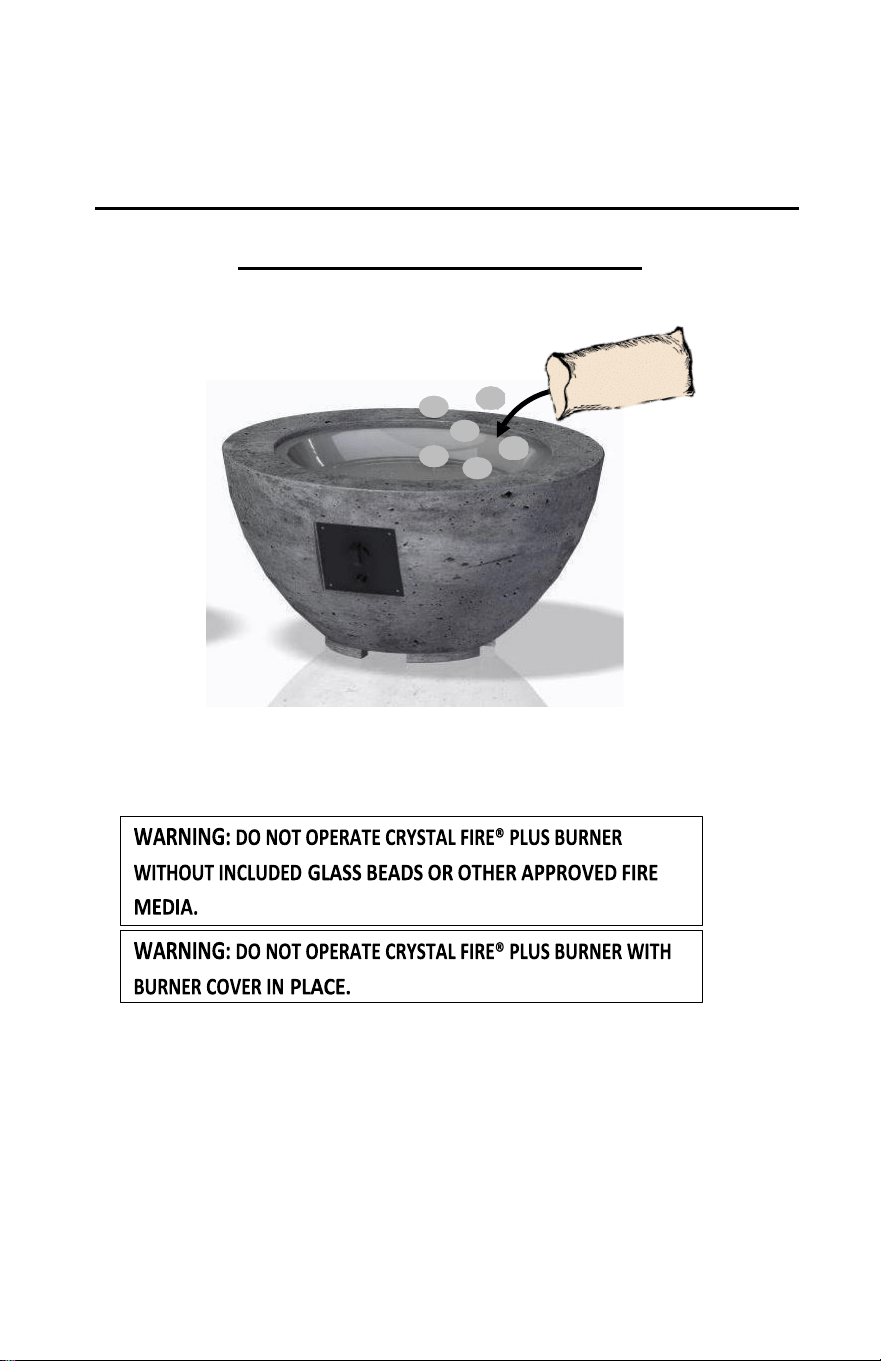
Glass Media and Glass Burner
Cover Installation
1.
Scatter all the included glass beads evenly onto the burner surface.
2.
Install Glass Burner Cover on the burner.
7
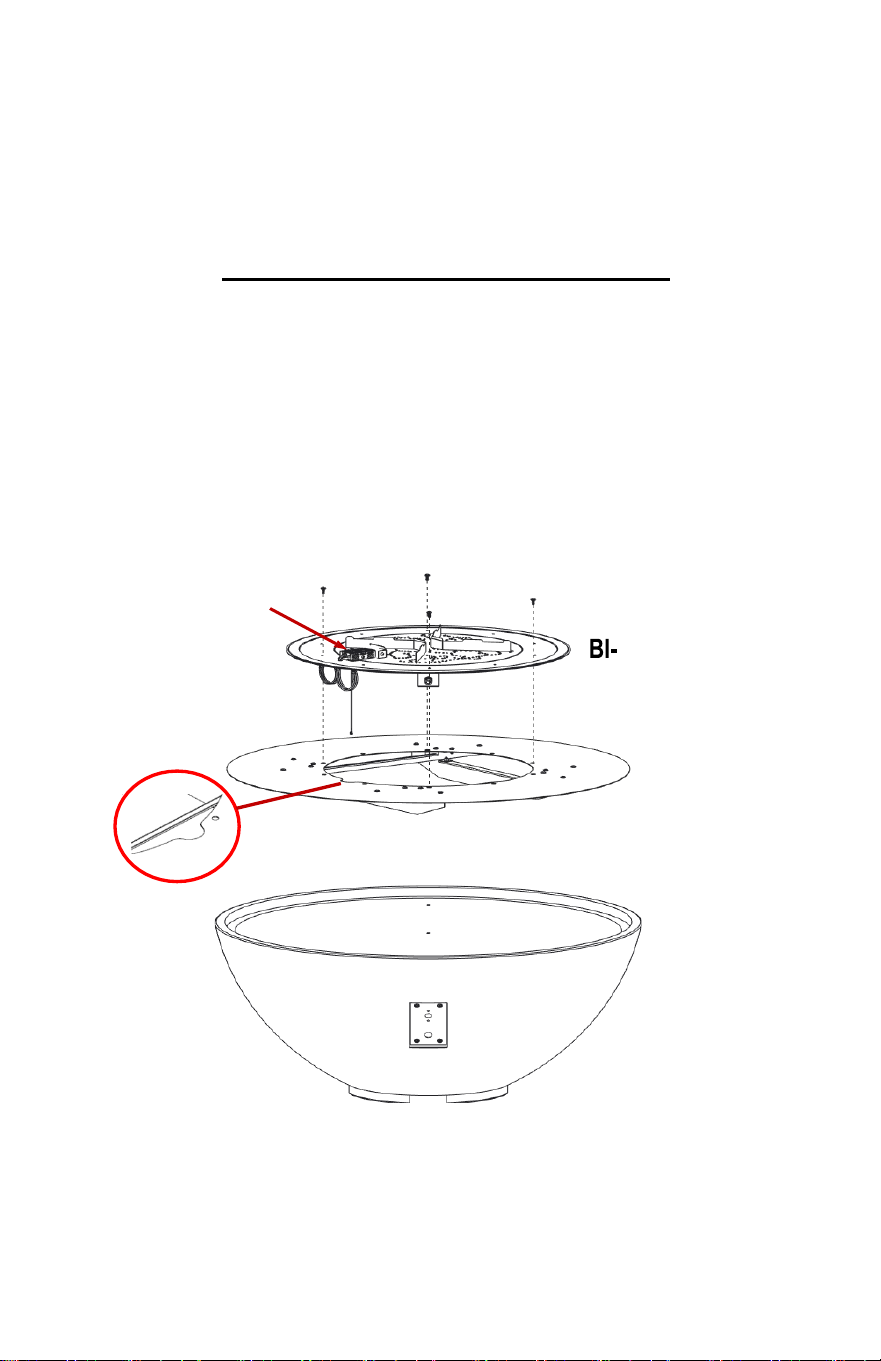
CV-30-E Installation
• Place burner plate into Cove base.
• Remove the 4 ¼-20 stainless steel screws installed in
rivnuts.
• Make gas connections.
• Ignition wind guard should be oriented towards
cutout in burner plate. As shown in detailed view.
• Replace the 4 ¼-20 stainless steel screws back
through the burner and tighten into rivnuts.
Ignition Wind
Guard
28
BP40RD-CV
8

Operating Instructions
•
Verify control valve is in OFF position. If operating on a self-contained
propane cylinder, ensure cylinder valve is CLOSED. If operating on a hard-
piped system, ensure the main gas supply shut-off valve and all other
valves in gas system are OPEN.
•
If operating on a self-contained propane cylinder, slowly open cylinder
valve.
•
Remove glass burner cover before attempting to ignite the burner.
Please consult your Crystal Fire® Plus instruction manual for detailed instructions and
important information related to the burner installation including: lighting and
operating instructions, safety information, and proper tightening of connections with
two wrenches.
IMPORTANT
9

•
Press and hold the sparkler button. Verify an audible and visible spark is
present within the ignition wind guard.
•
Gently press and turn the control knob to LOW/IGNITION position. Fully
depress control knob and hold for 3-5 seconds. Burner should ignite and
continue to operate when control knob is released.
•
If the burner does not light or remain lit after 20 seconds of attempting
ignition, turn control valve to OFF position and wait 5 minutes to allow
gas to dissipate before attempting ignition again. DO NOT ATTEMPT TO
LIGHT BURNER IF YOU SMELL GAS.
•
With burner lit and operating, the flame height can be adjusted between
LOW and HIGH at any time.
10

Frequently Asked Questions
What is Supercast?
Supercast is a proprietary blend of fiber glass and polymer fortified concrete. This
guide will help inform you about some unique characteristics of a Glass-Fiber
reinforced concrete and help you keep it looking like new for years to come.
Supercast Glass Fiber Reinforced Concrete (GFRC) Products
Warranty Information
• One year warranty on structure and finish. Cracks that exceed 1/8’’
displacement in either height or gap and determined to be a product of either
material or workmanship, shall be warrantied for a period of 1 year. Non-
structural hairline cracks are possible and shall not be considered a
manufacturing defect.
• Natural variations in color, shade, porosity, pitting and texture may occur with
GFRC products and are considered inherent and valued qualities of the material.
Variation in shape and dimension can be up to ± 1/4”.
• Under most conditions, re-staining/resealing is suggested every 2 years using
the stain sealer identified on the next page. The frequency is dependent on
ambient conditions including, but not limited to: frequency of use, exposure to
UV, saltwater, chlorine, hard water, air temperature, and humidity.
• If covering a GFRC item, use a one-way breathable cover as supplied by The
Outdoor GreatRoom Company, LLC (OGC) or equivalent. Do not use other
materials or objects in order to hold down or secure a protective cover on top
or around the GFRC item.
• Using a one-way breathable cover will help keep the finish of the GFRC looking
newer longer, but it is still recommended to stain/seal on as outlined above.
• When used in conjunction with a Crystal Fire Plus burner setup, all custom
GFRC products are required to operate with an OGC glass guard installed
around the burner. The glass guard improves the flame appearance and reduces
the risk of unnecessary thermal stress on the GFRC surface. A glass guard is
recommended for stock GFRC products.
What makes a concrete fire pit unique?
Your fire pit is handcrafted from Portland cement concrete and reinforced with
glass fibers to provide exceptional strength and durability compared to traditional
concrete. Supercast is typically 1/3 of the thickness of traditional concrete with 3
times the strength. Each piece offers its own uniqueness; you may notice color
variations in your fire pit. This is intentionally done during the molding process in
order to create a unique natural appearance which mimics natural stone.
11
Maintenance Instructions:
To keep your fire pit looking new, we recommend the following:
• Keep covered when not in use to protect from buildup of water, snow, dust,
dirt, and debris and direct sunlight whenever possible.
• Do not put the cover on when the fire pit is wet.
• If any colored liquids such as wine or soda are spilled on your top, clean off
immediately to avoid possible staining.
• We recommend cleaning your fire pit regularly with a mild mixture of dish
detergent and warm water; rinse thoroughly.
How do I reseal Supercast surfaces?
• First clean using a diluted solution of vinegar and water to remove any dirt or
debris that may have accumulated on the surface and allow to dry.
• Reseal the surfaces using the stain/sealers below based on the color fire pit
you have. Apply the stain/sealer using a foam roller and allow it to cure for
24 hours before exposing to water or use. The stain/sealers can be purchased
at any Sherwin-Williams store.
• Minor surface scratches can be removed by using the stain/sealing method
above. Clean the area affected and apply the stain/sealer.
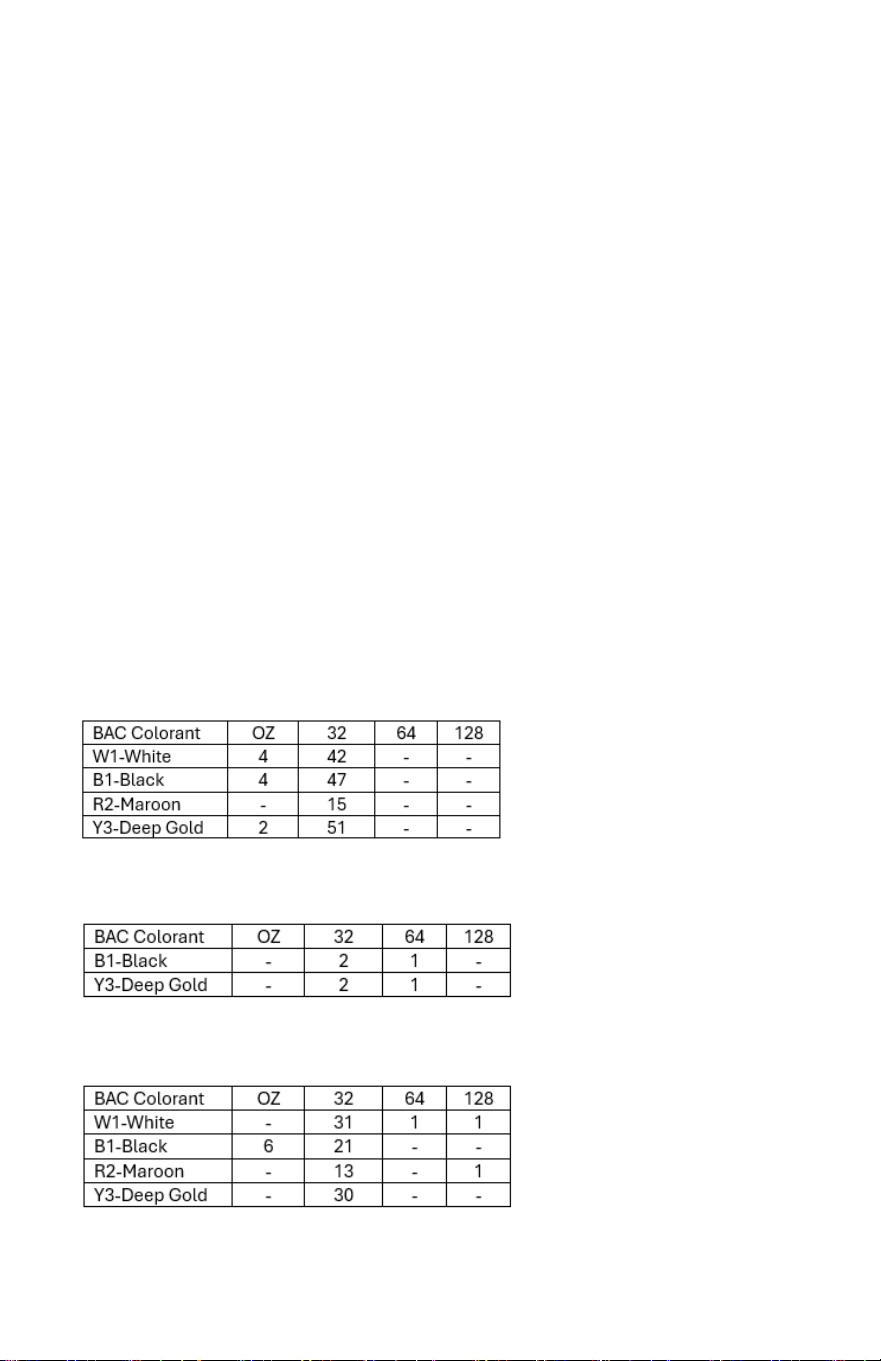
• Natural Grey - MN Concrete Custom Grey: H&C Exterior Color Top
solvent-based solid color sealer, Tint Base-Deep, satin sheen. The color
mix is for 5 gallons, vendor can adjust color amounts based on size being
purchased:
• White - MCP White: H&C Exterior Color Top solvent based solid color
sealer, Tint Base-White, satin sheen. The 1 gallon color mix is:
• Midnight Mist - MCP Raven: H&C Heavy Shield water based solid color
enamel/stain, Tint Base-Ultradeep, semi-gloss. The 1 gallon color mix is:
12

Thank you for purchasing an
Outdoor GreatRoom Company
product!
Warranty: Fire pit tables are covered under a 1- year
manufacturer’s warranty. Please visit
https://outdoorrooms.com/pages/product-
support product-registration
to register your product.
9583 217
th
St. W. • Lakeville, MN 55044
Toll Free: 1-866-303-4028 • Sales@OutdoorRooms.com
13