
Loading ...
Loading ...
Loading ...
Installation
Before You Start
Supplies
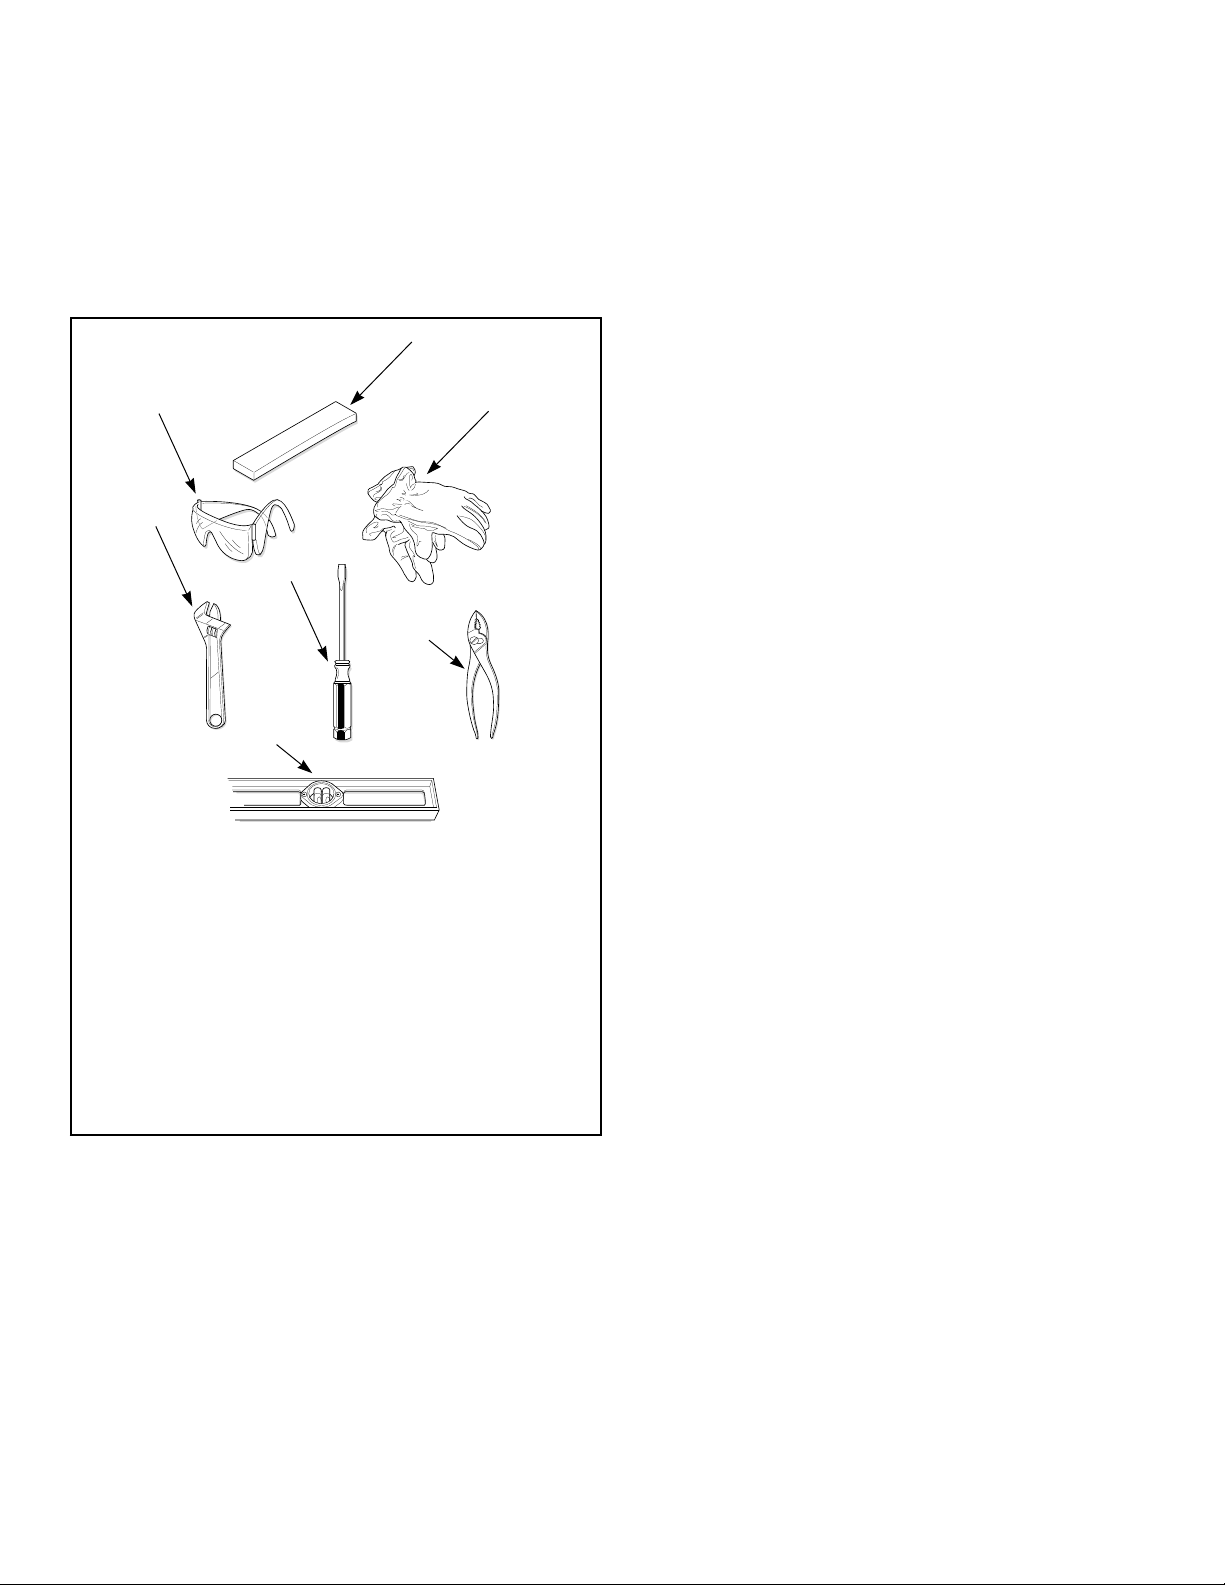
For most installations, the basic supplies you will need are:
TLW2218N_SVG
3
4
5
6
7
2
1
NOTE: A cloth rag and all-purpose cleaner are also
needed.
1. Safety Glasses
2. Wood Block
3. Gloves
4. Wrench
5. Screwdriver
6. Pliers
7. Level
Figure 1
NOTE: If the washer is delivered on a cold day (below
freezing), or is stored in an unheated room or area dur-
ing the cold months, do not attempt to operate it until
the washer has had a chance to warm up.
NOTE: Install dryer before washer. This allows room for
attaching exhaust duct.
NOTE: This appliance is suitable for use in countries
having a warm, damp climate.
Parts Included
An accessories bag has been shipped inside your washer. It in-
cludes:
• Two filter screen washers
• Two plain rubber washers
• Four rubber feet
• Beaded strap
• Product literature
Parts Needed
Two fill hoses are required for installation. Order 807239 Hose
Kit if needed. Kit includes two fill hoses color-coded for hot and
cold water.
If using any other hoses, follow these requirements:
• Hoses must be new.
• Hoses must be a minimum of 3/8 in. inside diameter. Smaller
inside diameter hoses will cause long fill times which could
create nuisance fill errors.
• The two plain rubber washers and two filter screens included
with the washer in the accessories bag must be installed in the
fill hose couplings. Refer to Connecting Hoses. The filter
screens help prevent foreign materials from clogging the wa-
ter mixing valve.
Order of Installation Steps
The proper order of steps must be followed to ensure correct in-
stallation. Refer to the list below when installing your unit.
1. Put on safety glasses and gloves.
2. Remove the shipping brace and shipping plug.
3. Wipe out inside of the washer.
4. Connect the fill hoses.
5. Connect the drain hose to the drain receptacle.
6. Position and level the washer.
7. Plug in the washer.
8. Check the lid lock.
9. Check installation.
Installation
©
Copyright, Alliance Laundry Systems LLC -
DO NOT COPY or TRANSMIT
5 Part No. 204104ENR4
Loading ...
Loading ...
Loading ...