Loading ...
Loading ...
Loading ...
iiilI!i!!!!!!! Iliiiliiiill¸IIII IIIiiiiliilli iliiiiilliiillIIIlilililli!lilii_ii!iIlii!IIIi:liii!iiili
Installation instructions
Levellin 9 the @yet
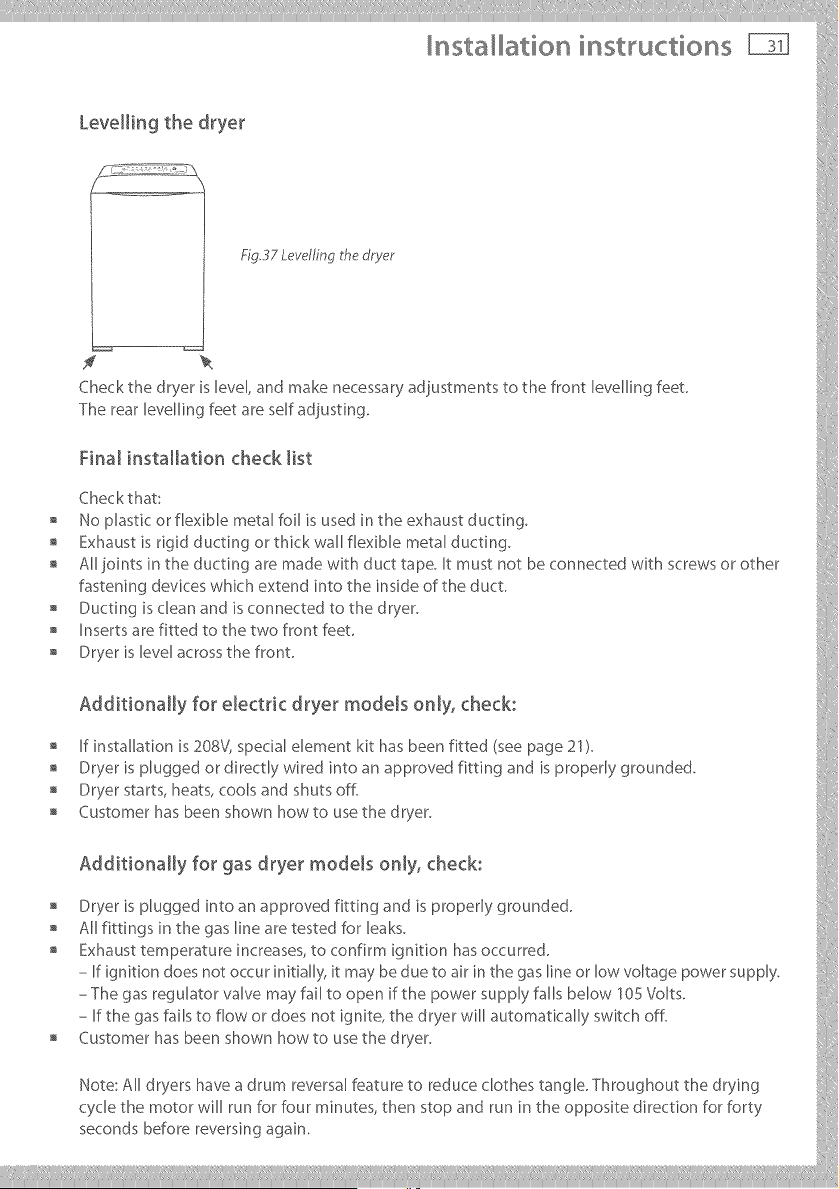
Fig,37 Levelfing the dryer
f
Check the dryer is level, and make necessary adiustments to the front levelling feet.
The rear levelling feet are self adiusting.
Final installation check list
Checkthat:
No plastic or flexible metal foil is used in the exhaust ducting.
Exhaust is rigid ducting or thick wall flexible metal ducting.
All joints in the ducting are made with duct tape. It must not be connected with screws or other
fastening devices whic h extend into the in side of the duct
, Ducting is clean arid is connected to the dryer, i
, Inserts are fitted to the two front feet
o Dryer_s_eve_acrossthefront
Additionally for electdc @yet models only, check:
If installation is 208V, specialelement kit has been fitted (seepage 21).
" Dryer is plugged or directly wired into an approved fitting and is properly grounded, i:,,
, Dryer starts, heats, cools and shuts off.
o Customerhasbeenshownhowtousethedryer
o Additionally for gas @yet models only, check:
Dryer is plugged into an approved fittirlg arid is properly grounded, i
All fittings in the gas line are tested for leaks.
, Exhaust temperature increases, to confirm ignition has occurred.
- If ignition does not occur initially, it may be due to air in the gas line or low voltage power supply.
ThegasregulatorvalvemayfaUtoopen_fthepowersopplyfallsbelow_0SVolts
- If the gas fails to flow or does riot ignite, the dryer will automatically switch off.
, Customer has been shown how to use the dryer.
Note:AUdryershaveadrumreversalfeaturetoreduceclo_hes_angleThroughoutthedrying
cycle the motor will run for four minutes, then stop and run in the opposite direction for forty
secondsbeforereversingagain.
Loading ...
Loading ...
Loading ...