Loading ...
Loading ...
Loading ...
DISMANTLING
• Grip around the body of the motor unit and clear viewing window.
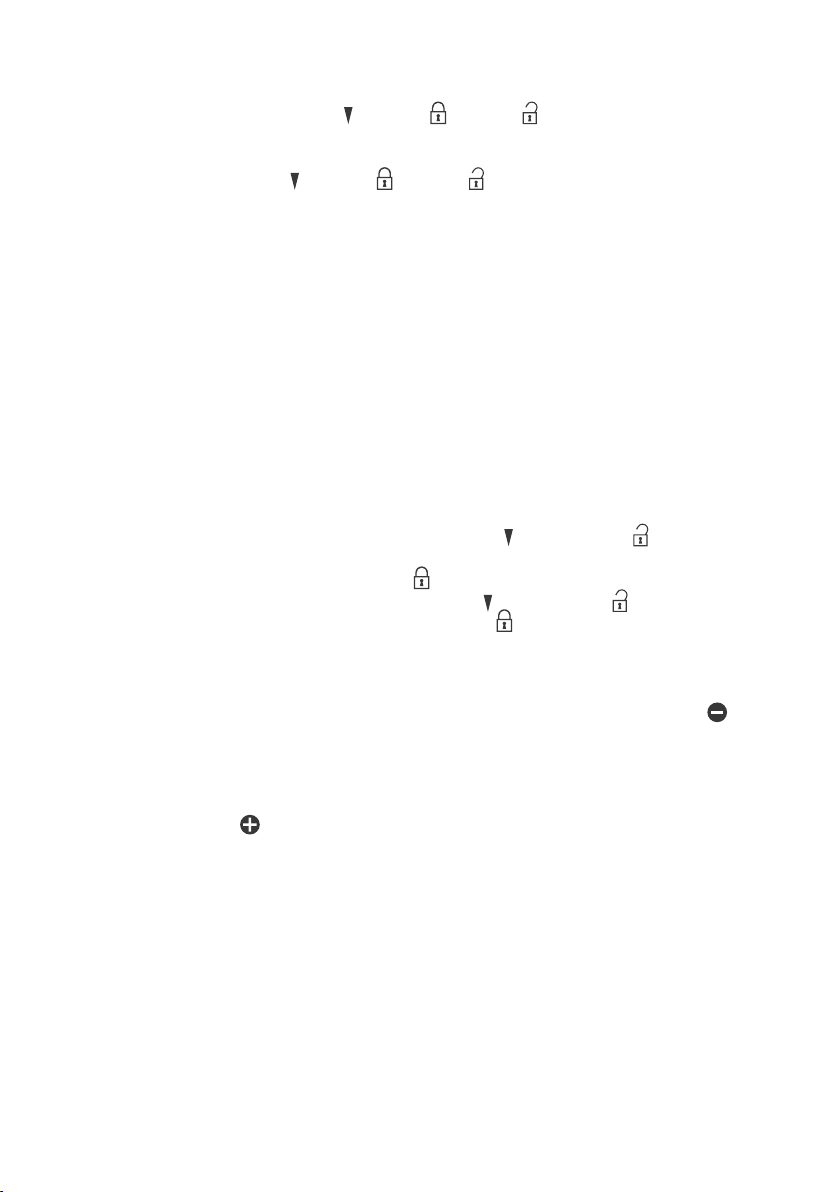
• Turn the cover to move the pointer
from lock to unlock .
Lift the motor unit off the grinder.
• Remove the battery compartment by grasping around the motor unit top and body and
turning to move the pointer
from lock to unlock .
FIT BATTERIES
• For maximum performance, always use good quality batteries.
• Fit 4 AA batteries (not included) into each motor unit.
• The polarities ("+" & "-") are marked on the battery compartment.
FILL THE GRINDERS
• Ensure you are using grinder quality seasoning.
• Fill the grinders with peppercorns, sea salt, dried herbs or spices.
• Donotoverll;thiswillcauseproblemsduringreassembly.
ASSEMBLING
• Retthemotorunittothegrinderbyaligningthepointer with the unlock on the clear
viewing window.
• Rotate the motor unit moving it into the lock
position.
• Retthebatterycompartmentbyaligningthepointer
with the unlock on the motor unit.
Rotate the battery compartment moving it into the lock
position.
ADJUST THE GRIND
• Tip the whole mill upside down and turn the grinder clockwise towards the negative for a
nergrind.
NOTE: Grind will become progressively finer as you rotate the grinder.
• Tip the mill the right way up and press the switch.
• Check the grind size and if required, readjust to suit by turning the grinder anti-clockwise
towards the positive
.
NOTE: Do not turn the knob more than 6 complete rotations clockwise towards the"+". This may unscrew the
knob from the spindle.
• Do the same for the other mill.
USING THE MILLS
• Hold the mill directly over food to be seasoned and press the switch. The motor will run while
the switch is pressed and the light will illuminate.
• Release the switch to stop the motor.
5
Loading ...
Loading ...
Loading ...