Loading ...
Loading ...
Loading ...
Operation
Starting the Mower
The engine on this mower is equipped with a ReadyStart®
system, which features a temperature-controlled automatic
choke, it does not have a manual choke or a primer.
1. Squeezethe blade control (A, Figure 6) against the
drive control (B).
2. Pull the drive control all the way back to the neutral
position.
NOTEThe blade control and drive control can be operated
from either side.
3. Pull the rope start handle (6) to start the engine.
4. To stop the engine (and blade), releasethe blade
control.
5. After the engine starts, allow a brief warm-up until the
engine runs smooth before beginning mower operation.
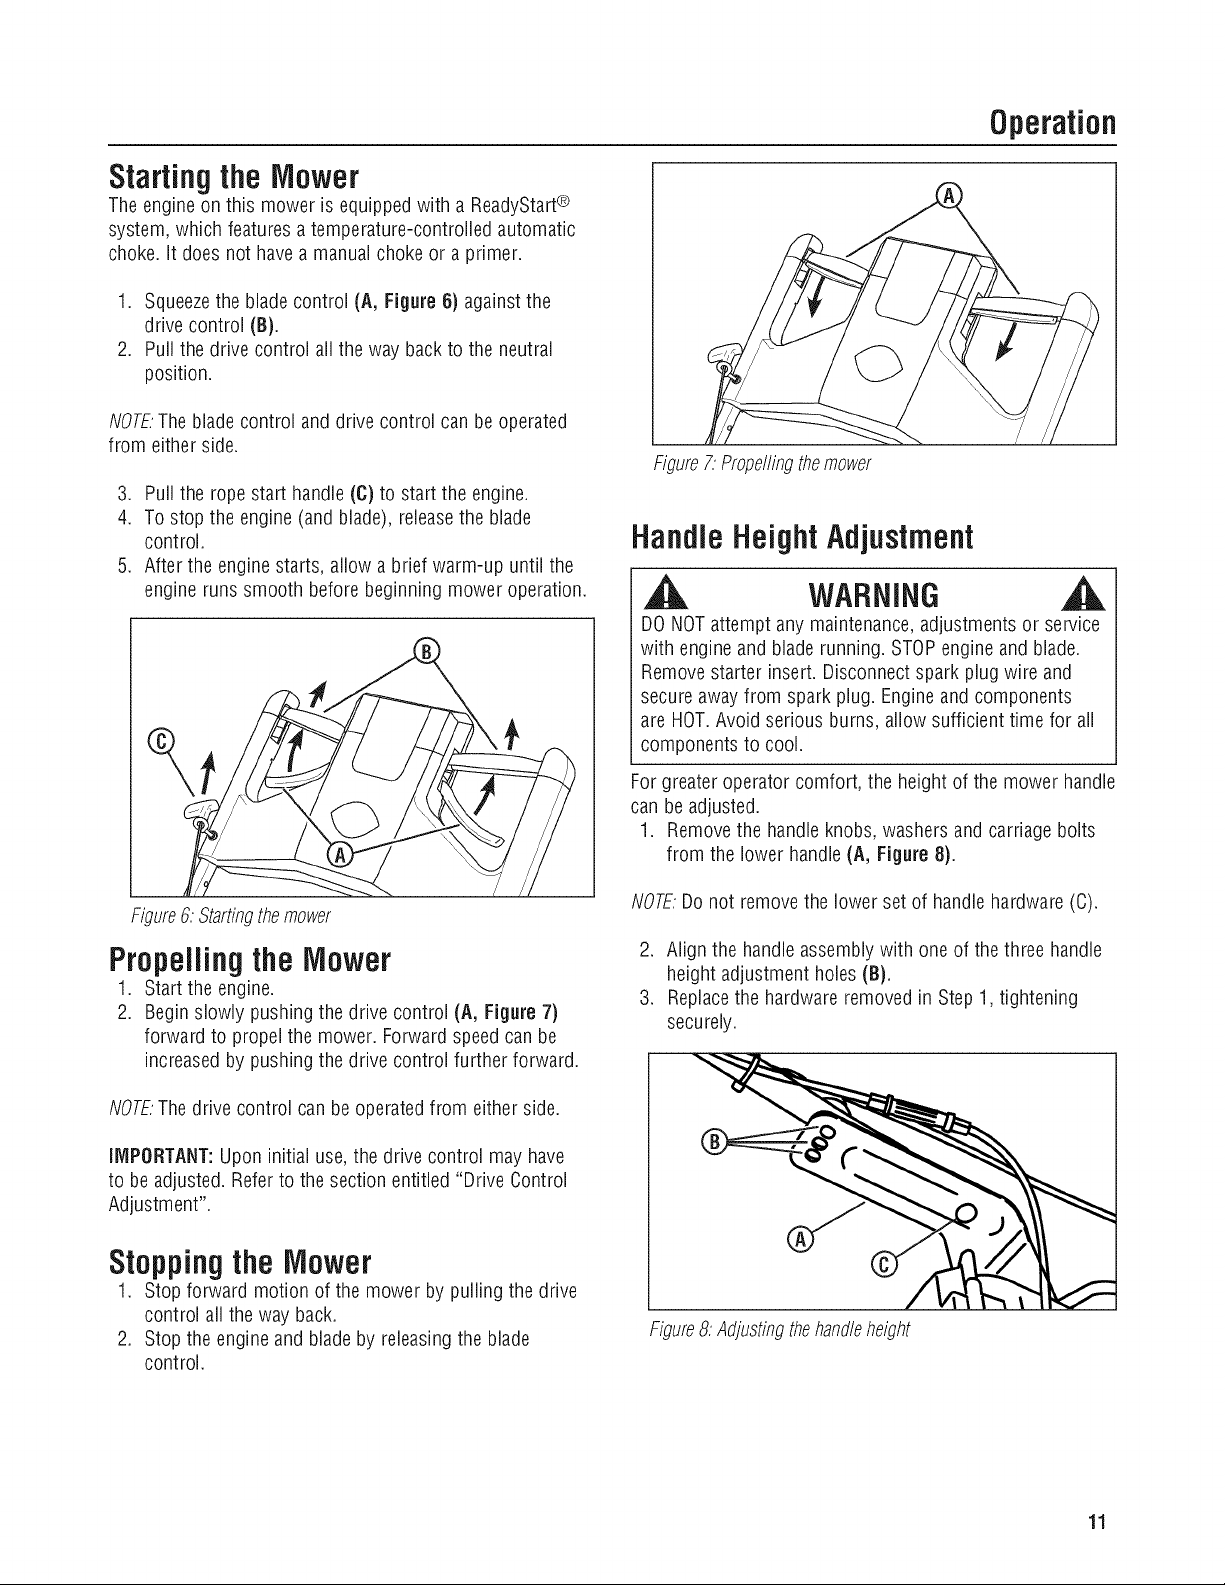
Figure7: Propellingthemower
Handle Height Adjustment
| WARNING
DO NOTattempt any maintenance,adjustments or service
with engine and blade running. STOPengine and blade.
Remove starter insert. Disconnect spark plug wire and
secure awayfrom spark plug. Engineand components
are HOT.Avoid serious burns, allow sufficient time for all
components to cool.
For greater operator comfort, the height of the mower handle
can be adjusted.
1. Remove the handle knobs, washers and carriage bolts
from the lower handle (A, Figure 8).
Figure6: Startingthe mower
Propelling the Mower
1. Start the engine.
2. Begin slowly pushing the drive control (A, Figure 7)
forward to propel the mower. Forward speed can be
increased by pushing the drive control further forward.
NOTE.Do not remove the lower set of handle hardware (C).
2. Align the handle assembly with one of the three handle
height adjustment holes (B).
3. Replacethe hardware removed in Step 1, tightening
securely.
NOTEThe drive control can be operated from either side.
IMPORTANT:Upon initial use, the drive control may have
to be adjusted. Refer to the section entitled "Drive Control
Adjustment".
Stopping the Mower
1. Stop forward motion of the mower by pulling the drive
control all the way back.
2. Stop the engine and blade by releasingthe blade
control.
Figure8: Adjustingthehandleheight
11
Loading ...
Loading ...
Loading ...