Loading ...
Loading ...
Loading ...
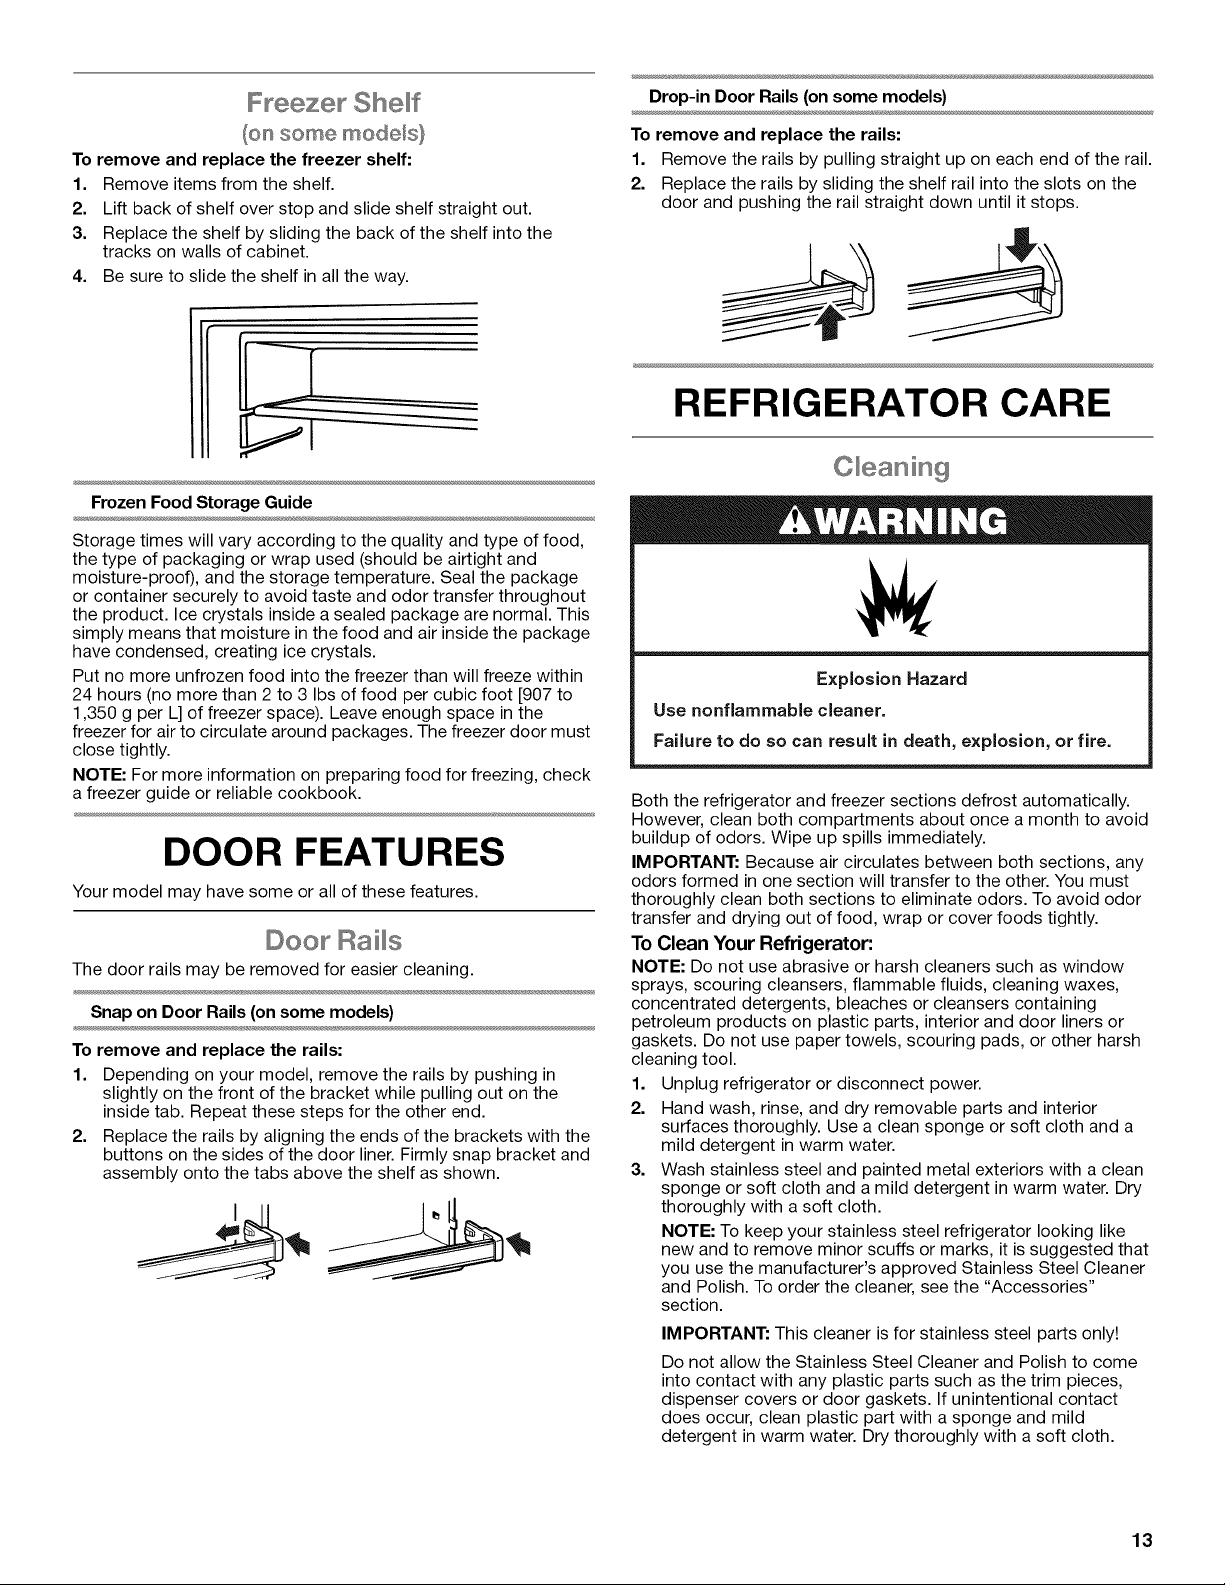
F eeze She f
(on some mede s}
To remove and replace the freezer shelf:
1. Remove items from the shelf.
2. Lift back of shelf over stop and slide shelf straight out.
3. Replace the shelf by sliding the back of the shelf into the
tracks on walls of cabinet.
4. Be sure to slide the shelf in all the way.
Drop-in Door Rails (on some models)
To remove and replace the rails:
1. Remove the rails by pulling straight up on each end of the rail.
2. Replace the rails by sliding the shelf rail into the slots on the
door and pushing the rail straight down until it stops.
REFRIGERATOR CARE
Frozen Food Storage Guide
Storage times will vary according to the quality and type of food,
the type of packaging or wrap used (should be airtight and
moisture-proof), and the storage temperature. Seal the package
or container securely to avoid taste and odor transfer throughout
the product. Ice crystals inside a sealed package are normal. This
simply means that moisture in the food and air inside the package
have condensed, creating ice crystals.
Put no more unfrozen food into the freezer than will freeze within
24 hours (no more than 2 to 3 Ibs of food per cubic foot [907 to
1,350 g per L] of freezer space). Leave enough space in the
freezer for air to circulate around packages. The freezer door must
close tightly.
NOTE: For more information on preparing food for freezing, check
a freezer guide or reliable cookbook.
DOOR FEATURES
Your model may have some or all of these features.
©oo Rai s
The door rails may be removed for easier cleaning.
Snap on Door Rails (on some models)
To remove and replace the rails:
1. Depending on your model, remove the rails by pushing in
slightly on the front of the bracket while pulling out on the
inside tab. Repeat these steps for the other end.
2. Replace the rails by aligning the ends of the brackets with the
buttons on the sides of the door liner. Firmly snap bracket and
assembly onto the tabs above the shelf as shown.
Explosion Hazard
Use nonflammable cleaner.
Failure to do so can result in death, explosion, or fire.
Both the refrigerator and freezer sections defrost automatically.
However, clean both compartments about once a month to avoid
buildup of odors. Wipe up spills immediately.
IMPORTANT: Because air circulates between both sections, any
odors formed in one section will transfer to the other. You must
thoroughly clean both sections to eliminate odors. To avoid odor
transfer and drying out of food, wrap or cover foods tightly.
To Clean Your Refrigerator:
NOTE: Do not use abrasive or harsh cleaners such as window
sprays, scouring cleansers, flammable fluids, cleaning waxes,
concentrated detergents, bleaches or cleansers containing
petroleum products on plastic parts, interior and door liners or
gaskets. Do not use paper towels, scouring pads, or other harsh
cleaning tool.
1. Unplug refrigerator or disconnect power.
2. Hand wash, rinse, and dry removable parts and interior
surfaces thoroughly. Use a clean sponge or soft cloth and a
mild detergent in warm water.
3. Wash stainless steel and painted metal exteriors with a clean
sponge or soft cloth and a mild detergent in warm water. Dry
thoroughly with a soft cloth.
NOTE: To keep your stainless steel refrigerator looking like
new and to remove minor scuffs or marks, it is suggested that
you use the manufacturer's approved Stainless Steel Cleaner
and Polish. To order the cleaner, see the "Accessories"
section.
IMPORTANT: This cleaner is for stainless steel parts only!
Do not allow the Stainless Steel Cleaner and Polish to come
into contact with any plastic parts such as the trim pieces,
dispenser covers or door gaskets. If unintentional contact
does occur, clean plastic part with a sponge and mild
detergent in warm water. Dry thoroughly with a soft cloth.
13
Loading ...
Loading ...
Loading ...