Loading ...
Loading ...
Loading ...
.
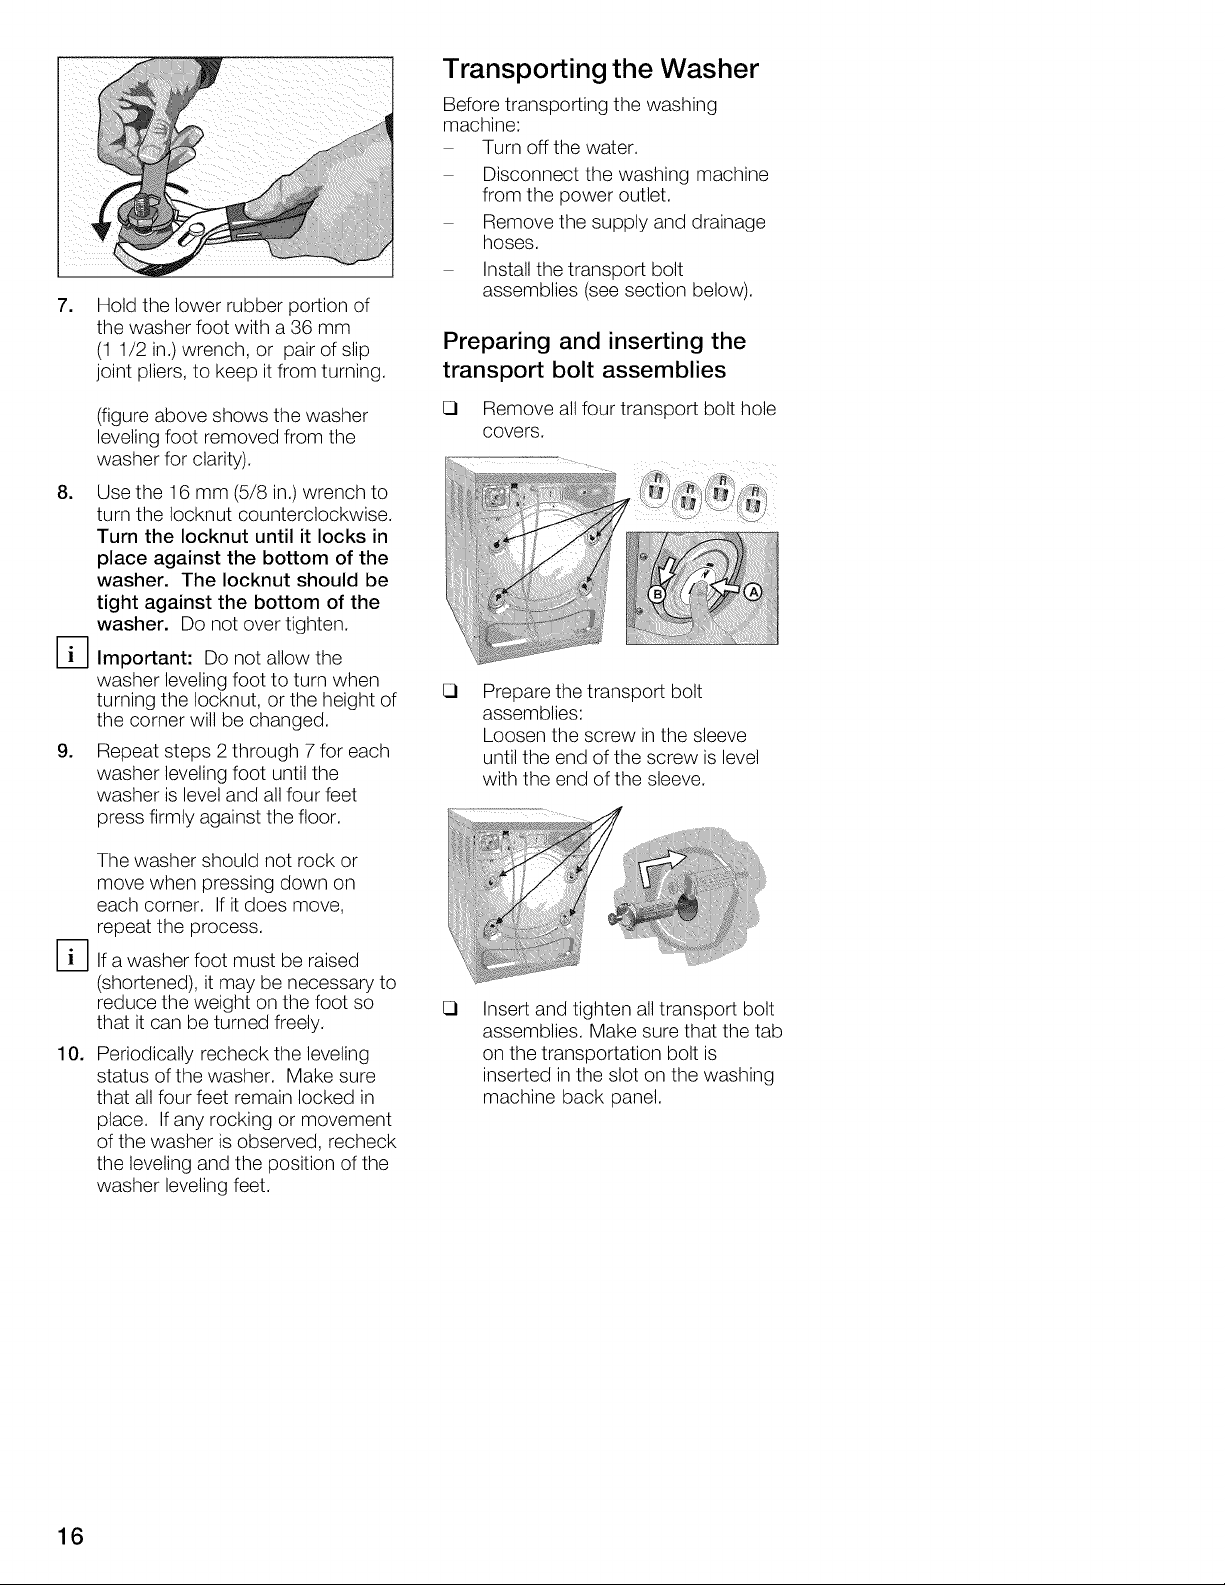
Hold the lower rubber portion of
the washer foot with a 36 mm
(1 1/2 in.) wrench, or pair of slip
joint pliers, to keep it from turning.
(figure above shows the washer
leveling foot removed from the
washer for clarity).
8. Use the 16 mm (5/8 in.) wrench to
turn the Iocknut counterclockwise.
Turn the Iocknut until it locks in
place against the bottom of the
washer. The Iocknut should be
tight against the bottom of the
washer. Do not over tighten.
D Important: Do not allow the
washer leveling foot to turn when
turning the Iocknut, or the height of
the corner will be changed.
9. Repeat steps 2 through 7 for each
washer leveling foot until the
washer is level and all four feet
press firmly against the floor.
The washer should not rock or
move when pressing down on
each corner. If it does move,
repeat the process.
D If a washer foot must be raised
(shortened), it may be necessary to
reduce the weight on the foot so
that it can be turned freely.
10. Periodically recheck the leveling
status of the washer. Make sure
that all four feet remain locked in
place. Ifany rocking or movement
of the washer is observed, recheck
the leveling and the position of the
washer leveling feet.
Transporting the Washer
Before transporting the washing
machine:
Turn off the water.
Disconnect the washing machine
from the power outlet.
Remove the supply and drainage
hoses.
Install the transport bolt
assemblies (see section below).
Preparing and inserting the
transport bolt assemblies
Remove all four transport bolt hole
covers.
Prepare the transport bolt
assemblies:
Loosen the screw in the sleeve
until the end of the screw is level
with the end of the sleeve.
i ,,,_,___Ji_ii_!i!i_iiiiiiiiiiillilih_.....
i;
\, _ N .............
Insert and tighten all transport bolt
assemblies. Make sure that the tab
on the transportation bolt is
inserted in the slot on the washing
machine back panel.
16
Loading ...
Loading ...
Loading ...