Loading ...
Loading ...
Loading ...
Stacking.
INSTALLINGTHESTACKBRACKETKIT(cont.)
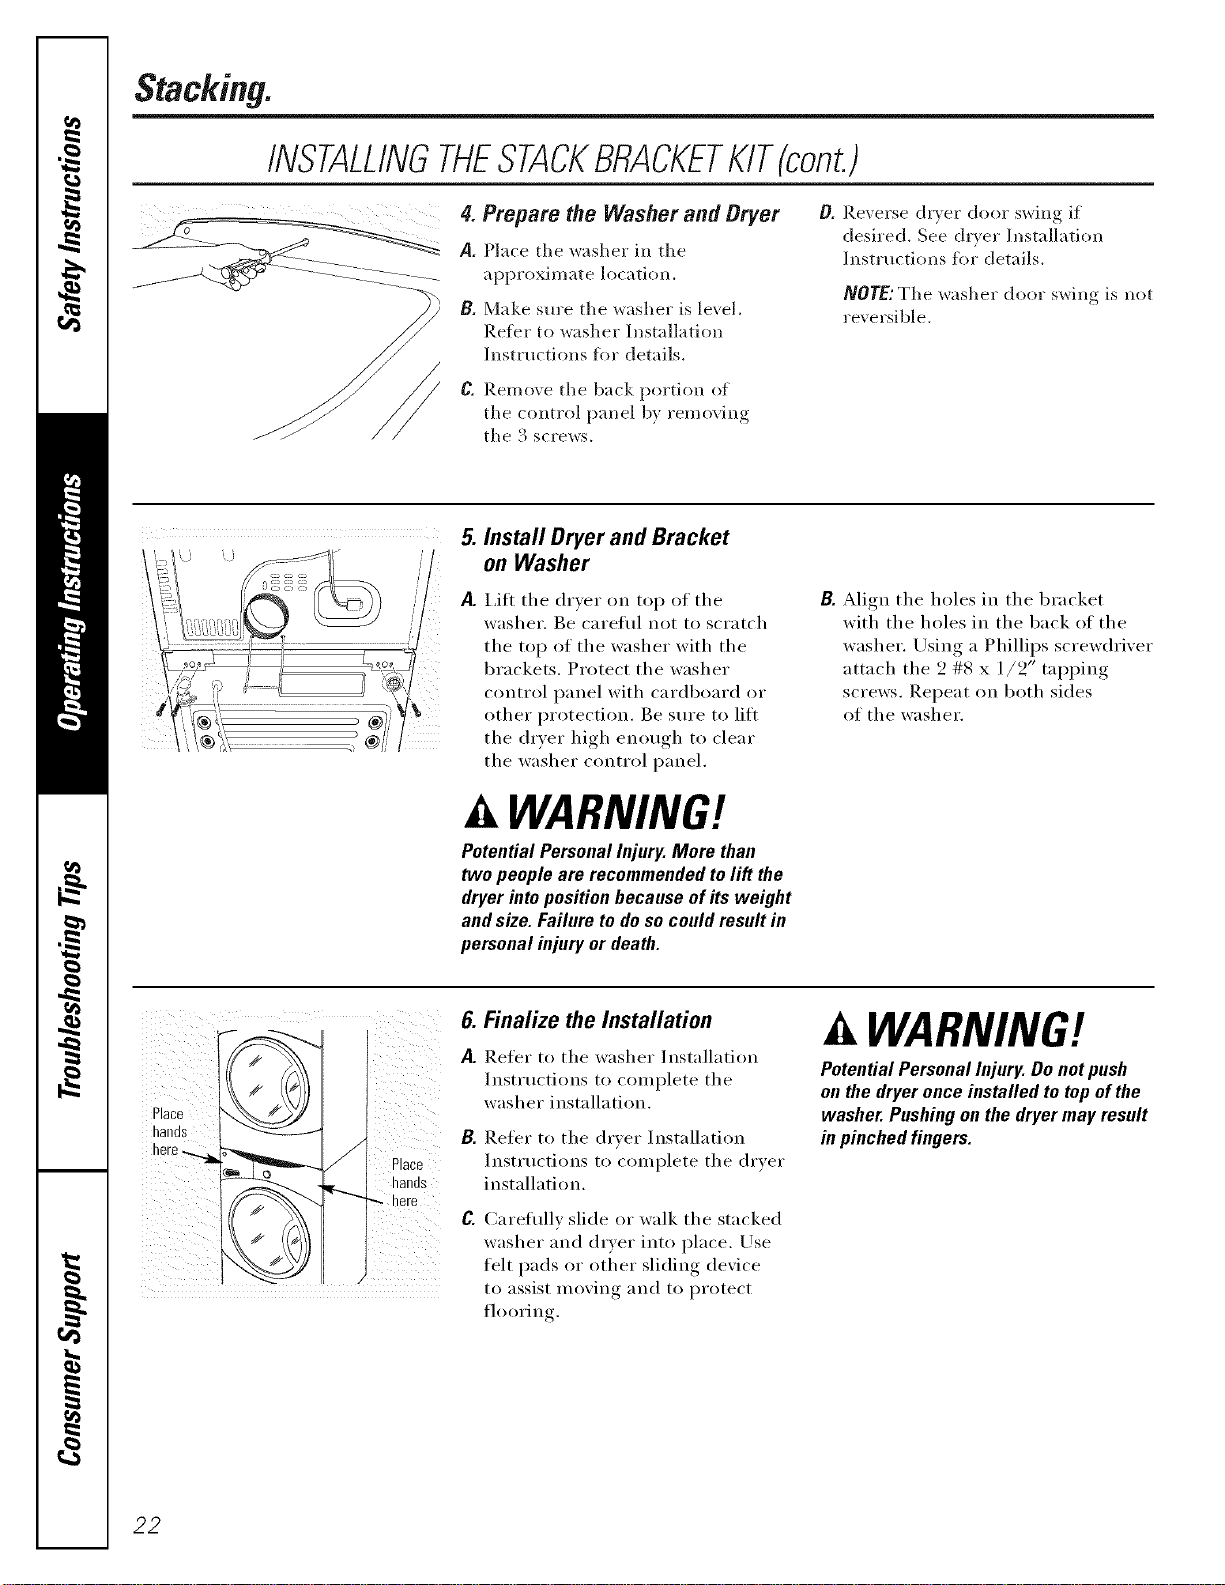
4. Prepare the Washer and Dryer
P. Place the washer in the
approximate location.
B. Make sm'e the washer is level.
Refer to washer Installation
Instructions for details.
D. P,ex el'se drx el" door s_,_ino if
desired. See dr_er Installation
Instructions for details.
NOTE:The washer door s*dng is not
rex ersible.
C. Remoxe the back portion of
the control panel b} removing
the 3 scre_s.
5. Install Dryer and Bracket
on Washer
A. I,ift the drver on top of the
washer, Be careflfl not to scratch
the top of the washer with the
brackets, Protect the washer
control panel with cardboard or
other protection, Be sure to lift
the dlTer high enough to clear
the washer control panel,
k, WARNING!
PotentialPersonalInjury.More than
two people are recommended to lift the
dryer into position because of its weight
and size. Failure to do so could result in
personalinjuryor death.
B. Align the holes in the bracket
with the holes in the back of the
washer. Using a Phillips screwdriver
attach the 2 #8 x 1/2" tapping
screws. Repeat on both sides
of the washer.
Place
hands 1
here
/
Place
1131105
qere
6. Finalize the Installation
A. Refer to the washer h_stallati(m
Instructions to COlnplete the
washer ii_stallation.
B. Refer to the dr_er Installation
Instructions to complete the dryer
ii_stallation,
Careflflly slide or walk the stacked
washer and dryer into place, Use
telt pads or other sliding device
to assist nmving and to protect
flooring.
WARNING!!
PotentialPersonalInjury.Donot push
on the dryer once installed to top of the
washer. Pushing on the dryer may result
in pinched fingers.
22
Loading ...
Loading ...
Loading ...