Loading ...
Loading ...
Loading ...
Adjusting Electronic Controls
NOTE: Wait at least 24 hours between adjustments. Recheck the
temperatures before other adjustments are made.
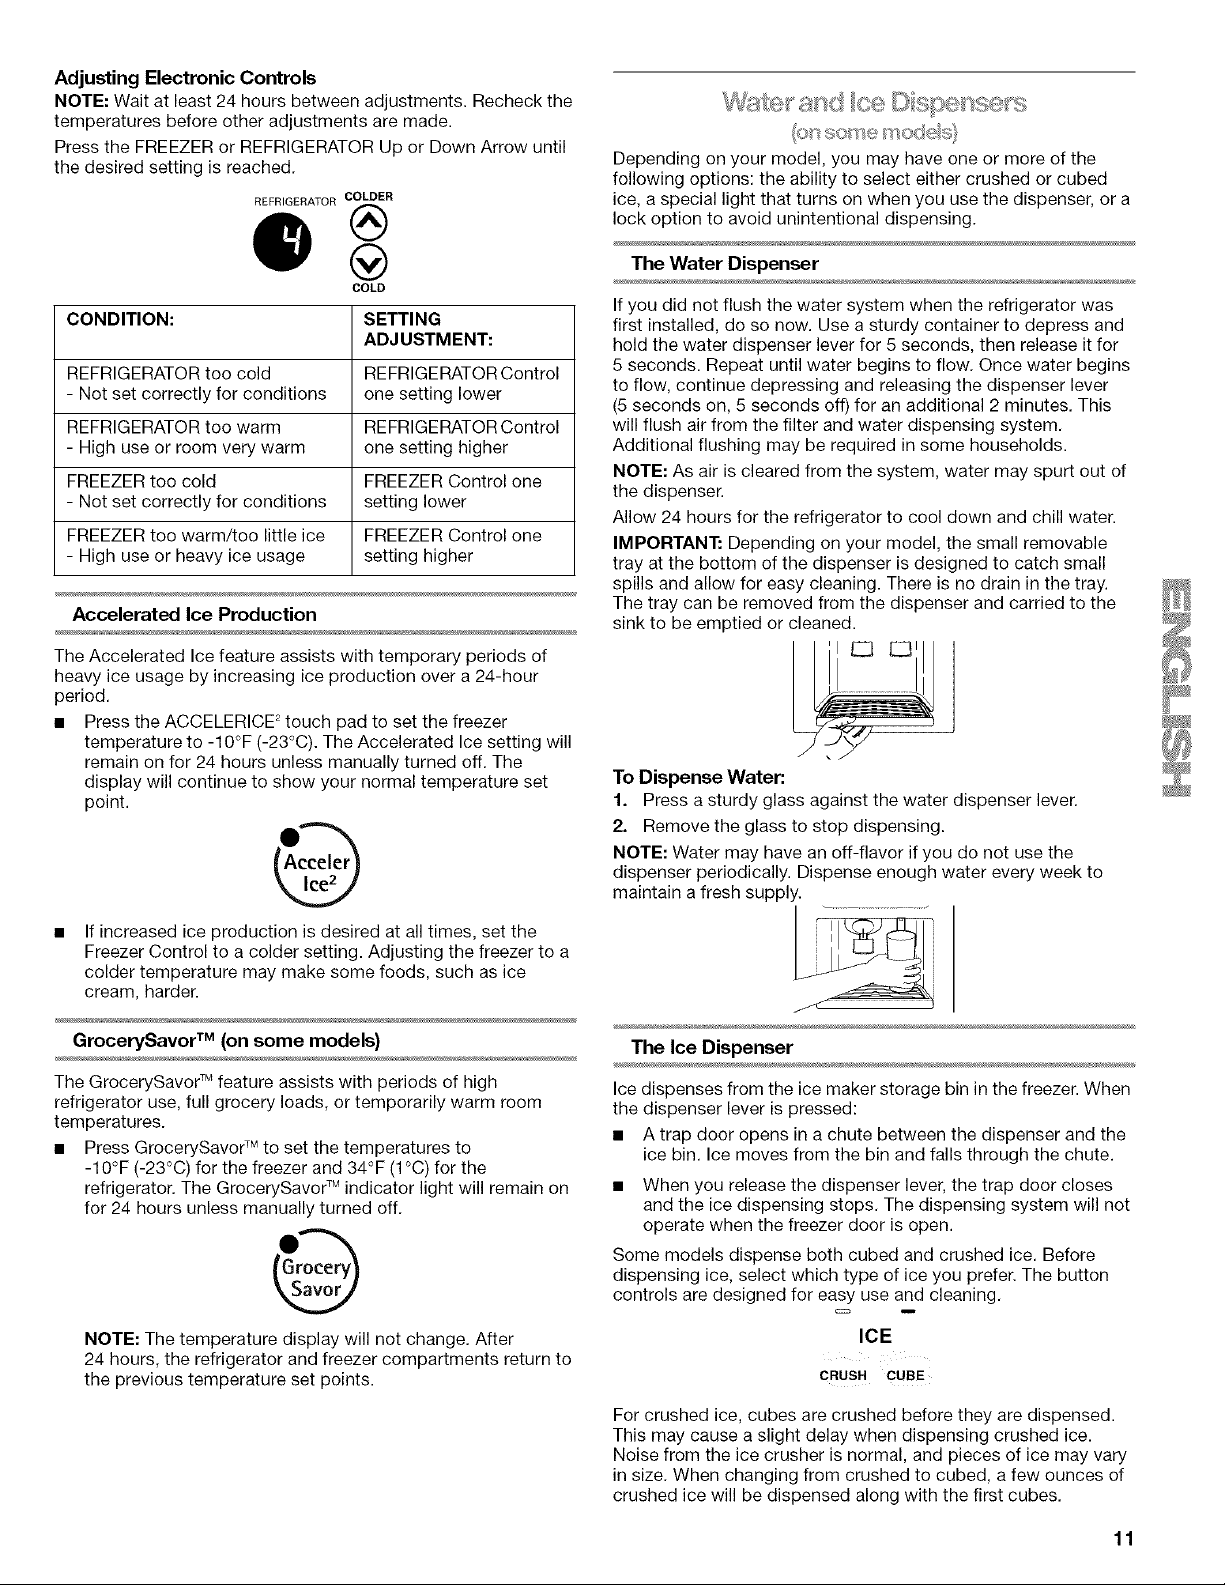
Press the FREEZER or REFRIGERATOR Up or Down Arrow until
the desired setting is reached.
REFRIGERATOR COLDER
COLD
CONDITION: SETTING
ADJUSTMENT:
REFRIGERATOR too cold REFRIGERATOR Control
- Not set correctly for conditions one setting lower
REFRIGERATOR too warm REFRIGERATOR Control
- High use or room very warm one setting higher
FREEZER too cold FREEZER Control one
- Not set correctly for conditions setting lower
FREEZER too warm/too little ice FREEZER Control one
- High use or heavy ice usage setting higher
Accelerated Ice Production
The Accelerated Ice feature assists with temporary periods of
heavy ice usage by increasing ice production over a 24-hour
period.
• Press the ACCELERICE 2touch pad to set the freezer
temperature to -10°F (-23°C). The Accelerated Ice setting will
remain on for 24 hours unless manually turned off. The
display will continue to show your normal temperature set
point.
If increased ice production is desired at all times, set the
Freezer Control to a colder setting. Adjusting the freezer to a
colder temperature may make some foods, such as ice
cream, harder.
GrocerySavor TM (on some models)
The GrocerySavor TM feature assists with periods of high
refrigerator use, full grocery loads, or temporarily warm room
temperatures.
• Press GrocerySavor TM to set the temperatures to
-10°F (-23°C) for the freezer and 34°F (1°C) for the
refrigerator. The GrocerySavor TM indicator light will remain on
for 24 hours unless manually turned off.
NOTE: The temperature display will not change. After
24 hours, the refrigerator and freezer compartments return to
the previous temperature set points.
Wste a sd ce © spense s
Depending on your model, you may have one or more of the
following options: the ability to select either crushed or cubed
ice, a special light that turns on when you use the dispenser, or a
lock option to avoid unintentional dispensing.
The Water Dispenser
If you did not flush the water system when the refrigerator was
first installed, do so now. Use a sturdy container to depress and
hold the water dispenser lever for 5 seconds, then release it for
5 seconds. Repeat until water begins to flow. Once water begins
to flow, continue depressing and releasing the dispenser lever
(5 seconds on, 5 seconds off) for an additional 2 minutes. This
will flush air from the filter and water dispensing system.
Additional flushing may be required in some households.
NOTE: As air is cleared from the system, water may spurt out of
the dispenser.
Allow 24 hours for the refrigerator to cool down and chill water.
IMPORTANT: Depending on your model, the small removable
tray at the bottom of the dispenser is designed to catch small
spills and allow for easy cleaning. There is no drain in the tray.
The tray can be removed from the dispenser and carried to the
sink to be emptied or cleaned.
To Dispense Water:
1. Press a sturdy glass against the water dispenser lever.
2. Remove the glass to stop dispensing.
NOTE: Water may have an off-flavor if you do not use the
dispenser periodically. Dispense enough water every week to
maintain a fresh supply.
The Ice Dispenser
Ice dispenses from the ice maker storage bin in the freezer. When
the dispenser lever is pressed:
• A trap door opens in a chute between the dispenser and the
ice bin. Ice moves from the bin and falls through the chute.
• When you release the dispenser lever, the trap door closes
and the ice dispensing stops. The dispensing system will not
operate when the freezer door is open.
Some models dispense both cubed and crushed ice. Before
dispensing ice, select which type of ice you prefer. The button
controls are designed for easy use and cleaning.
ICE
CRUSH CUBE
For crushed ice, cubes are crushed before they are dispensed.
This may cause a slight delay when dispensing crushed ice.
Noise from the ice crusher is normal, and pieces of ice may vary
in size. When changing from crushed to cubed, a few ounces of
crushed ice will be dispensed along with the first cubes.
11
Loading ...
Loading ...
Loading ...