Loading ...
Loading ...
Loading ...
8
ENGLISH
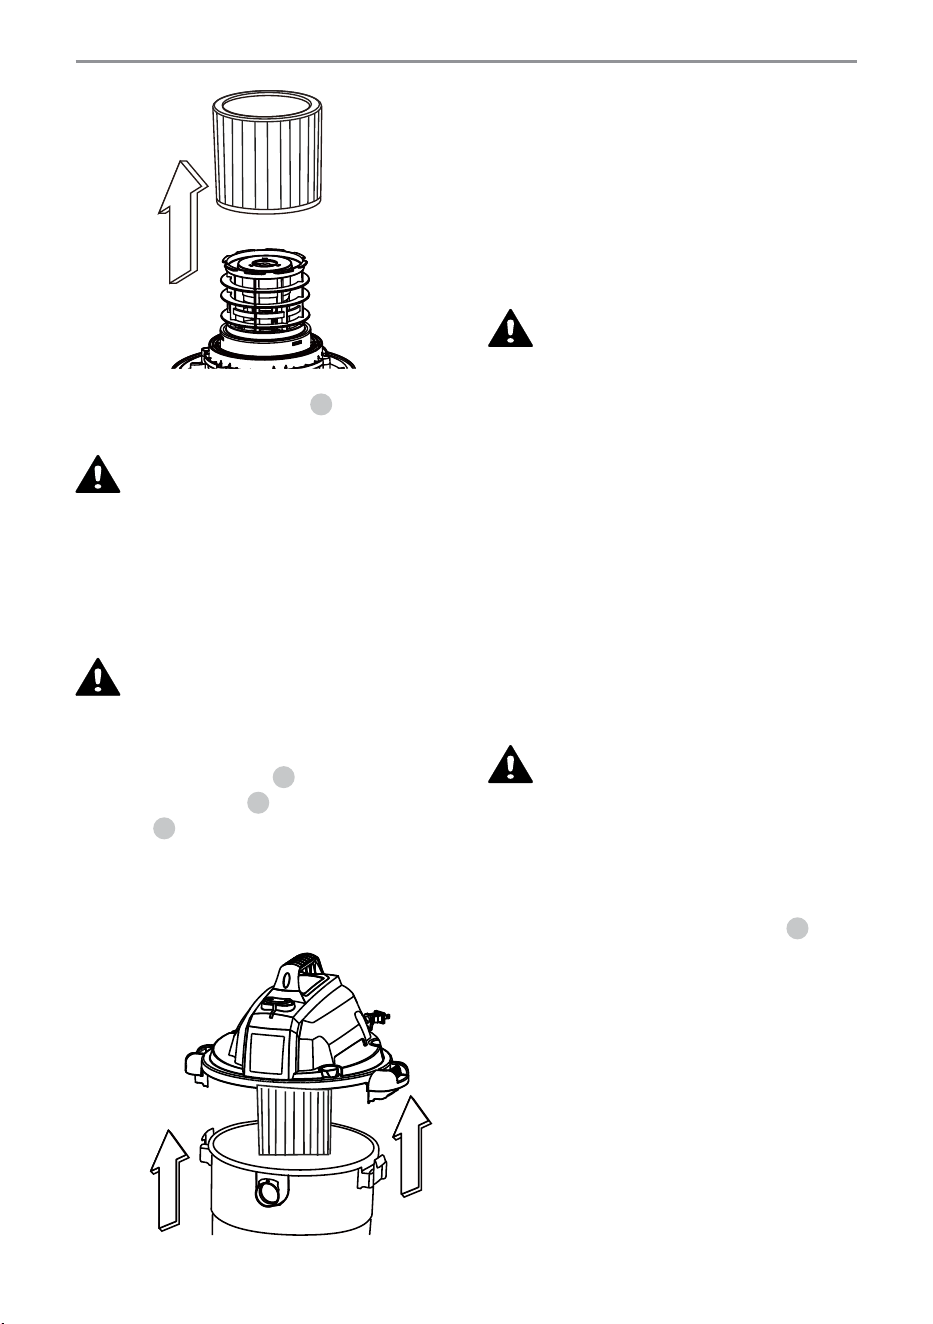
Fig. 13
21. Clean the cartridge filter
18
by gently
tapping or brushing dirt off.
CAUTION:
CLEANING SHOULD
NOT BE DONE INDOORS IN LIVING AREAS.
FOR OPTIMAL PERFORMANCE A NEW
FILTER IS RECOMMENDED.
EMPTYING DRY WASTE FROM
THE TANK
WARNING:
VERIFY THAT THE
POWER CORD IS DISCONNECTED FROM THE
OUTLET.
22. Disconnect the hose
13
from the vacuum.
Undo the latches
3
and remove the power
head
2
from the collection tank. Fig 14.
Place power head on soft, clean surface
upside down. Clear all dirt or debris from
the collection tank and hose. Place power
head back onto the collection tank and
secure latches.
Fig. 14
Wet Pick Up Operation
IMPORTANT! When vacuuming large quantities
of liquids, do not immerse the nozzle
completely in the liquid; leave a gap at the tip
of the nozzle opening to allow air inflow. The
machine is fitted with a float valve that stops
the suction action when the collection tank
reaches its maximum capacity. You will notice
an increase in motor speed.
WARNING:
WHEN THIS
HAPPENS, TURN OFF THE MACHINE,
DISCONNECT FROM POWER SUPPLY,
AND DRAIN THE LIQUID INTO A SUITABLE
RECEPTACLE OR DRAIN. TO CONTINUE
VACUUMING, REFIT THE COLLECTION
TANK WITH THE DRAIN CAP. AFTER WET
VACUUMING, TURN THE MACHINE OFF
AND REMOVE PLUG FROM POWER SUPPLY.
EMPTY THE COLLECTION TANK, CLEAN AND
DRY THE INSIDE AND OUTSIDE BEFORE
STORAGE.
NOTICE: The foam wet filter must be removed
after wet vacuuming and the cartridge filter
must be installed before dry vacuuming again.
FOAM WET FILTER INSTALLATION
AND CLEANING:
WARNING:
VERIFY THAT THE
POWER CORD IS DISCONNECTED FROM THE
OUTLET.
23. Remove the power head and place in an
upside down position. Follow instructions
to remove the cartridge filter on page 7.
24. Carefully slide the foam wet filter
19
down
over the filter cage making sure the cage is
completely covered. Fig. 15.
Loading ...
Loading ...
Loading ...