Loading ...
Loading ...
Loading ...
D-Link DGS-1005D Unmanaged Gigabit Ethernet Switch
Mounting the Switch on a Wall
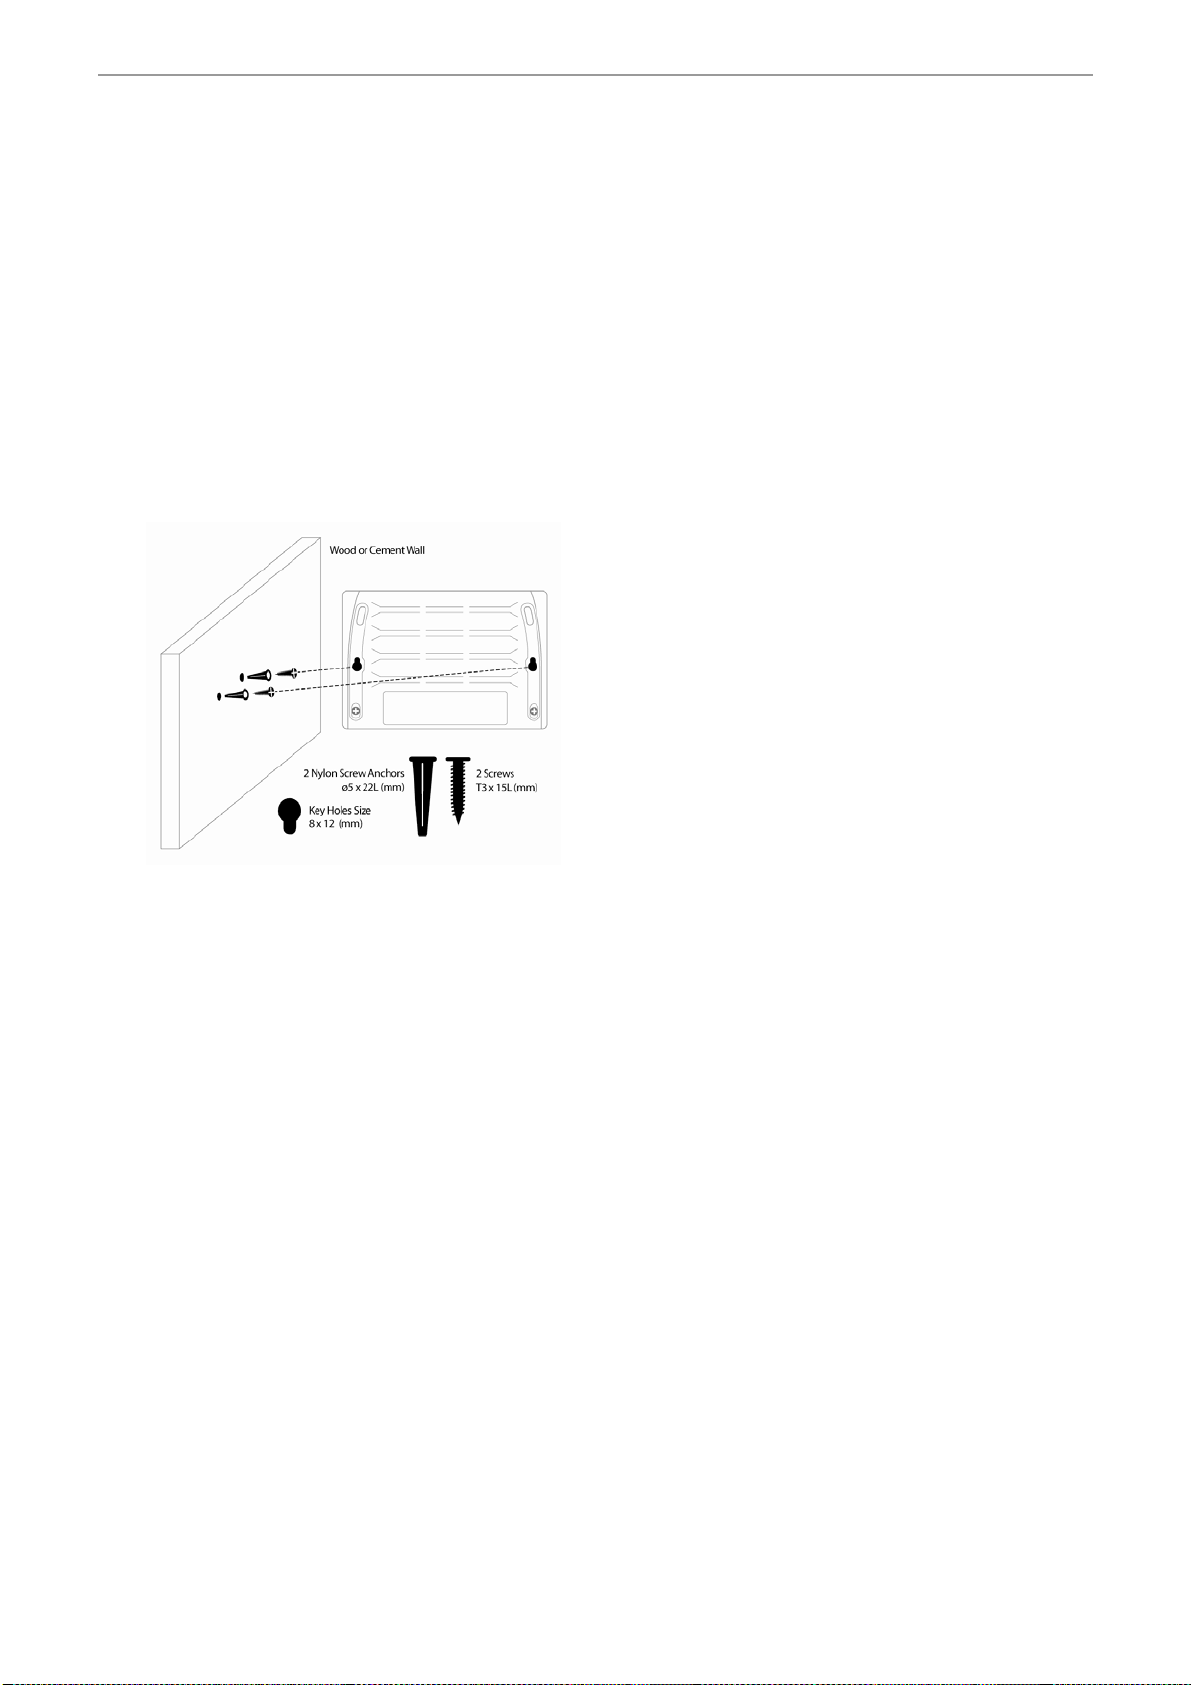
The DGS-1005D can also be mounted on a wall. Two mounting slots are provided on the bottom of the switch for this
purpose. Please make sure that the front panel is exposed in order to view the LEDs. Please refer to the illustration below:
A.) Mounting on a cement wall
1. Mount the Nylon screw anchors into a cement wall.
2. Drive the T3 x 15L screws into the Nylon screw anchors.
3. Hook the mounting holes of the switch back on the screws; you have completed the wall-mount.
B.) Mounting on a wood wall
1. Drive the T3 x 15 L screws into the wood wall.
2. Hook the mounting holes of the switch back on the screws; you have completed the wall-mount.
Figure 2-1. Mounting the Switch to a Wall
C.) Mounting on a metal wall
1. Mount the magnetic base screws (optional) onto the mounting holes of the switch.
2. Attach the switch to a metallic surface.
3. The magnet kit is optional and is not included in the package contents.
Power On
Plug one end of the AC to DC power adapter into the power connector of the Switch and the other end into the local power
source outlet.
After the Switch is powered on, the LED indicators will momentarily blink. This blinking of the LED indicators represents
a reset of the system.
Power Failure
As a precaution, in the event of a power failure, unplug the Switch. When power is resumed, plug the Switch back in.
(1) 3/4 inch minimum for wood wall.
(2) 3 inch minimum for cement wall.
Loading ...
Loading ...
Loading ...