Loading ...
Loading ...
Loading ...
Installation & Hardware
Hardware Provided:
4pcs screws ST5x40 (40mm), 2pcs screws M3x12 (12mm), 4pcs anchor wall plug, 4pcs washers
1. Pre drill pilot hole 3mm diameter at dimensions C and B.
60cm hood; B=305mm and C=170mm to centre of bracket.
90cm hood; B=310mm and C=230mm to centre of bracket.
2. Loosely fix 2x mounting screws (ST5x40, 40mm) and 2x washers in position, drilling into 2x anchor wall plugs
(supplied). Check with a spirit level across the washers to ensure they are level.
3. Mark the position of the decorative chimney at the ceiling and wall. Cut the cornice moulding away if
required, to enable the chimney to fit flush against the wall and ceiling.
4. Mark and cut out the hole in the ceiling / wall to fit the ducting. (170mm dia.) This is positioned
centrally above the canopy hood and 110mm from the wall. (For ceiling option)
5. Using 2x mounting screws (ST5x40) 2x washers, and 2x anchor wall plugs (supplied), fix the chimney bracket to
the wall, 100mm below the ceiling checking that it is aligned with the hood.
6. Remove the protective plastic covering from all parts including the filters. Fit the canopy hood on the mounting
screws, tighten screws. Plug in the power cord to the supply and check the function of the canopy hood. Connect
and secure the ducting (use duct tape if required).
7. Assemble the top chimney to the chimney bracket and fix using the 2x M3x12 screws supplied, then assemble the
bottom chimney to the canopy hood and fit into the glass recess.
8. Remove transport tape that holds the oil cup in place under the motor unit and fit the filters.
8. WARNING: Failure to install the screws or fixing device in accordance with these instructions may result in electrical hazards!
Cleaning and maintenance
Particular care must be taken with the aluminium filters which must be periodically cleaned (at least every two months).
You can wash them either by hand using hot soapy water or in the dishwasher using mild detergent.
Note- some discolouration of the frame may occur.
Caution: Never use abrasive or oil based liquid cleaners.
To clean the stainless steel and glass components of the appliance use mild detergent and warm water. In areas of high
humidity and coastal environments cleaning should be carried out frequently.
In the case of charcoal filters (2517 or 2619), these are disposable items and it is recommended that these be replaced
every 2-4 months depending on the use of the canopy hood.
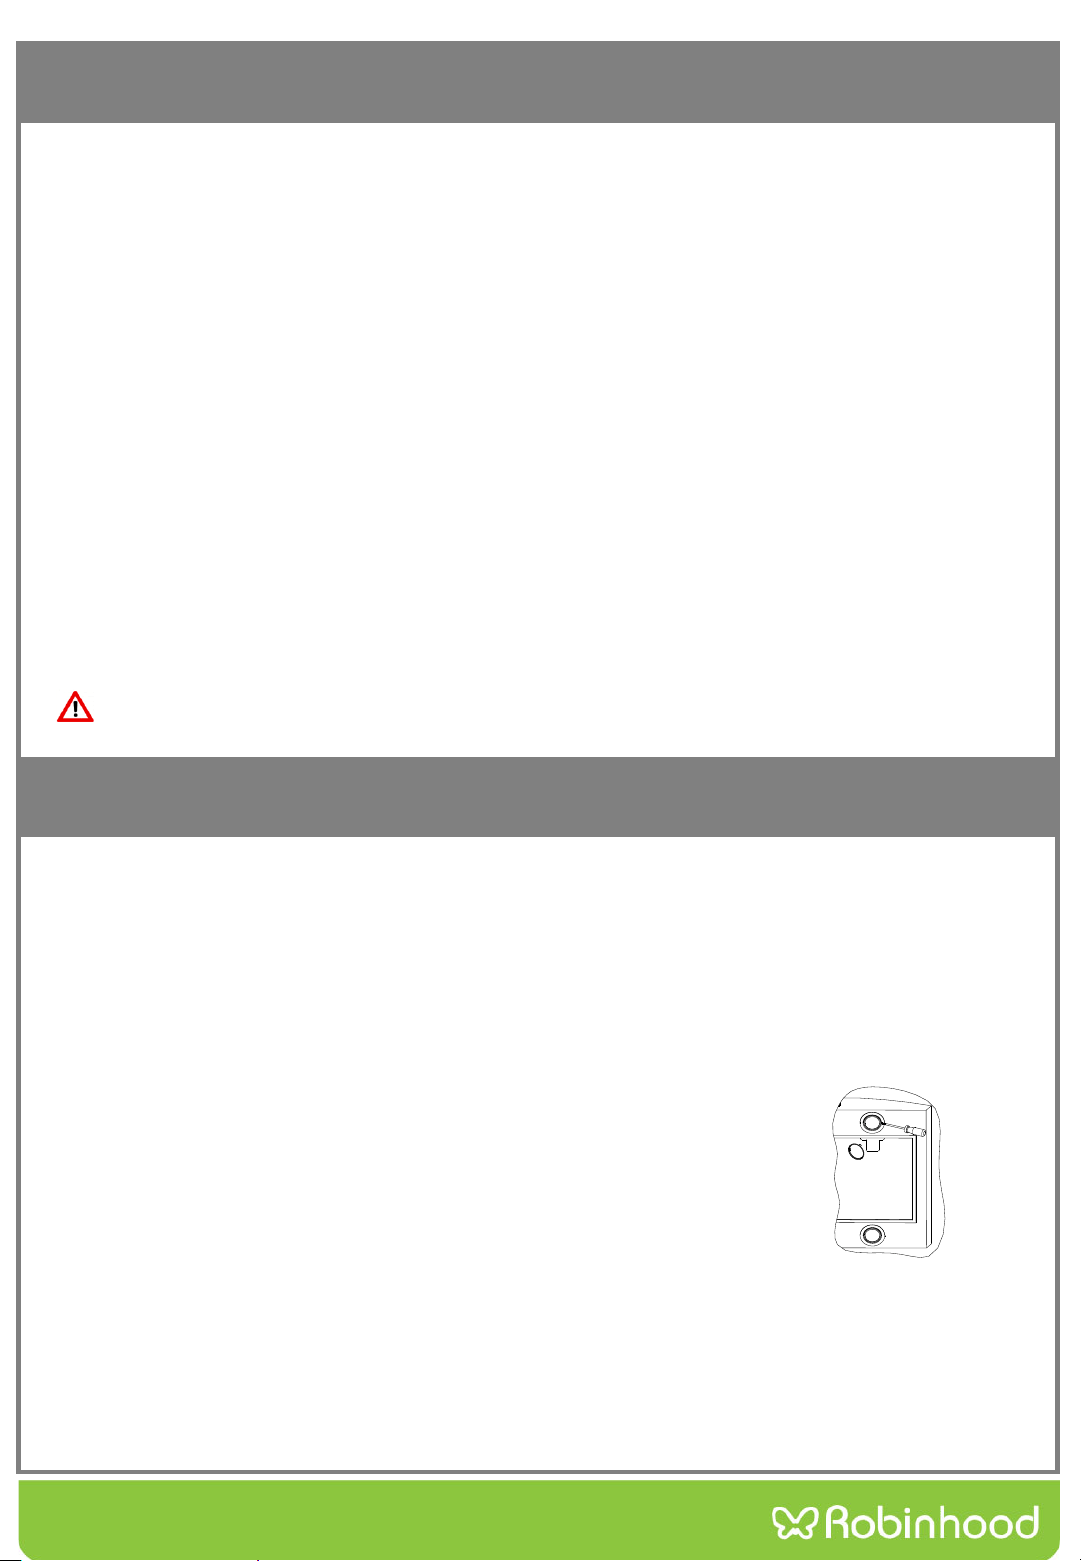
LED bulb replacement
1. Switch off the power to the canopy hood and allow the bulb to cool.
2. Use a small bladed screwdriver to pop out the light assembly, taking care not to
damage the surrounding material.
3. Unplug the Assembly from the wiring.
4. Plug in the new assembly.
5. Push the light assembly back into place.
.
Optional accessories:
Charcoal filter 2517 (Twin Pack for RWV3CL9G) or 2619 (Single for RWV3CL6G)
Chimney Extension 2200 – 10ft RWV3CL6G 2201 – 12ft RWV3CL6G
2202 – 10ft RWV3CL9G 2203 – 12ft RWV3CL9G
For other accessories, parts and service, please contact your local supplier (Refer to the Warranty Certificate).
Loading ...
Loading ...
Loading ...