Loading ...
Loading ...
Loading ...
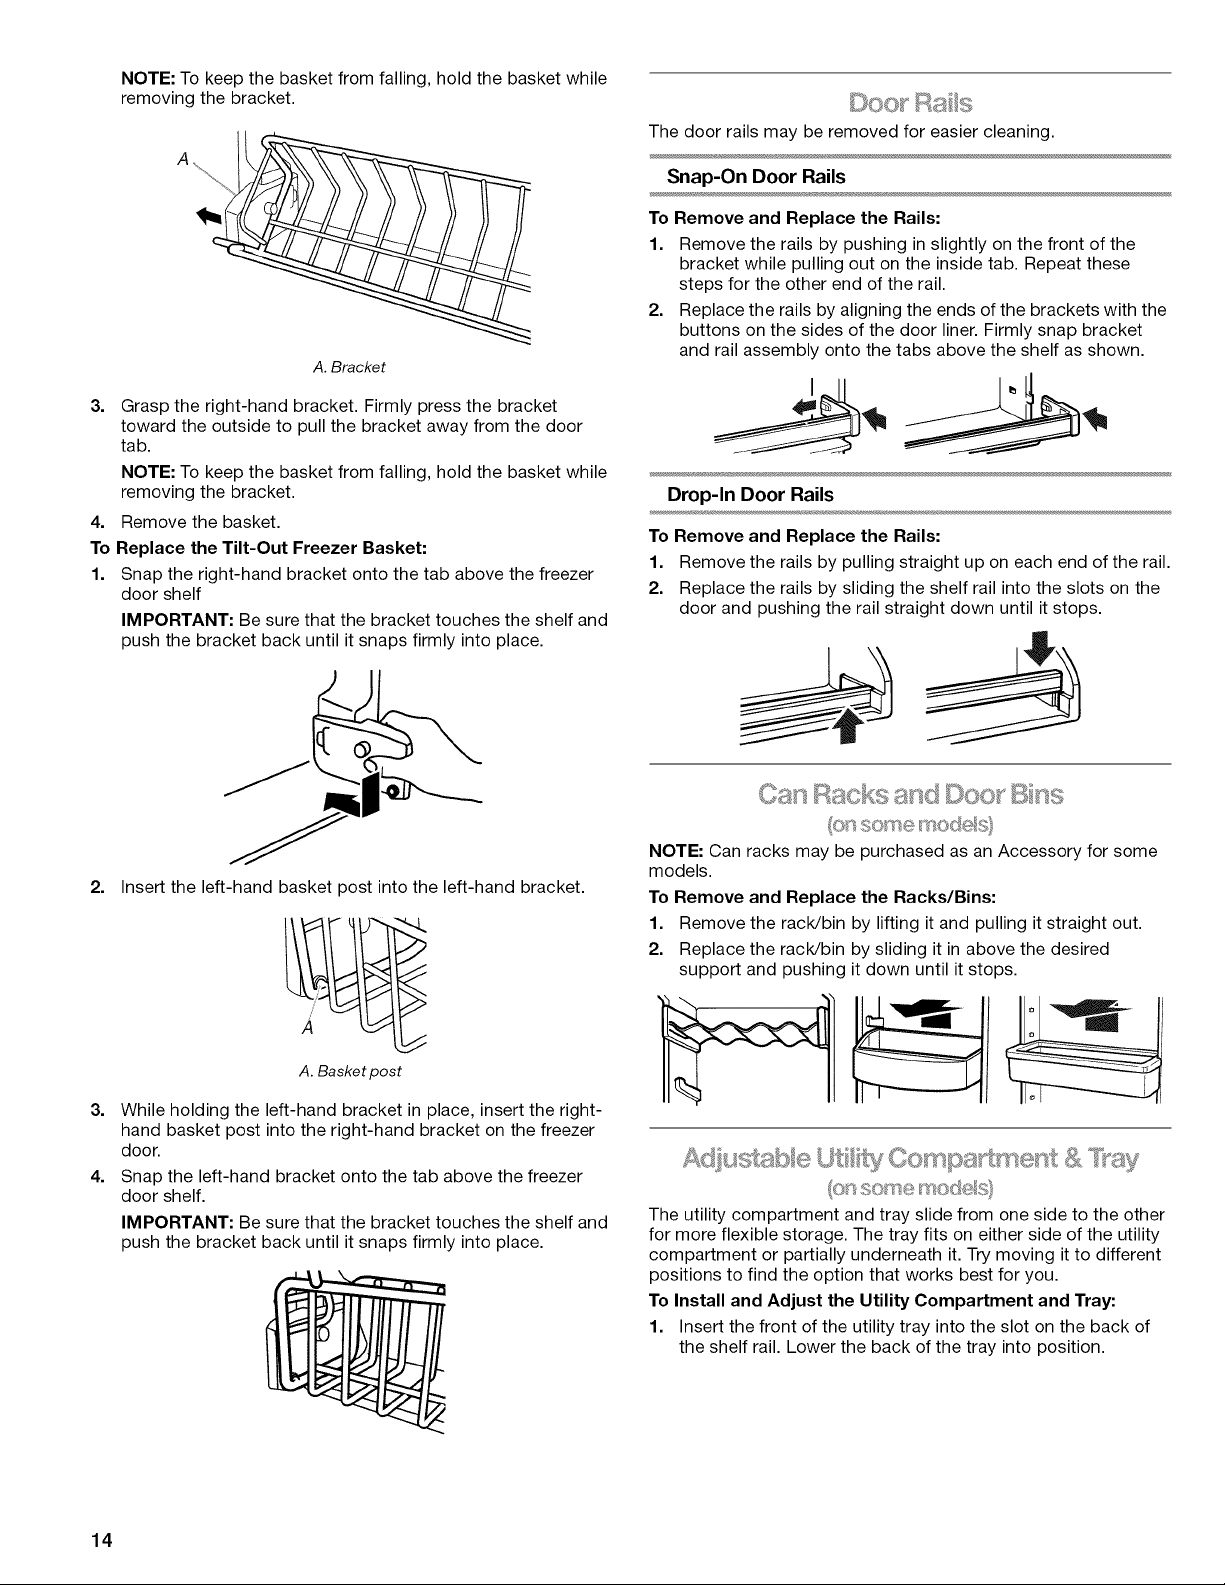
NOTE: To keep the basket from falling, hold the basket while
removing the bracket.
A
A. Bracket
3. Grasp the right-hand bracket. Firmly press the bracket
toward the outside to pull the bracket away from the door
tab.
NOTE: To keep the basket from falling, hold the basket while
removing the bracket.
4. Remove the basket.
To Replace the Tilt-Out Freezer Basket:
1. Snap the right-hand bracket onto the tab above the freezer
door shelf
IMPORTANT: Be sure that the bracket touches the shelf and
push the bracket back until it snaps firmly into place.
2. Insert the left-hand basket post into the left-hand bracket.
A. Basket post
3. While holding the left-hand bracket in place, insert the right-
hand basket post into the right-hand bracket on the freezer
door.
4. Snap the left-hand bracket onto the tab above the freezer
door shelf.
IMPORTANT: Be sure that the bracket touches the shelf and
push the bracket back until it snaps firmly into place.
The door rails may be removed for easier cleaning.
Snap-On Door Rails
To Remove and Replace the Rails:
1. Remove the rails by pushing in slightly on the front of the
bracket while pulling out on the inside tab. Repeat these
steps for the other end of the rail.
2. Replace the rails by aligning the ends of the brackets with the
buttons on the sides of the door liner. Firmly snap bracket
and rail assembly onto the tabs above the shelf as shown.
Drop-In Door Rails
To Remove and Replace the Rails:
1. Remove the rails by pulling straight up on each end of the rail.
2. Replace the rails by sliding the shelf rail into the slots on the
door and pushing the rail straight down until it stops.
Can and ©oo Bns
(os some mode_@
NOTE: Can racks may be purchased as an Accessory for some
models.
To Remove and Replace the Racks/Bins:
1. Remove the rack/bin by lifting it and pulling it straight out.
2. Replace the rack/bin by sliding it in above the desired
support and pushing it down until it stops.
e Ut;@ CompsPtment &
(@s some _r_o_:Sels_
The utility compartment and tray slide from one side to the other
for more flexible storage. The tray fits on either side of the utility
compartment or partially underneath it. Try moving it to different
positions to find the option that works best for you.
To Install and Adjust the Utility Compartment and Tray:
1. Insert the front of the utility tray into the slot on the back of
the shelf rail. Lower the back of the tray into position.
14
Loading ...
Loading ...
Loading ...