Loading ...
Loading ...
Loading ...
11
GRILL FEATURES
ROTISSERIE INSTALLATION
CAUTION: When using the back burner, keep the
grill lid closed to prevent heat loss, provide proper
convection and provide proper venting. This will
ensure even cooking temperatures.
1. Remove the warming rack, cooking grates,
and cooking grates if necessary
2. Mount the rotisserie motor bracket on either
side of the grill nearest the outlet
3. Slide the rotisserie motor onto the rotisserie
motor bracket
4. Insert rotisserie spit (rotisserie rod) into
motor
5. Place 1st fork onto the rotisserie spit and
secure tightly
6. Position the meat onto the spit securing to
the 1st fork
7. Place 2nd fork onto the spit securing to the
meat and tighten screw
8. Insert collar onto spit
9. Screw on handle nut and handle
10. Add a drip pan beneath the meat to catch
drippings and retain moisture in the meat
11. Light back burner per lighting instructions
in this manual and close grill lid
Do not keep you grill lid open while cooking on the
rotisserie as this may cause personal injury, or in
some cases, in windy conditions, damage the grill.
Do not use the rotisserie motor in the rain. Do not
leave the motor on the grill when not in use.
IMPORTANT: Turn the back burner to low or off
when stopping the rotisserie to prevent over
cooking
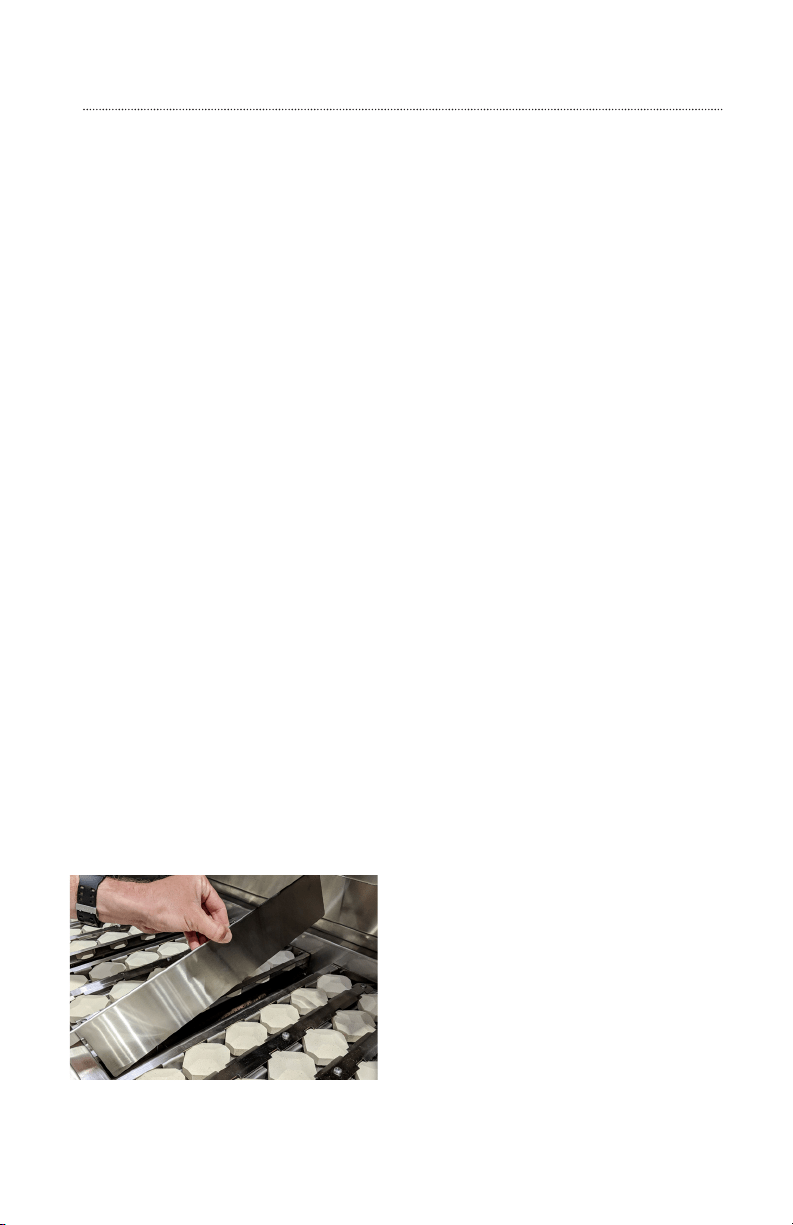
HEATZONE SEPARATOR INSTALLATION
To install the heat zone separators, please insert
the heat zone separators as shown in the figure
below.
OPTIONAL DROPIN SEAR BURNER
INSTALLATION
The preferred location to install a drop-in sear
burner is on the far le of the grill. This will allow
for a sear zone while maximizing the main burner
grilling space. To install a drop-in sear burner:
• Remove the grate and burner covers to
access the main burner
• Remove the coer pin securing the main
burner (if necessary)
• Remove main burner
• Remove cross tube in between main
burners allowing for drop-in sear burner
to rest flat, if necessary
• Install sear burner with the center of the
orifice positioned in the center of the
burner and rest the back of sear burner flat
on the rear of the grill. There is a locating
pin in the rear of the sear burner that must
be seated correctly.
LIGHTING OPTIONAL DROPIN SEAR BURNER
1. Open the hood before lighting; do not
aempt to ignite burners while hood is
closed.
2. Make sure gas supply is turned on.
3. Make sure burner control knobs are in the
“OFF” position.
4. Press in the control knob then slightly
turn the knob counterclockwise while still
pressing in.
5. Hold in the above position for 5 seconds
allowing the gas to reach the manifold.
6. Turn the knob counterclockwise past the
ignition to the high seing to ignite. You
will hear the one time clicking sound of the
spark ignition.
7. Aer ignition, set the knob to the desired
seing.
8. Using the main burner sear zone can cause
extreme damage. 100% aendance to this
style of cooking is required.
POWER FRONT PANEL LED
To power internal halogen and external LED lights,
insert the trans wire (two prong connection) into
the transformer. Plug the transformer into an
electrical outlet rated for the transformer.
Loading ...
Loading ...