Loading ...
Loading ...
Loading ...
Aboutthe shelves and bins. gecom
Not all features are on all models.
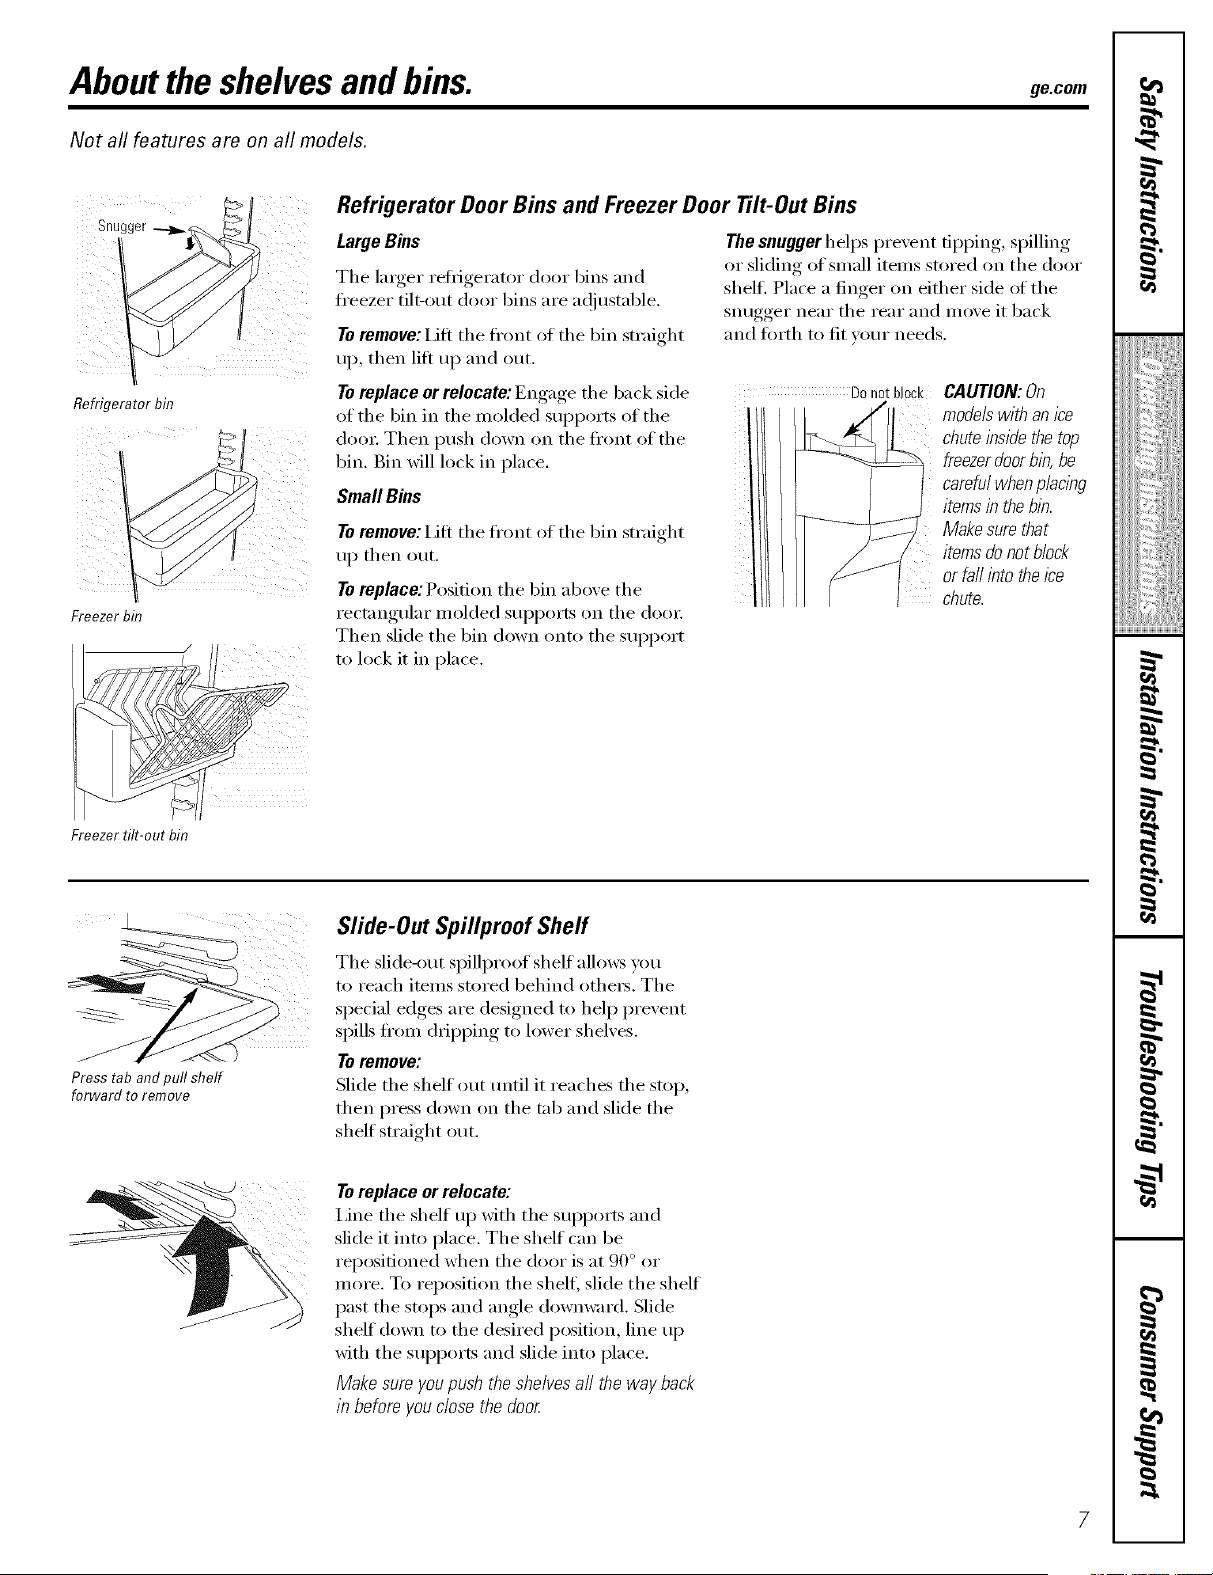
Snugger
Refrigeratorom
Freezer bin
Freezer tilt-out bin
Refrigerator Door Bins and Freezer Door Tilt-Out Bins
Large Bins
The larger refligerator door bins and
fl'eezer tilt-out door bins are ac!iusmble.
To remove: lift the ti'ont ot the bin straight
up, then lift up and out.
The snugger helps prevent tipping, spilling
or sliding of small items stored on the door
shelfi Place a finger on either side of the
snugger near the rear and move it back
and forth to fit your needs.
To replace or relocateJ Engage the back side Donot block
of the bin in the molded supports of the [[ /J]
dora: Then push down on the front of the
bin. Bin will lock in place.
SmallBms
To remove: IJfl the fl'ont of the bin straight
up then out.
Toreplace: Position the bin above the
rectangular molded supports on the (lore:
Then slide the bin down onto the support
to lock it in place.
CAUTION:On
modelswithanice
chuteinsidethetop
freezerdoorbin,be
carefulwhenp/aclbg
itemsin thebb.
Makesurethat
itemsdonotblock
orfail into theIce
chute.
Press tab and pull shelf
forward to remove
Slide-Out Spillproof Sheff
The slide-out spillproot shelf allows you
to reach items stored 1)ehind othe_. The
special edges are designed to help prevent
spills fl'om dripping to lower shelves.
Toremove:
Slide the shelf out tmtil it reaches the stop,
then press down on the tab and slide the
shelf straight out.
To replace orrelocate:
I,ine the shelf up Mth the supports and
slide it into place. The shelf can be
reposifioned when the door is at 90 ° or
more. To reposition the shelf, slide the shelf
past the stops and angle downward. Slide
shelf down to the desired position, line up
with the supports and slide into place.
Make sure you push the shelves all the way back
in before you dose the door
Loading ...
Loading ...
Loading ...