Loading ...
Loading ...
Loading ...
Some top mount, bottom
mount and single door
vertical freezer models
have a twist ice & serve
ice cube tray assembly.
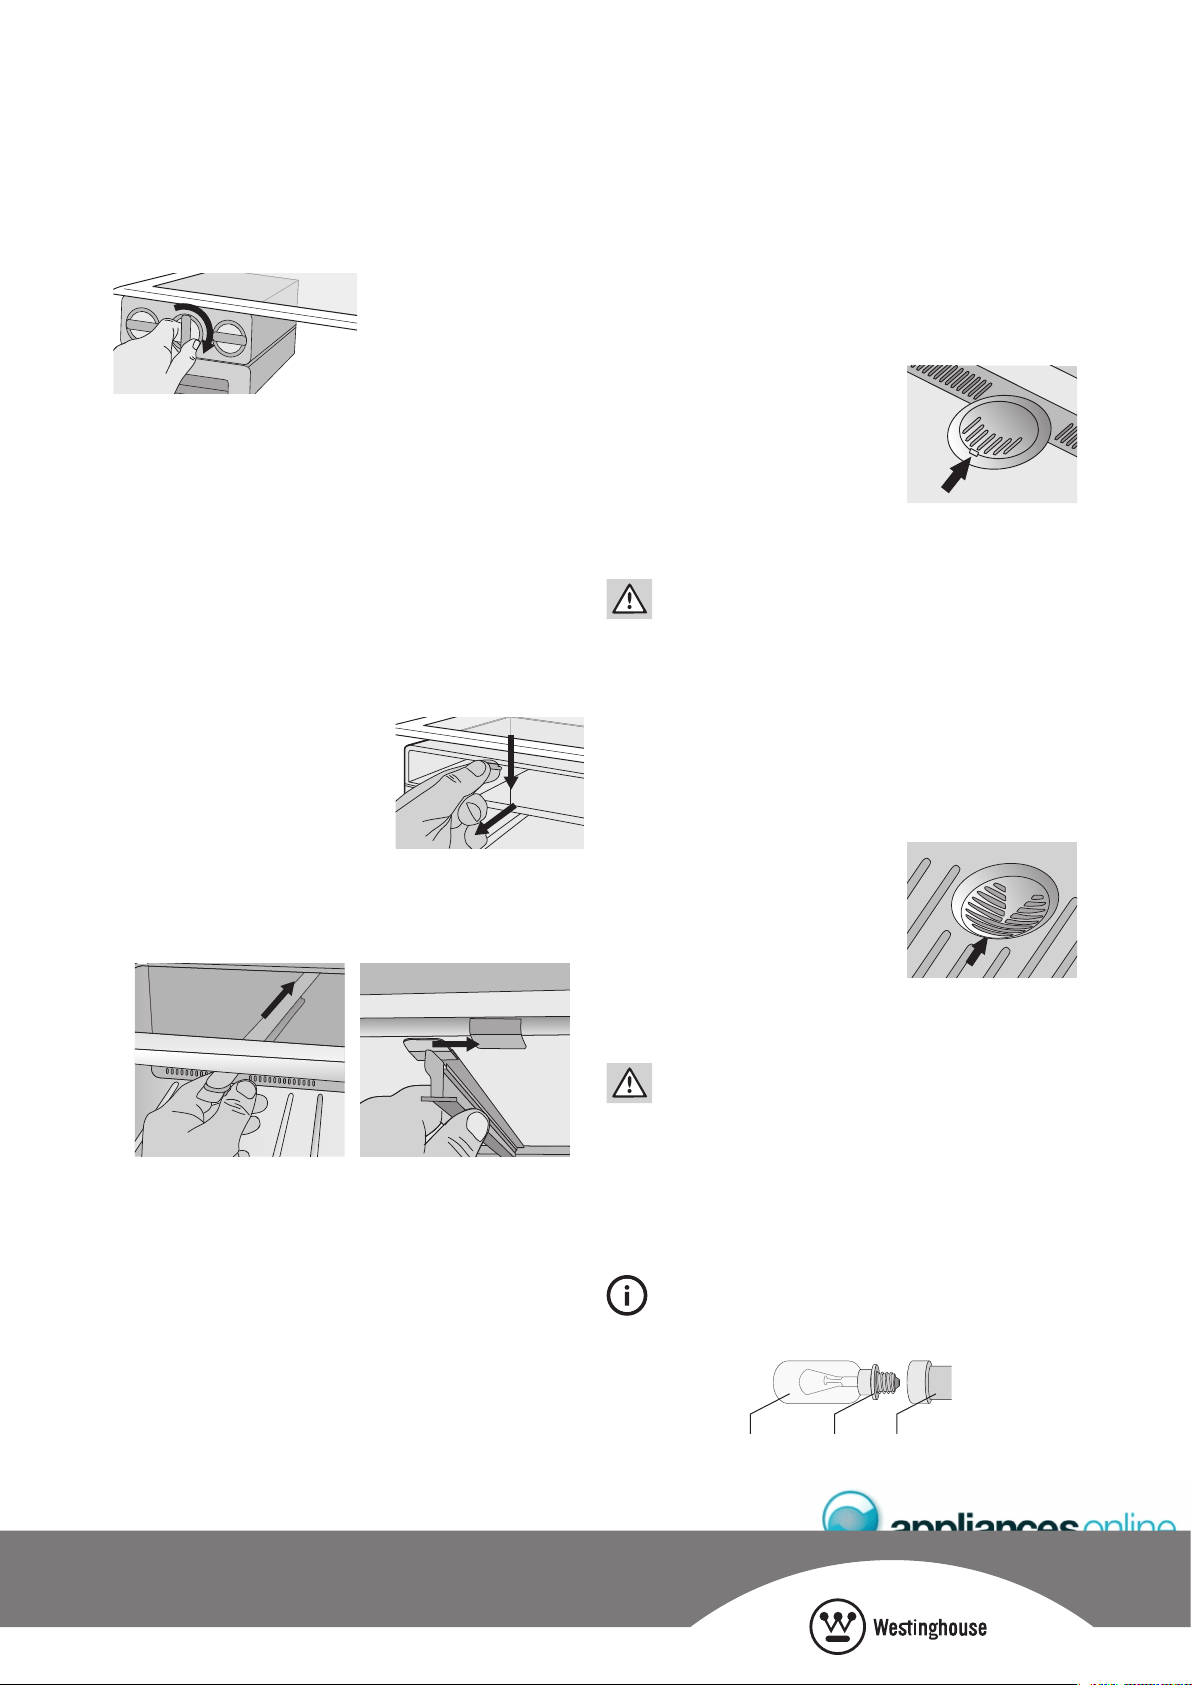
To use, remove the tray,
fill with water and place back in the freezer. Once ice has
formed (approximately 3 hours) simply twist the knob at
the front clockwise until the ice drops into the bin below.
A larger bin is provided in some bottom mount models
along with an ice scoop.
Note: this is only possible on Top Mount models.
1. Remove the ice bin and ice cube tray. If the ice tray
assembly is frozen to the carriage, simply squeeze the
tray and shelf together to break the ice.
2. Before you remove the ice carriage, remember to
disengage it from the glass shelf (as shown), as it may
result in damage to the assembly.
3. Remove the centre runner by
disengaging it at the front
of the shelf, and removing it
from the rear.
4. Refit the runner in to the rear
of the shelf on the right hand
side and then engage the
front (as shown).
5. Fit the carriage by sliding it into the runners until the
front of the carriage engages with the shelf.
6. Refit the ice tray and ice bin.
5. Fit the carriage by sliding it into the runners until the
front of the carriage engages with the shelf.
6. Refit the ice tray and ice bin.
1. Switch off the power at the power point and remove
the cord by pulling the plug.
2. Carefully unclip the light cover
by pulling the light cover tab at
the rear, towards you.
3. Unscrew the light bulb and
replace it with a new bulb of
the same type and wattage. If,
when you remove the light bulb
the small rubber “O” ring comes out with the bulb, fit
the “O” ring over the new bulb and screw bulb into the
socket (see diagram at bottom of page).
warning
Never insert your finger into the light bulb socket to
check for the presence of the “O” ring.
4. Replace the light cover by hooking the lugs into the
front of the housing and pressing the rear of the cover
up until it clips in.
5. Wait 5 minutes to ensure pressures in the refrigeration
system are equalised, before turning the refrigerator on
at the power point.
1. Switch off the power at the power point and remove
the cord by pulling the plug.
2. Carefully unclip the light cover
by pulling the light cover tab at
the rear, towards you.
3. Unscrew the light bulb and
replace it with a new one of
the same type and wattage. If,
when you remove the light bulb
the small rubber “O” ring comes out with the bulb, fit
the “O” ring over the new bulb and screw bulb into the
socket (see diagram at bottom of page).
warning
Never insert your finger into the light bulb socket to
check for the presence of the “O” ring.
4. Replace the light cover by hooking the light cover lugs
into the front of the housing and pressing the rear of the
cover up until it clips in.
5. Wait 5 minutes to ensure pressures in the refrigeration
system are equalised before turning the refrigerator on
at the power point.
TIPS & INFORMATION
Ensure the ‘O’ ring is in place before replacing the bulb.
Insert into the slot at
the rear of the shelf
Then engage
into the front of
the shelf
Light bulb “O” ring Light socket
Loading ...
Loading ...
Loading ...